If your Whirlpool oven's broiler isn't working, don't worry; several common issues can cause the problem. First, check if the broil element glows. If it doesn't, it might be burned out and needs replacing. Also, inspect the igniter—it should glow within 90 seconds. If it doesn't, it's likely defective. Examine the control board for visible damage, and don't forget to test the thermostat for continuity. Each of these components plays a vital role in broiling. Keep going, and you'll get more tips on how to troubleshoot and resolve the issue effectively.
Key Takeaways
- Inspect the broil element for visible damage; a burned-out element will not glow and needs replacement.
- Check the igniter; if it glows for over 90 seconds without igniting, it requires replacement.
- Examine the control board for damage, as it may prevent voltage from reaching the broil element and igniter.
- Test the continuity of the broil element and igniter using a multimeter to confirm functionality.
- Conduct regular inspections of all components to identify issues early and maintain oven performance.
Common Broiler Issues
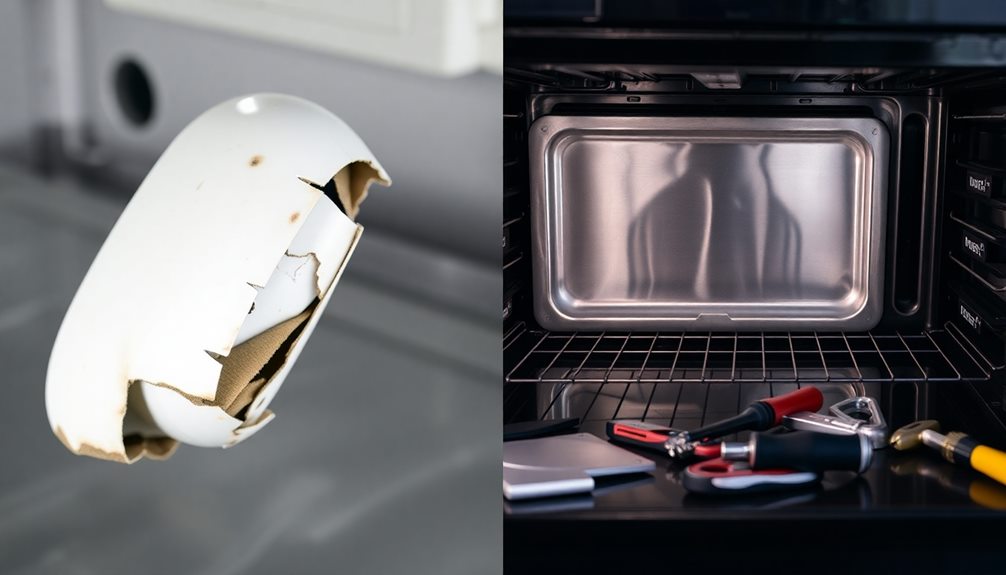
When you're trying to use the broiler in your Whirlpool oven, several common issues can stand in the way of your cooking. One major culprit is a burned-out broil element. If you notice it doesn't glow red or you see visible damage like holes or blisters, it's likely time for a replacement.
Another potential problem is a malfunctioning igniter; if it glows for over 90 seconds without igniting the gas, it needs replacing to guarantee the broiler works properly.
Additionally, a faulty control board can prevent voltage from reaching both the broil element and the igniter. Inspect the control board for any signs of damage and perform continuity testing with a multimeter to confirm its functionality.
Don't forget about the spark electrode, which must be in good condition to ignite the gas at the broil burner.
Finally, a defective temperature control thermostat can lead to inadequate heating of the broil element. If you suspect this is the case, replacing the thermostat can restore your broiler's functionality.
Addressing these issues can help you get back to your cooking with ease.
Diagnosing the Problem

When diagnosing your Whirlpool oven broiler, start by identifying common symptoms that signal problems.
Next, perform electrical component checks and visual inspections to pinpoint any issues.
This methodical approach will help you determine what needs fixing for ideal broiler performance.
Common Broiler Symptoms
Experiencing issues with your Whirlpool oven broiler can be frustrating, especially when you're not sure what's wrong. Some common symptoms of a malfunctioning broiler include the broiler element not glowing red when activated. If you notice this, it's a clear sign something's off.
You might also hear unusual noises during operation or see that the control panel indicates the broiler is on, yet there's no heat or visible flames.
If you hear a clicking sound during ignition attempts but don't smell gas, it could indicate problems with the igniter or spark module instead of the gas valve. Inconsistent cooking results can also point to issues with the thermostat or control board.
Regular visual inspections of the broiler element are essential. Look for any signs of damage, like holes or blisters, as these can severely impact functionality.
Remember that if the broiler isn't responding when activated, it's often a symptom of underlying issues that need addressing. Identifying these symptoms early can save you time and help you troubleshoot the problem more effectively.
Electrical Component Checks
Inspecting the electrical components is essential for diagnosing issues with your Whirlpool oven broiler. Start by checking the broil element for any visible damage like holes or blisters. If it looks compromised, you'll need to replace it.
Next, grab a multimeter to test the broil element for continuity. If it doesn't show continuity, replacing the element is necessary to restore function.
Don't overlook the control board, either. Examine it for any signs of damage or shorted components, as a defective control board can block the voltage from reaching the broil element. This issue can often go unnoticed, so it's worth a thorough check.
Lastly, assess the igniter functionality. If it glows for more than 90 seconds without igniting the gas, there's a good chance it's defective and needs replacing.
Additionally, take a moment to examine the spark electrode for cracks or damage. A worn-out electrode can be the culprit behind gas ignition failure at the broil burner.
Visual Inspection Techniques
To effectively diagnose problems with your Whirlpool oven broiler, start with a detailed visual inspection.
First, check the broil element for any signs of damage, like holes or blisters, as these can indicate it's burned out. If you see any issues, you may need to replace it.
Next, examine the spark electrode. Look for cracks in the porcelain housing or damage to the electrode tip, since these can prevent the ignition of gas at the broil burner. A functioning electrode is essential for proper operation.
Don't forget to assess the temperature control thermostat. Check for visible wear or damage, as a faulty thermostat may not regulate the broiler's temperature correctly, leading to cooking issues.
Lastly, inspect the control board for any signs of damage or shorted components. If the control board isn't working properly, it may fail to send voltage to the broil element or igniter.
Also, look for tripped circuit breakers or loose wiring connections, as these electrical issues can disrupt the broiler system's operation.
Broil Element Inspection
When inspecting the broil element, start by checking for any visible damage like holes or burn marks that might signal it's burned out.
Next, use a multimeter to test for continuity; if there's none, you'll need a replacement.
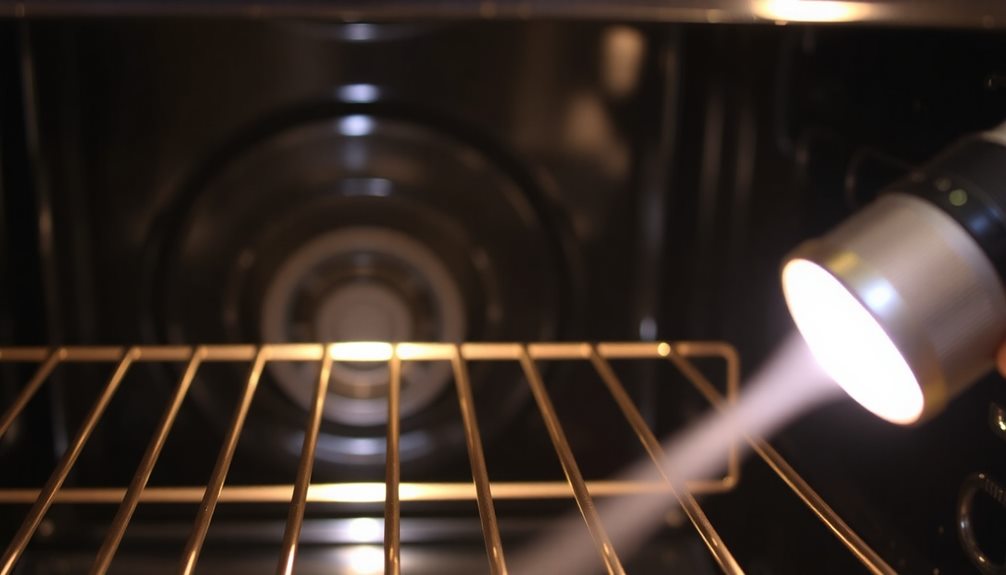
Visual Damage Check
Performing a visual damage check on your broil element is vital for maintaining your oven's performance.
Begin by inspecting the element closely for any visible signs of damage. Look for holes, blisters, or burn marks, as these can be indicators of a burned-out element. If you notice any of these defects, your broil element may need to be replaced.
Another important sign to look for is whether the broil element glows red when heating. If it doesn't, this is a strong indication that it's defective and may require further testing or replacement.
Regular visual inspections can help you catch these issues early, preventing unexpected cooking problems and extending the lifespan of your appliance.
If you determine that your broil element is indeed damaged, be certain to enter the model number of your Whirlpool range to find the correct replacement parts.
Having the right parts on hand guarantees a smoother repair process. By conducting these inspections routinely, you can keep your oven functioning effectively and enjoy perfectly broiled meals every time.
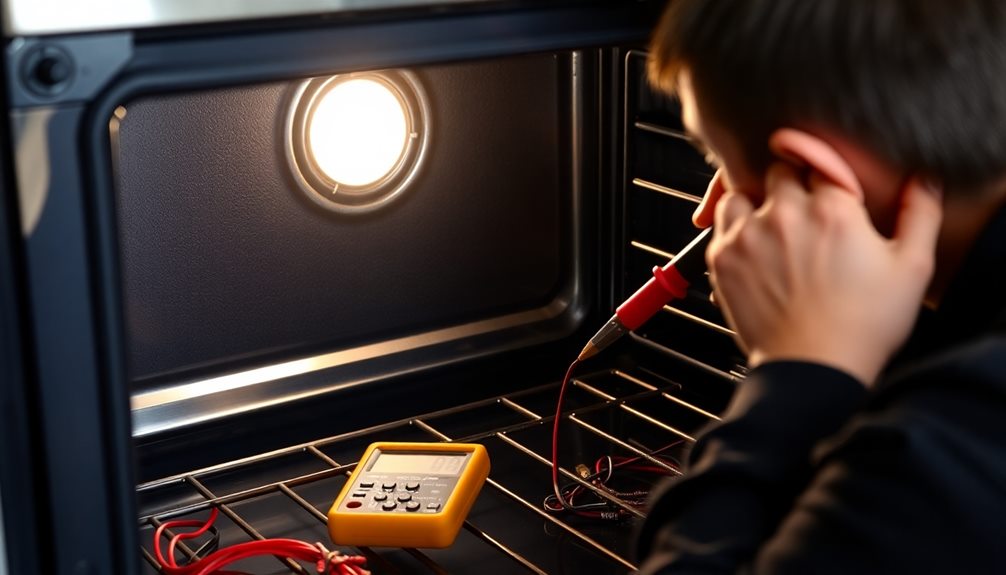
Continuity Testing Procedure
A quick continuity test can help you determine if your Whirlpool oven's broil element is functioning properly. Before you start, make sure the oven is unplugged or the circuit breaker is turned off for safety.
You'll need a multimeter set to the resistance (ohms) setting for this test. Here's how to proceed:
- Check Connections: Place the multimeter probes on the terminals of the broil element.
- Read the Results: If you get a reading close to zero, it indicates continuity, meaning the broil element is functioning.
- Inspect for Damage: If the multimeter shows infinite resistance, the broil element is likely burned out and needs to be replaced.
Additionally, visually inspect the broil element for any signs of damage, like holes or blisters. These can indicate failure and confirm that you'll need a replacement.
Always refer to your appliance's model number when sourcing a new broil element, ensuring you get the correct part. This straightforward testing procedure can save you time and help you effectively troubleshoot your oven.
Replacement Part Sourcing
If you've determined that your Whirlpool oven's broil element needs replacement, sourcing the right part is vital for a successful repair.
Start by inspecting the broil element for visible damage, such as holes or blisters, which may indicate it's burned out. If you see any signs of damage, you'll need to replace it.
Next, use a multimeter to test the element for continuity. If there's no continuity, it's definitely time for a replacement.
To find the correct replacement parts, enter your Whirlpool oven's model number into a parts website. This will help you locate specific broil element options compatible with your oven.
Once you have the right part, make sure you follow the manufacturer's instructions for proper installation. This step is important to avoid any future malfunctions.
Lastly, make it a habit to regularly check the condition of the broil element, as proactive maintenance can prevent unexpected failures during cooking.
Igniter Functionality Check
Checking the igniter's functionality is essential for ensuring your Whirlpool oven broiler operates correctly. The igniter plays a vital role in igniting the gas in the burner assembly. If your broiler's not working, the igniter might be the culprit.
Here's how to check its functionality:
- Observe the Igniter: As the oven heats, watch the igniter. If it glows for more than 90 seconds without igniting, it's likely defective and needs replacement.
- Look for Weakness: A weak igniter won't generate enough heat to open the gas valve. If you see flickering or non-glowing behavior, it indicates potential issues with the igniter's functionality.
- Test with a Multimeter: Use a multimeter to check for continuity in the igniter. If it shows no continuity, you'll need to replace it to restore proper function.
Control Board Examination

Next, you'll want to examine the control board for any visible damage or shorted components.
If you find issues, it's essential to test the voltage reaching the broil element and igniter using a multimeter.
This step will help you determine if the control board is working properly or needs replacing.
Inspect Control Board Damage
The control board acts as the brain of your Whirlpool oven, directing power to crucial components like the broil element and igniter. If your oven's broiler isn't working, the control board might be the culprit.
Start by inspecting it for any visible damage, as this can greatly impact functionality. Here's what to look for:
- Burned Components: Check for any areas that appear charred or discolored.
- Shorted Connections: Look for wires that may be frayed or disconnected.
- Corrosion: Inspect for rust or corrosion that could hinder electrical flow.
A defective control board may prevent the broil element from receiving the necessary voltage, resulting in poor performance or complete failure.
If you suspect damage, it's crucial to address the issue immediately. Regular maintenance and inspection can help prevent these problems in the future.
If you find that there's no voltage reaching the broil element or igniter, it may be time to replace the control board. Entering your model number online can help you locate the correct replacement part, ensuring your broiler functions effectively again.
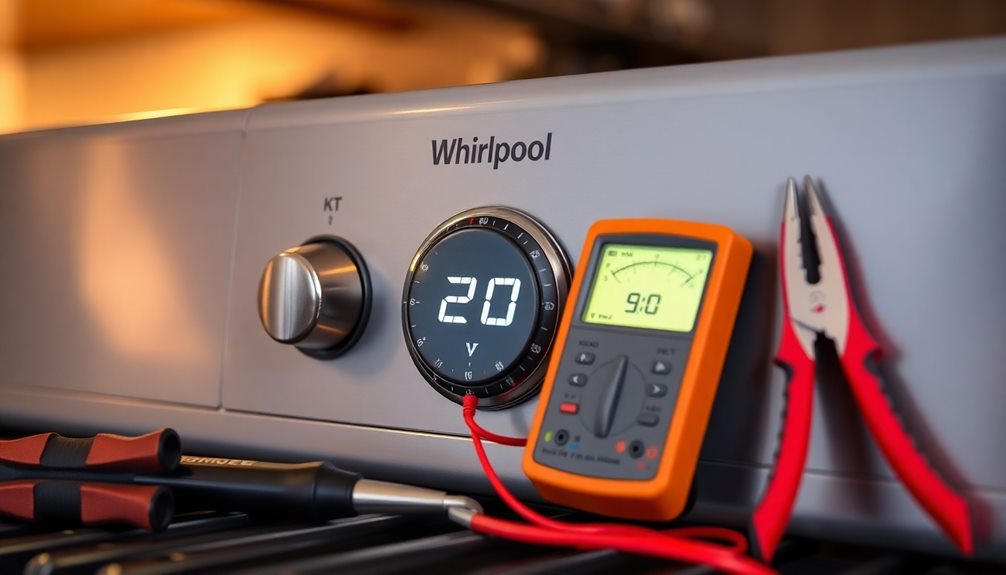
Voltage Testing Procedures
Making certain your Whirlpool oven's broiler operates efficiently hinges on accurate voltage testing of the control board. Start by using a multimeter to measure the voltage at the connections leading to the broil element. When activated, you should expect a reading of 240V. If the voltage is considerably lower or absent, the control board could be malfunctioning.
Next, closely inspect the control board for any visible signs of damage, such as burnt components or corrosion. These issues may indicate a deeper problem that needs addressing.
Additionally, check the continuity of the control board by testing the relays and connections with your multimeter. If you find any lack of continuity, it's a clear sign that the board may be defective.
If the control board fails to send voltage to the broil element, replacing it's necessary to restore functionality. To find the right replacement, use your oven's model number to make sure compatibility with your specific Whirlpool oven.
Spark Electrode Assessment
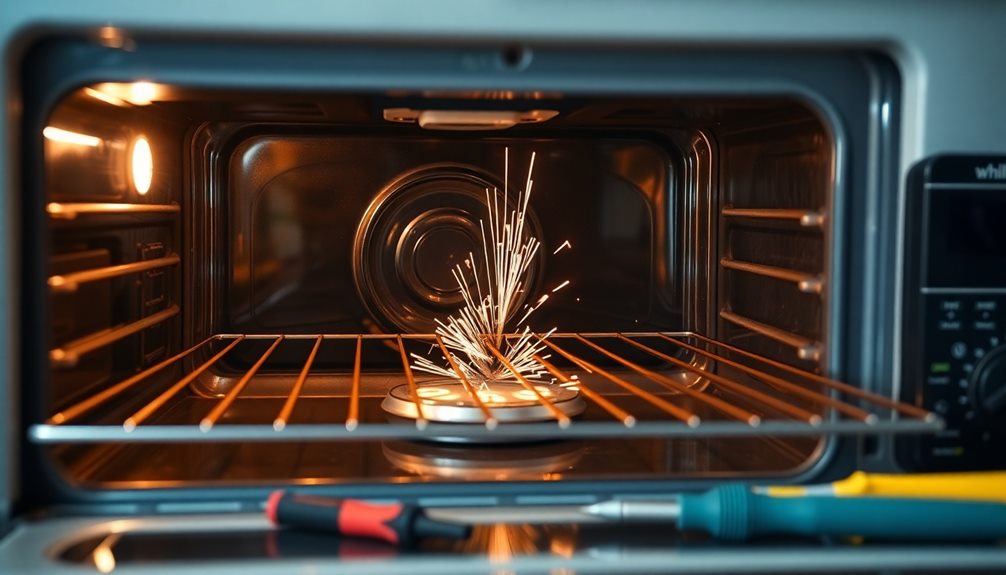
A spark electrode plays an important role in your Whirlpool oven's broiler system, as it's responsible for igniting the gas at the broil burner. If your broiler isn't working, the spark electrode could be the culprit.
To assess its condition, follow these steps:
- Visual Inspection: Check the spark electrode for any visible cracks in the porcelain housing or damage to the electrode tip. These issues can prevent it from functioning properly.
- Grounding and Voltage: Confirm that the electrode is properly grounded and that the voltage polarity is correct. This is crucial for the spark electrode to detect flames and operate safely.
- Spark Production: If the spark electrode is broken or worn out, it may fail to produce a spark, leading to ignition failure. Regularly inspect it to catch any signs of wear before they affect your broiler's performance.
If you need to replace the spark electrode, make sure to use the model number of your Whirlpool oven to find the right part.
Keeping this component in good condition will help guarantee that your broiler works effectively.
Thermostat Testing
How can you tell if the thermostat in your Whirlpool oven is causing broiler issues? If your broiler isn't heating properly, the thermostat might be the culprit. This component regulates the broiler's heating element, and if it's defective, it won't activate the heating element, leading to malfunction.
To test the thermostat, grab a multimeter. You'll want to measure continuity; if you find a lack of continuity, the thermostat is indeed faulty and needs replacing.
Observe the broiler element—if it heats up but the thermostat doesn't activate, that discrepancy signals a problem with the thermostat.
When it comes to finding a replacement, enter your specific model number to ascertain compatibility with your Whirlpool oven.
Regular maintenance and testing of the thermostat can help maintain accurate cooking temperatures and prolong the lifespan of your appliance. By addressing thermostat issues promptly, you can get your broiler back in action and enjoy perfectly cooked meals again.
Don't neglect this important step; a functioning thermostat is key to a reliable broiler.
Repair or Replace Options
After testing the thermostat, you might be wondering whether to repair or replace your Whirlpool oven's broiler. This decision hinges on several factors, such as the age of the appliance and the specific malfunction.
Here's how you can evaluate your options:
1. Age of the Appliance: If your Whirlpool oven is less than 10-15 years old, repairing it's often more cost-effective. Older units may warrant a replacement, especially if they've multiple issues.
2. Cost of Repairs: Common broiler repairs can cost around $270, considerably less than the price of a new range, which often exceeds $800.
Utilize a Repair or Replace Calculator to compare costs effectively.
3. Failure Points: Identify the specific problem areas, like the control board or igniter. Understanding these failure points can help you make an informed repair decision.
Regular maintenance and timely repairs can prolong the life of your Whirlpool oven, so if it's still performing well overall, consider repairing the broiler rather than opting for a new appliance.
Customer Experiences
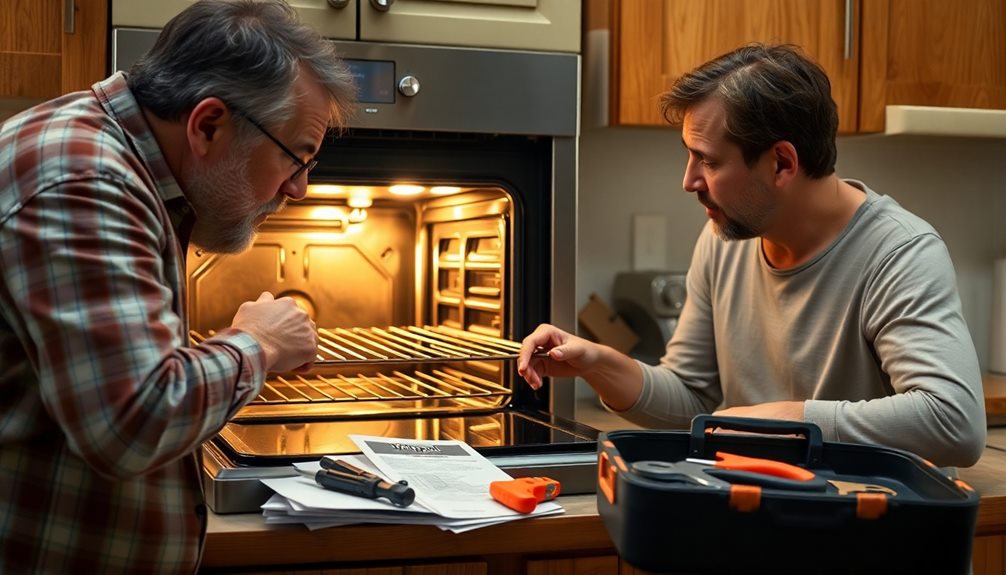
Customer experiences with Whirlpool oven broiler repairs reveal a trend of swift resolutions and effective service. Many users report resolving their issues in just minutes after consulting with appliance experts. This quick turnaround often comes down to accurate diagnostics that skilled technicians provide.
Common failures, such as igniters and control boards, are promptly identified, allowing for efficient repairs. Feedback from customers showcases a high satisfaction rate, with over 1.3 million 5-star reviews highlighting the reliability and competence of repair services associated with Whirlpool.
You'll find that users appreciate the detailed troubleshooting steps shared by experts, which often involve checking specific components like the broil relay and thermostat functionality.
Additionally, community support plays a vital role in enhancing customer experiences. Platforms like Home Improvement Stack Exchange enable users to share their experiences and solutions regarding Whirlpool oven broiler problems, creating a valuable resource for those facing similar issues.
This collective knowledge not only empowers you to troubleshoot effectively but also instills confidence in your ability to manage your appliance. Overall, the positive experiences reported by users underline the effectiveness of timely repairs and accurate diagnostics for the Whirlpool oven broiler.
Expert Consultation Benefits

Utilizing expert consultations can greatly enhance your experience with Whirlpool oven broiler repairs. By reaching out to verified experts, you gain access to a wealth of knowledge that can streamline your troubleshooting process.
Here are three key benefits you'll enjoy:
- Quick Diagnosis: Experienced technicians can quickly identify issues, such as failing igniters or control boards, saving you time and effort in your home appliance repairs.
- Trusted Expertise: With over 30 years of experience, these professionals provide reliable solutions. JustAnswer's rigorous 8-step verification process guarantees that you're receiving advice from qualified experts.
- 24/7 Availability: You can connect with over 12,000 verified experts anytime, ensuring you get assistance when you need it most—no waiting for scheduled appointments.
Customers report high satisfaction rates, with 7,926 users praising the effectiveness and speed of these expert solutions.
When you choose expert consultations, you're not just getting answers; you're investing in a reliable resource that makes tackling your Whirlpool oven issues easier and more efficient.
Trust in verified experts to answer your questions and help you get back to cooking in no time!
Frequently Asked Questions
Why Is My Whirlpool Oven Broiler Not Working?
If your broiler isn't working, check for a burned-out element, a defective igniter, or a malfunctioning control board. Inspect the spark electrode and thermostat too; any issues can prevent proper heating.
Why Did My Broiler Stop Working?
Your broiler might've stopped working due to a burned-out element, defective igniter, malfunctioning control board, damaged spark electrode, or a faulty thermostat. Inspect these components to identify the issue and consider replacements if necessary.
What to Do if Your Oven Can't Broil?
If your oven can't broil, start by inspecting the broil element for damage. Use a multimeter to check continuity, and guarantee the igniter glows. Also, examine the control board and thermostat for issues.
Is There a Reset Button on Whirlpool Ovens?
There isn't a dedicated reset button on Whirlpool ovens. You can reset it by unplugging or turning off the circuit breaker for a few minutes. Check the user manual for model-specific reset functions if available.
Conclusion
If your Whirlpool oven broiler's not working, don't worry—you're not alone. About 30% of oven issues stem from the broiler element, so troubleshooting can save you time and money. By inspecting the broil element, checking the igniter, and testing the thermostat, you can often pinpoint the problem. Whether you choose to repair or replace, getting it fixed means enjoying perfectly broiled meals again. Don't hesitate to consult an expert for peace of mind!