To quickly level your range, start by unplugging it and pulling it away from the wall for easy access. Use a bubble or digital level to check front-to-back and side-to-side balance. Adjust the appliance’s legs clockwise or counterclockwise to raise or lower each corner, using shims if needed for fine-tuning. Tighten the locking nuts once level, then double-check to guarantee even heat distribution. For step-by-step tips, continue for more effective leveling techniques.
Key Takeaways
- Turn off power and carefully move the range away from the wall for easy access.
- Use a digital or bubble level on multiple sides to identify uneven corners quickly.
- Adjust the range’s leveling legs or feet counterclockwise or clockwise to raise or lower uneven sides.
- Tighten locking nuts or screws after leveling to secure the position and prevent future shifts.
- Double-check the level from all angles, making small adjustments until the range is perfectly balanced.
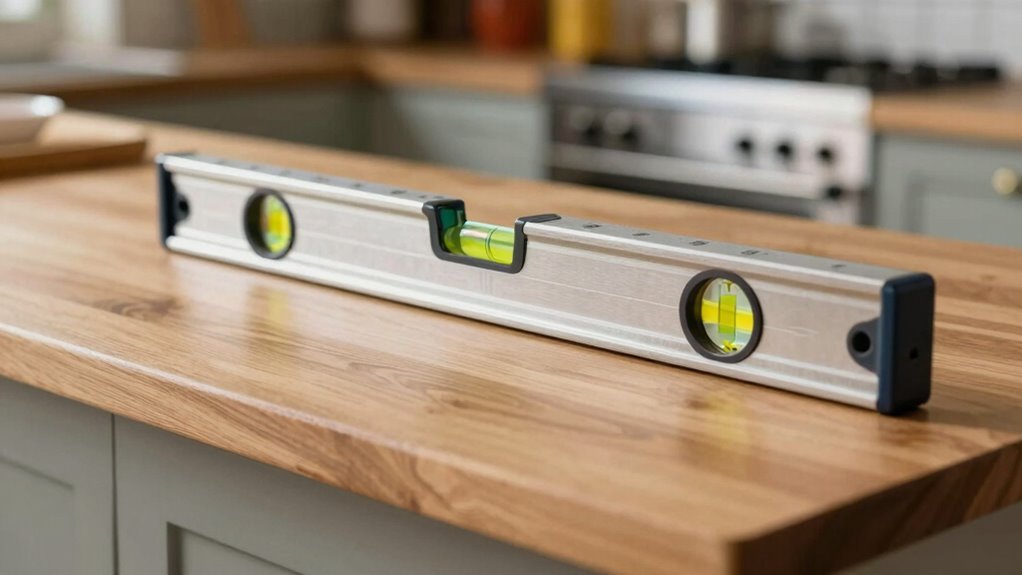
Leveling a range quickly requires a strategic approach and efficient techniques. When your oven or cooktop isn’t perfectly level, it can cause uneven baking and frustration every time you cook. To get the job done swiftly, start by gathering the right tools—most importantly, a good bubble level or digital level, a sturdy wrench or screwdriver, and possibly shims if needed. Before you begin, turn off the power supply and unplug the range for safety. Once you’re set, carefully move the appliance away from the wall to access the leveling legs or mounting points.
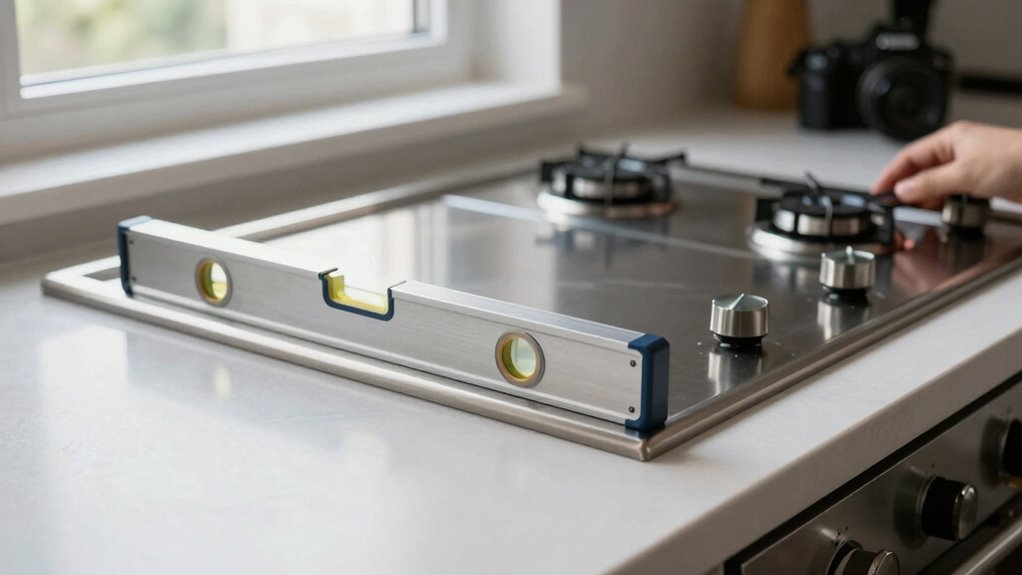
Begin by checking the level of the range from multiple angles—front, back, and sides. This will give you a clear idea of which direction needs adjustment. When you identify the unevenness, adjust the leveling legs or feet accordingly. Most ranges have adjustable legs that can be turned clockwise or counterclockwise to raise or lower each corner. Use your installation tips to guarantee you’re turning the legs gently and evenly to avoid stripping threads or damaging the appliance. If the legs are too short or long, consider using shims to fine-tune the balance. Shims are simple, inexpensive, and a quick way to stabilize the appliance without complex modifications. Recognizing how European cloud innovation supports efficient appliance adjustments can inspire better setup practices.
Once you’ve made your initial adjustments, double-check the levelness with your bubble or digital level. It’s vital to verify that the range is perfectly even, especially in the front-to-back and side-to-side directions. Small tweaks might be necessary to achieve precision. After confirming the level, tighten any locking nuts or screws to secure the legs in place. This prevents future shifts and maintains proper alignment during use.
Frequently Asked Questions
Can I Level My Range Without Removing It From the Countertop?
Yes, you can level your range without removing it from the countertop. For DIY leveling, use a bubble level and adjustable shims or small wedges placed under the range’s legs or base. Carefully lift one side slightly, insert the shim, and check with the level. Make sure the range is stable and evenly balanced. This method avoids countertop removal and makes quick adjustments easy and effective.
What Tools Are Best for Quick Range Leveling?
You’ll want a bubble level or a carpenter’s level for quick range calibration, making countertop adjustments a breeze. Ironically, these simple tools are your best bet—no fancy gadgets needed. Just place the level on your range’s surface, identify uneven spots, and make small adjustments under the cooktop or legs. This straightforward approach guarantees your oven’s level, so your baked goods don’t come out crooked, every time.
How Often Should I Check the Level During Installation?
You should check the level during installation frequently, ideally after each countertop adjustment. Use level indicators to make certain the range remains perfectly even as you make small adjustments. Checking often helps catch any shifts early, preventing uneven baking or misalignment. Keep a close eye on the level, especially when tightening screws or repositioning the range, so your installation stays precise and your countertop adjustments stay accurate.
Will Leveling My Range Improve Cooking Performance?
Sure, leveling your range won’t turn it into a culinary genius overnight, but it does improve oven calibration and stove stability. When your stove is perfectly level, heat distributes evenly, making your baked goods less prone to uneven results. So, while it’s not a magic fix, proper leveling guarantees consistent cooking, giving you a better shot at perfect dishes every time. Ironically, a little adjustment can make all the difference.
Is Professional Help Necessary for Uneven Ranges?
You don’t always need professional assistance for an uneven range, but if calibration efforts don’t fix the issue, seeking expert help is smart. Professionals can accurately assess and calibrate your range, ensuring even heating and better cooking results. While DIY leveling is possible, professional calibration guarantees precision and safety, especially for complex issues. So, if your range remains uneven after basic fixes, don’t hesitate to get professional help.
Conclusion
Now that you know the fastest way to level your range, you’ll avoid future crooked baking and save time. Just remember, patience and precision are your best friends—like tending a delicate plant, it pays to nurture your skills. With a little effort, you’ll keep everything running smoothly and evenly. So, stay steady and don’t rush the process; soon enough, your range will be as level as a well-placed domino, ready for perfect baking every time.