To keep your range sparkling, start by cleaning it after every use. Use warm soapy water or a baking soda mixture for light grime. For tougher stains, a paste of baking soda and vinegar works wonders—let it sit before scrubbing. Don't forget to remove stovetop grates and soak them in hot, soapy water. Use safe, non-toxic products whenever possible, and consult your appliance manual for specific instructions. Additionally, consider utilizing the self-cleaning feature occasionally. Regular maintenance not only keeps your range looking great, but also guarantees it operates safely and efficiently, leading to an even more enjoyable cooking experience.
Key Takeaways
- Regularly clean your range to prevent grease buildup, enhancing safety and longevity.
- Use a mixture of baking soda and vinegar to effectively tackle stubborn stains.
- Utilize natural cleaning solutions to avoid harsh chemicals while maintaining cleanliness.
- Take advantage of self-cleaning features by following the manufacturer's instructions for optimal results.
- Keep essential cleaning supplies on hand, such as non-abrasive sponges and specialty cleaners for specific surfaces.
Importance of Regular Cleaning
Cleaning your range regularly is essential for both safety and efficiency in the kitchen. When you prioritize cleaning your oven after each use, you prevent the buildup of grease and grime that can lead to fire hazards.
Establishing a cleaning schedule not only keeps your range looking great but also makes maintenance manageable, especially in busy households. Regular cleaning also supports a healthier lifestyle by promoting cleanliness and hygiene, which is vital for reducing allergens and pollutants in your home.
A clean stove enhances the overall aesthetics and hygiene of your kitchen, creating an inviting space for cooking and entertaining.
Regular cleaning contributes to your range's longevity by preventing wear and tear from accumulated dirt and grease. Plus, you'll reduce allergens and airborne particles, promoting a healthier environment for you and your family.
Safety Precautions Before Cleaning
Before diving into your cleaning routine, make sure you take necessary safety precautions to protect yourself and your home. Cleaning your range can involve harsh chemicals, so it's vital to prepare properly. Here are some key safety steps to follow:
- Turn Off the Range: Always make certain your range is completely cool and turned off before you start cleaning. This helps prevent burns and injuries.
- Wear Rubber Gloves: Protect your hands by wearing rubber gloves. This shields your skin from harsh cleaning chemicals and keeps your hands clean.
- Ensure Proper Ventilation: Open windows or use exhaust fans to maintain proper ventilation. This helps avoid inhaling fumes from cleaning products, making the process safer.
- Remove Large Debris: Clear the range surface of any large food debris before applying cleaning solutions. This enhances the effectiveness of your cleaning and prevents scratching.
Taking these safety precautions won't only make your cleaning process smoother but also protect you and your home.
Choosing the Right Cleaning Products
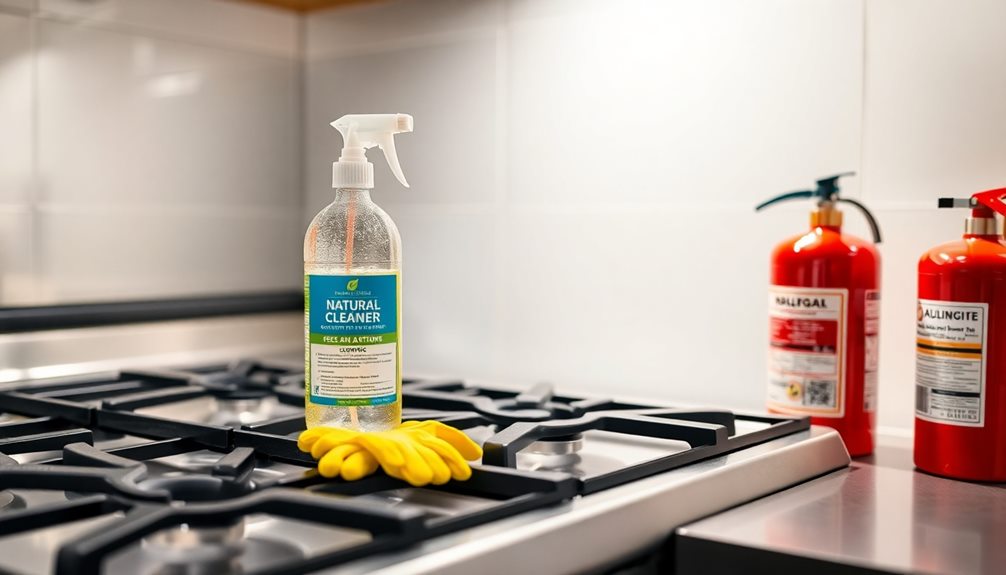
Selecting the right cleaning products is essential for maintaining your range without causing damage. Start by prioritizing products that lack harmful chemicals. You can consult resources like the Environmental Working Group for safer options that won't compromise your health or your appliance's integrity.
Always refer to your appliance's manual for specific cleaning recommendations, which can help you avoid damaging sensitive surfaces and components.
For everyday cleaning, consider using household items like baking soda and vinegar. These are effective and safe cleaning hacks that can tackle most messes without harsh chemicals.
If you encounter stubborn grime, you might need to move on to more powerful commercial cleaners, but always use them as a final option.
For specialized surfaces, like glass-top ranges, look for specialty cleaners such as Weiman Glass Top Cleaner or EZ Brite Glass & Ceramic Cooktop Cleaner.
Effective Cleaning Techniques
Once you've chosen the right cleaning products, it's time to put them to work with effective techniques that'll keep your range looking its best.
Here are some tried-and-true methods to help you clean and remove grime effectively:
- Quick Clean: For light grime, use warm soapy water or a baking soda mixture to scrub surfaces. This will make quick work of everyday messes.
- Tackle Stubborn Stains: Create a baking soda and vinegar mixture for those burnt-on food spots. Let it sit for 5-10 minutes before scrubbing with a non-abrasive sponge to lift the stains.
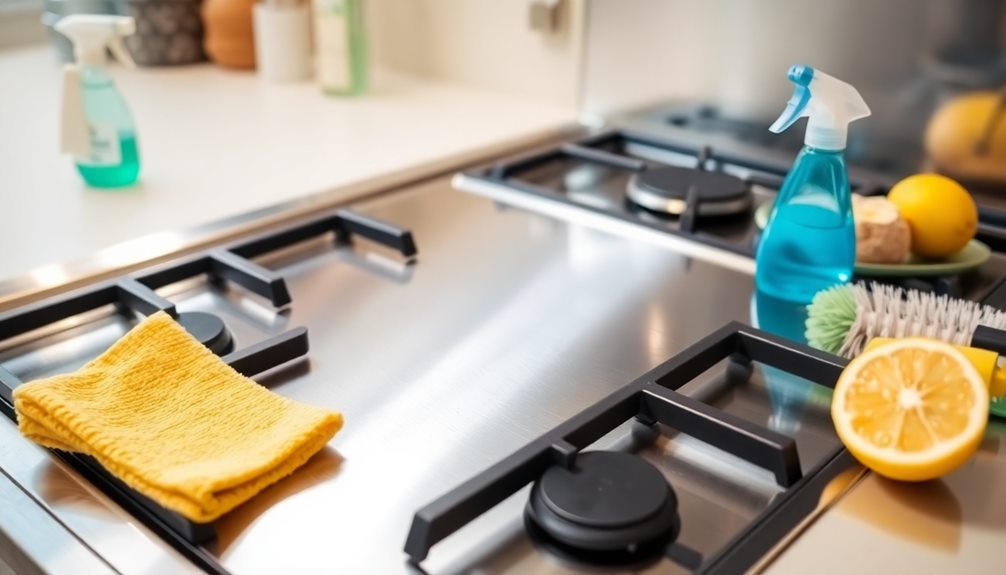
- Gas Stovetop Grates: Remove the grates and soak them in hot, soapy water. After soaking, use a stiff brush to scrub away any stubborn residue before rinsing thoroughly and letting them air dry.
- Glass and Induction Stovetops: Sprinkle baking soda on the surface, then spray with white vinegar for a fizzing reaction. Wipe down with a damp cloth for a streak-free finish.
Always consult your appliance manual for specific recommendations and avoid harsh chemicals that can damage your range.
Utilizing Self-Cleaning Features
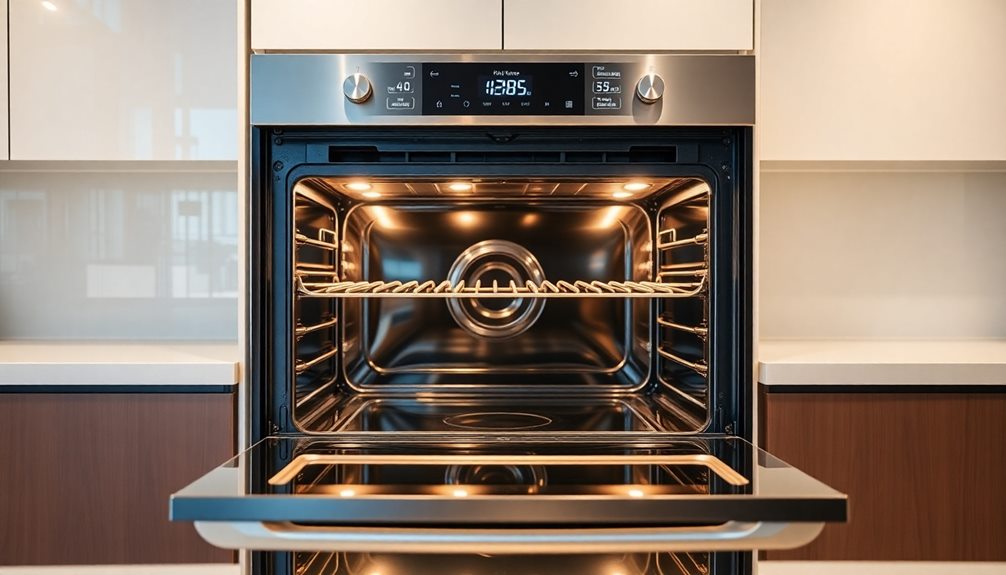
When you're ready to use your oven's self-cleaning feature, make certain to prepare by removing all items and racks first.
It's also important to guarantee good ventilation during the process to manage smoke and odors.
After the cycle, don't forget to wipe away the ash residue once the oven has cooled down.
Preparing for Self-Cleaning
How can you guarantee a smooth self-cleaning process for your oven? Preparing properly can make all the difference. Here are some essential steps to follow before you activate the self-cleaning cycle:
- Empty the Oven: Remove all racks, pans, and aluminum foil. Leaving items inside can damage them or your oven.
- Scrape Away Debris: Before starting the cycle, scrape off encrusted food and large debris. This not only enhances the effectiveness of the self-cleaning cycle but also minimizes smoke production.
- Check Manufacturer's Instructions: Each oven model may have specific settings and durations for the self-cleaning cycle. Always refer to the manufacturer's instructions to avoid issues.
- Wipe Down After Cleaning: Once the self-cleaning cycle is complete and the oven has cooled down, wipe down the interior with a damp cloth. This step removes any remaining ash or residue, leaving your oven spotless.
Ventilation During Process
After preparing your oven for the self-cleaning cycle, it's important to verify proper ventilation during the process. This step helps dissipate the smoke and fumes generated by the high heat used in cleaning. Open windows or turn on your kitchen exhaust fans to verify a steady flow of fresh air while the cycle is active. This will keep your kitchen environment safer and more comfortable.
If you have an air purifier, consider using it to enhance air quality further. The air purifier will filter out any lingering particulates or odors that might arise during self-cleaning.
Just remember to avoid placing any items on top of the oven or nearby that could be damaged by heat or smoke during this cycle.
Once the self-cleaning is complete, wait until the oven has completely cooled down before reopening it. This precaution helps prevent burns and allows any residual odors to dissipate safely.
Post-Cleaning Maintenance Tips
Utilizing your oven's self-cleaning feature is just the first step; maintaining it post-cleaning guarantees it continues to perform efficiently.
After running the self-cleaning cycle, let your oven cool completely. Then, use a damp cloth to wipe down the interior, removing any residual ash and grime. This simple step helps keep your oven in top shape.
Here are some essential maintenance tips to follow:
- Check the oven door seal: Regularly inspect and clean it to verify it's intact. A compromised seal can lead to heat loss and inefficiency.
- Schedule self-cleaning sessions: Depending on how often you cook, plan to run the self-cleaning feature every few months to maintain cleanliness.
- Keep vents clear: Verify that the oven's vents are free from debris to prevent overheating and allow proper ventilation during the self-cleaning process.
- Refer to the manual: Always consult your oven's manual for specific instructions regarding the self-cleaning feature to avoid damaging your appliance.
Essential Tools and Supplies

When it comes to cleaning your range, having the right tools and supplies can make all the difference. Start with essential supplies like baking soda and white vinegar; these natural cleaners effectively tackle grease and grime.
Air purifiers can also enhance your cleaning environment by reducing allergens and pollutants, making it easier to maintain a clean kitchen improving indoor air quality. You'll also want some liquid soap and a non-abrasive sponge to avoid scratching surfaces while scrubbing away dirt.
For those specific surfaces, consider investing in specialty cleaners, like EZ Brite Glass & Ceramic Cooktop Cleaner, to guarantee excellent results without damaging your range. An old toothbrush proves handy for reaching tight spaces and crevices where dirt accumulates, making it a valuable addition to your toolkit.
Don't forget plastic pan scrapers; they're perfect for lifting stubborn food residues on glass top stoves without scratching.
As you gather your cleaning supplies, always remember to keep them out of reach of children. Additionally, maintain proper ventilation when using chemical cleaners to uphold safety during your cleaning process.
With these essential tools and supplies in hand, you'll be well-equipped to keep your range sparkling clean and ready for your next culinary adventure!
Benefits of a Clean Kitchen

A clean kitchen boosts your hygiene standards, keeping harmful bacteria at bay.
Additionally, fostering a digital-friendly environment at home can enhance your family's cooking experiences and creativity.
When everything is organized and tidy, you'll notice improved cooking efficiency, making meal prep a breeze.
Plus, a welcoming atmosphere encourages you to whip up meals and share them with family and friends.
Enhanced Hygiene Standards
Maintaining a clean kitchen not only enhances hygiene standards but also creates a healthier cooking environment.
By regularly cleaning your kitchen, you greatly reduce the presence of allergens and airborne particles, which helps minimize allergy symptoms for sensitive individuals. A hygienic space not only protects your health but also makes cooking more enjoyable.
Here are some benefits of keeping your kitchen clean:
- Reduced Bacteria: Regularly cleaning surfaces, including your range, prevents the growth of harmful bacteria, ensuring food safety and reducing the risk of foodborne illnesses.
- Healthier Cooking Environment: A clean kitchen promotes a space where you can focus on meal preparation without worrying about allergens or contamination.
- Inviting Atmosphere: A sparkling kitchen encourages family and friends to join in on meal prep, fostering a sense of community while cooking.
- Mental Well-being: Studies show that a clean kitchen can positively influence your mental state, reducing stress and enhancing your overall satisfaction in the cooking process.
Improved Cooking Efficiency
Keeping your kitchen clean can substantially boost your cooking efficiency. When you regularly clean your stove and surfaces, you minimize the buildup of grease and grime that can affect appliance performance. This means your food cooks more evenly and efficiently, saving you time and frustration.
A tidy kitchen helps you quickly find utensils and ingredients, streamlining your cooking process. Less time spent searching translates to more time enjoying your culinary creations. Plus, maintaining cleanliness reduces the risk of cross-contamination, promoting safer cooking practices and keeping your meals healthy for you and your family.
Moreover, a clean environment enhances focus and creativity while cooking. A clutter-free space allows you to concentrate on your recipes without distractions, leading to a more enjoyable experience.
Regularly cleaning your cooking surfaces and appliances not only improves efficiency but can also extend their lifespan, saving you money on repairs or replacements down the line.
Ultimately, embracing these cleaning habits fosters improved cooking efficiency, transforming your kitchen into a well-oiled machine where delicious meals come to life effortlessly. So, roll up your sleeves and get started on that cleaning routine!
Inviting Atmosphere Creation
Creating an inviting atmosphere in your kitchen starts with cleanliness. A clean kitchen not only enhances hygiene but also helps reduce allergens and airborne particles, leading to a healthier cooking environment.
When your space is tidy, it becomes more welcoming for guests, encouraging social gatherings and fostering a sense of community around meal prep.
Here are four benefits of maintaining a clean kitchen:
- Boosted Efficiency: An organized kitchen makes it easier to find ingredients and tools, promoting a more enjoyable cooking experience.
- Reduced Stress: A clean kitchen can improve your mental well-being, minimizing anxiety associated with clutter and mess.
- Good Habits: Regular cleaning instills a sense of pride in your cooking space, encouraging more frequent meal preparation at home.
- Inviting Atmosphere: A sparkling kitchen creates a warm and inviting atmosphere, making it a perfect spot for family and friends to gather.
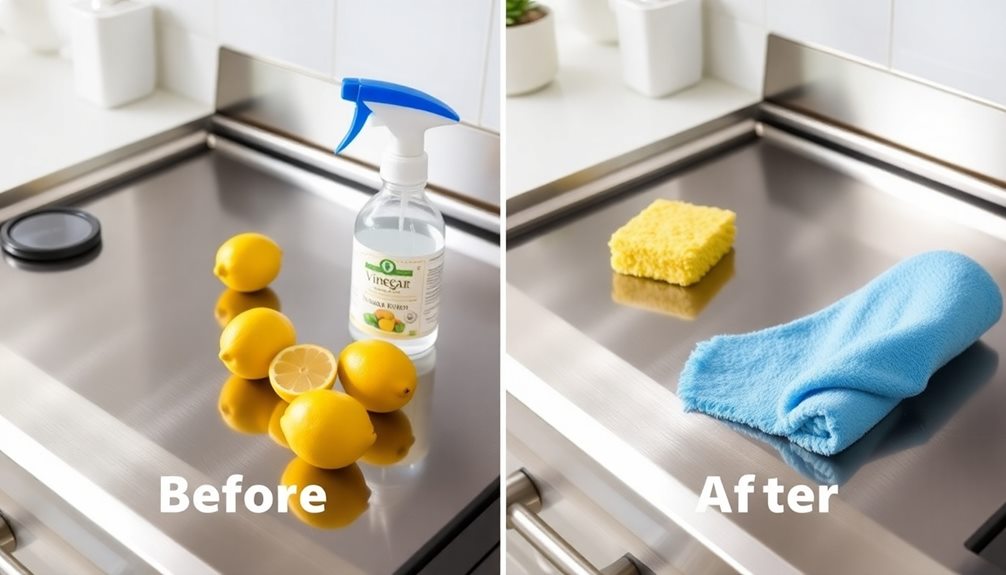
Natural Cleaning Solutions

When it comes to cleaning your range, natural solutions can be both effective and safe for your home. One great combination is baking soda and vinegar. Create a paste with these two ingredients and apply it to tough stains. Let it sit for 5-10 minutes before scrubbing, and you'll see oil and grease dissolve away.
For a fresh scent, mix baking soda with fresh lemon juice. This not only helps lift dirt but leaves your kitchen smelling delightful.
Another effective method involves table salt, hot water, and vinegar. Combine these to create a natural antibacterial cleaner. Apply it to surfaces and let it sit for 15-20 minutes to maximize its cleaning power.
If you have cooked-on residues, pour boiling water over them to soften the grime. This makes it easier to wipe away tough stains without needing harsh chemicals.
Deep Cleaning Stovetop Grates
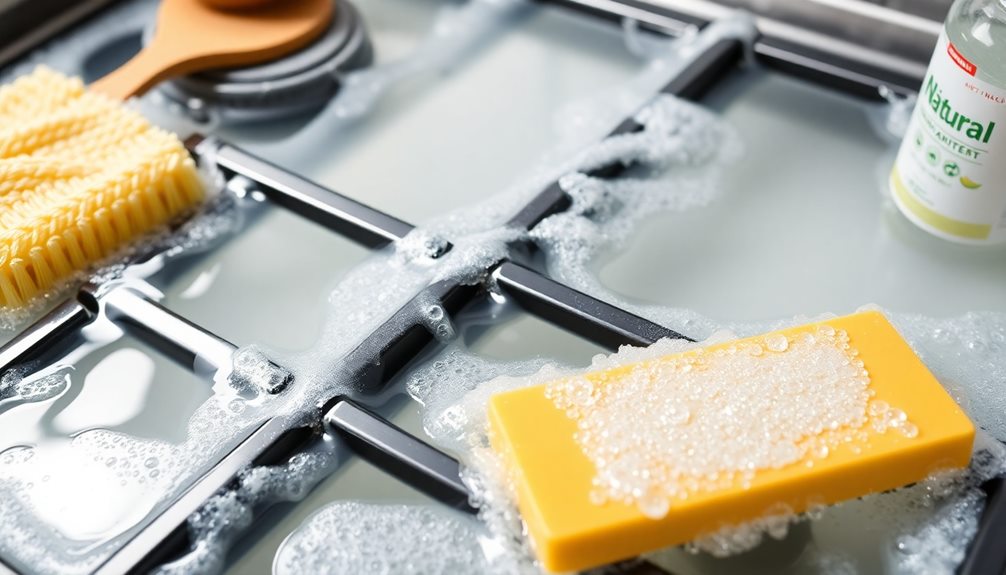
To keep your stovetop grates in top shape, start by soaking them in hot, soapy water to loosen any stubborn grease and food.
For tougher grime, a baking soda and vinegar paste works wonders, making scrubbing easier.
Once cleaned, rinse thoroughly and let them air dry before putting them back on your range.
Soaking Method Explained
Cleaning your stovetop grates can feel like an intimidating task, but using the soaking method makes it much easier. By soaking the grates, you loosen the grease and food residue, allowing for a more effective clean. Here's how to do it:
- Remove the grates: Take the grates off your stove and place them in a large basin or sink.
- Prepare the soaking solution: Fill the basin with hot, soapy water. For added cleaning power, mix in a solution of baking soda and vinegar to help break down tough grime and eliminate odors.
- Soak: Let the grates soak for several hours or overnight. This soaking time is essential for loosening stuck-on debris.
- Scrub and rinse: After soaking, scrub the grates with a stiff brush or sponge, making sure to get into all the corners. Rinse them thoroughly with hot water to wipe away any soap residue, then dry them completely to prevent rust.
Don't forget to check your stove's owner's manual for specific cleaning guidelines related to your grates!
Effective Cleaning Solutions
There's no denying that stubborn grease and grime can make stovetop grates look worn and dirty. To tackle this issue effectively, start by soaking the removable grates in a mixture of warm soapy water overnight. This helps to loosen that tough grease and grime, making your cleaning job much easier.
Once you're ready to clean, create a paste using baking soda and vinegar. Apply this paste generously on the grates, focusing on any areas with heavy residue. Let it sit for about 10-15 minutes to break down the grime.
After that, grab a stiff brush or sponge and scrub the grates thoroughly, paying close attention to hard-to-reach spots. Once you've scrubbed off all the grease and food particles, rinse the grates with clean water to wash away any remaining cleaning solution residue. This step is essential to help prevent corrosion.
Drying and Reinstallation Tips
After you've scrubbed your stovetop grates and rinsed them thoroughly, it's crucial to confirm they're completely dry before reinstalling. Moisture can lead to rust or corrosion over time, which could damage your grates.
Follow these tips for effective drying and reinstallation:
- Air Dry: Place the grates on a clean, dry towel or drying rack. Allow them to air dry completely, which might take a few hours.
- Check for Moisture: Before reinstalling, inspect each grate for any remaining moisture. Use a clean cloth to wipe them down if necessary.
- Apply Oil: For added shine and protection, consider applying a light coat of cooking oil to cast-iron grates after they've dried. This helps prevent rust.
- Reinstall Carefully: Refer to your owner's manual for guidance on proper placement. Reinstall the grates in their original positions to guarantee safety and functionality during cooking.
Maintaining Your Range Top

A clean range top not only enhances the look of your kitchen but also guarantees safe cooking practices. To maintain your range top effectively, make it a habit to clean it after each use. This helps prevent the buildup of grease and grime, which can create fire hazards and detract from your kitchen's appeal.
For gas stoves, start by removing the grates and burner caps. Soak these in hot, soapy water while you tackle the surfaces. A mixture of vinegar and baking soda works wonders for heavy grease removal—just apply it, let it sit for a few minutes, and then scrub away.
If you have an electric stovetop, soak the drip pans in the vinegar-baking soda solution for 10-15 minutes. Wipe the coils with a damp cloth before heating them to loosen any stuck debris.
For glass and induction tops, the fizzing action of baking soda and vinegar can lift stubborn stains, making cleanup easier.
Lastly, establish a regular cleaning schedule to keep your range top sparkling. Consistent upkeep minimizes the need for extensive cleaning sessions and extends your appliance's lifespan.
Frequently Asked Questions
How Do I Make My Stove Top Sparkle?
To make your stovetop sparkle, sprinkle baking soda, then spray white vinegar for a fizz. For tough stains, create a paste with baking soda and water, let it sit, then scrub with a non-abrasive sponge.
How to Get Your Oven Sparkling Clean?
Your oven's like a canvas, waiting for your touch. Start by clearing debris, then mix baking soda and vinegar for a sparkling finish. With patience, you'll transform it into a gleaming masterpiece, ready for culinary magic.
How Do I Keep My Oven Clean After Cleaning?
To keep your oven clean after cleaning, wipe down surfaces with a damp cloth after each use, tackle spills immediately, and utilize the self-cleaning feature regularly. Inspect monthly to catch any issues early.
How Do I Keep My Range Top Clean?
You wouldn't want your range top to resemble a greasy battlefield, right? So, wipe it down after each use, tackle spills immediately, and set a weekly cleaning date to keep it shining like new!
Conclusion
Keeping your range clean not only enhances your kitchen's appearance but also improves its efficiency. Did you know that a dirty stove can reduce its cooking performance by up to 20%? By regularly cleaning and utilizing effective techniques, you guarantee your range stays in top shape while minimizing fire hazards. So, grab your cleaning supplies and make it a habit! A little effort goes a long way in maintaining a sparkling kitchen and a safer cooking environment.