
To set up smart leak detectors near appliances, first identify high-risk spots like under sinks, water heaters, and behind washers or dishwashers. Clear the area of clutter and prepare flat, stable surfaces for installation. Follow manufacturer instructions to position the detectors close to water sources, connect them to your smart home system, and test their response. Regular maintenance and ensuring proper placement will maximize their effectiveness—continue exploring to learn more about perfecting your setup.
Key Takeaways
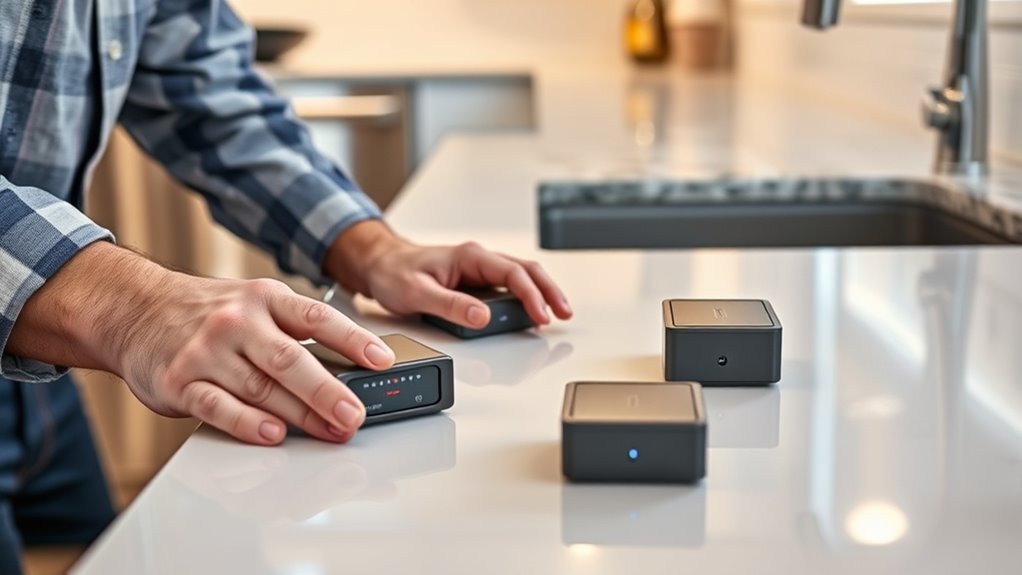
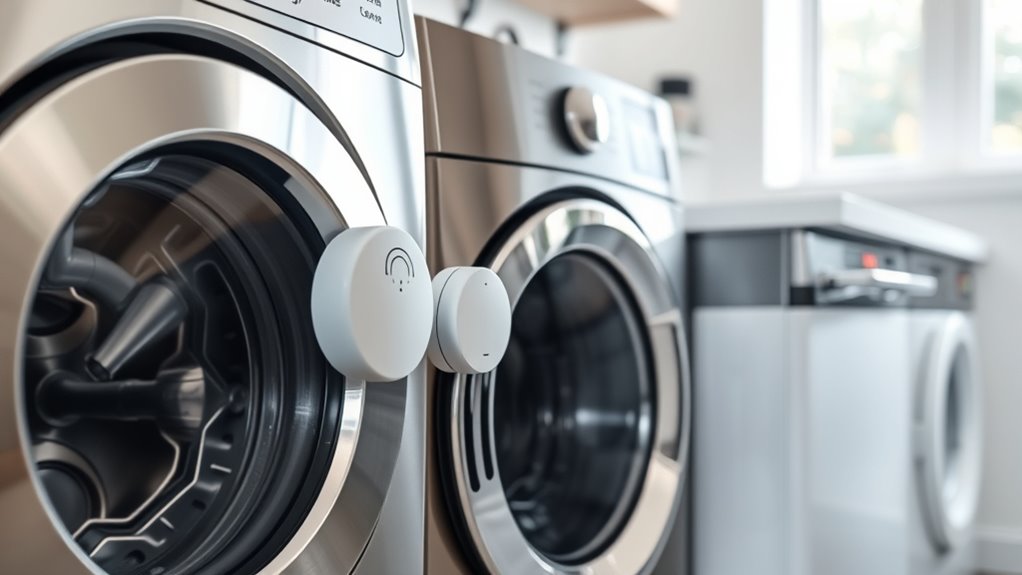
- Position detectors close to water sources and appliances prone to leaks, within a few inches for quick detection.
- Mount on flat, stable surfaces near the appliance’s base, ensuring sensors are unobstructed and accessible.
- Clear surrounding clutter and verify no pipes, wiring, or fixtures hinder proper placement or cause false alarms.
- Connect detectors to your smart home system following manufacturer instructions, ensuring compatibility and proper setup.
- Test the detectors regularly by activating self-test features and simulating leaks to confirm responsiveness.
Choosing the Right Smart Leak Detectors for Your Home
Choosing the right smart leak detector for your home involves evaluating your specific needs and the areas most vulnerable to water damage. Start by considering the types of appliances and pipes that are prone to leaks, like washing machines, water heaters, or under sinks. Think about the size of the space and whether the device needs to cover multiple areas or just one spot. Look for detectors with reliable sensors that can detect small leaks early. Compatibility with your existing smart home system is also essential. Choose detectors with clear alerts—beeping, app notifications, or both—that guarantee you’re promptly informed. Additionally, consider ease of installation and maintenance, so you can set it up quickly and keep it functioning properly. Moreover, selecting reliable sensors that can accurately detect even minor leaks will enhance your home’s water safety, especially when paired with accurate detection technologies. Incorporating detectors with advanced alarm systems can further ensure you are notified immediately of any water issues, while also considering features like wireless connectivity for seamless integration. Proper placement in high-risk areas and periodic testing can further improve the effectiveness of your leak detection system.
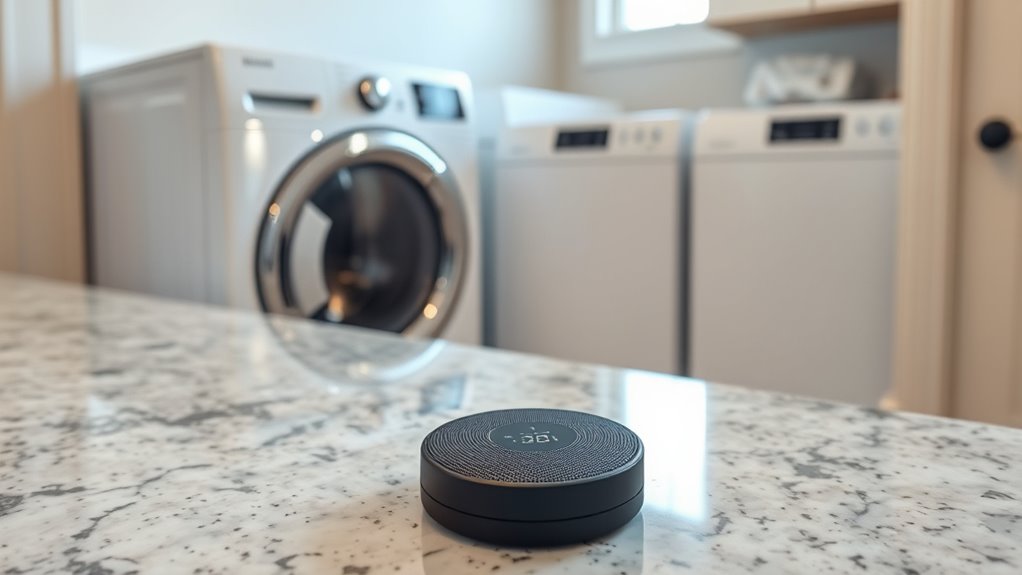
Identifying Optimal Locations Near Appliances
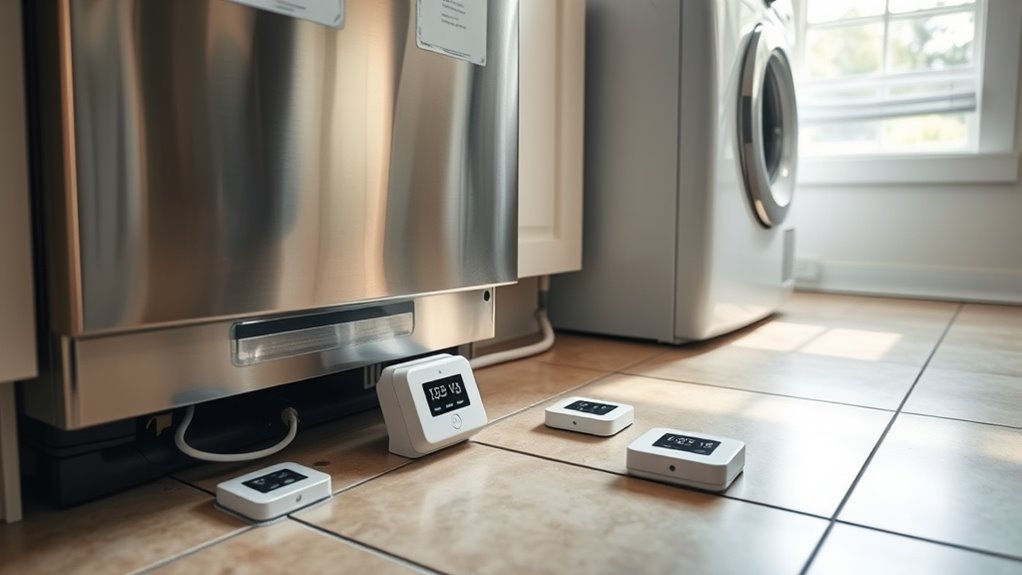
To get the best protection, place leak detectors close to water sources like under sinks or near water heaters. Make certain they’re not in high-traffic areas where accidental bumps could cause false alarms. Proper placement helps ensure you’re alerted quickly and accurately to leaks. Additionally, consider placing them near natural ventilation points to prevent accumulation of moisture and improve air quality, which can also help in early leak detection. Being aware of water safety tips can further protect your home from potential water damage and enhance the effectiveness of your leak detection system. For example, understanding the importance of digital literacy can help families navigate home automation and smart device setup effectively.
Proximity to Water Sources
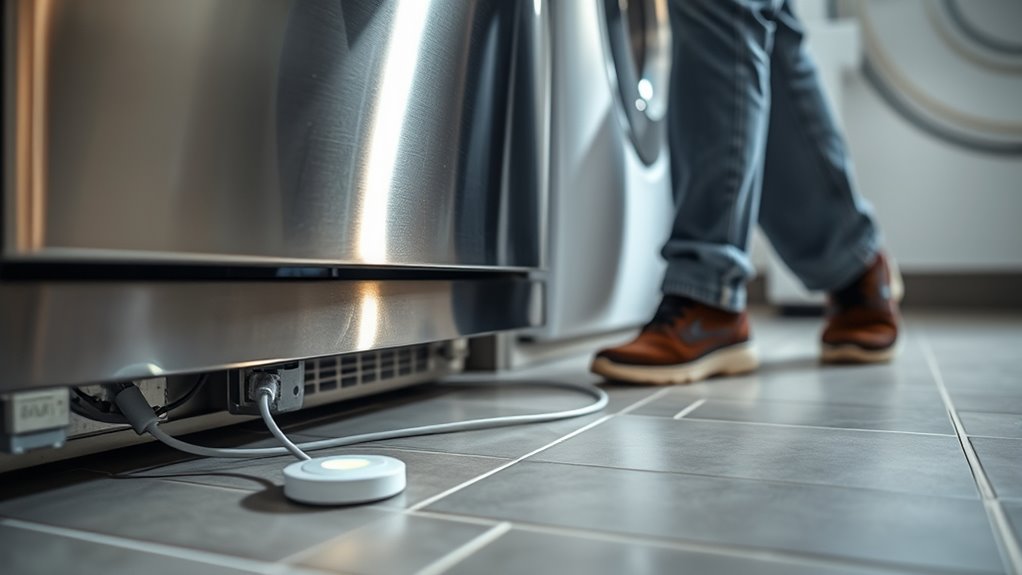
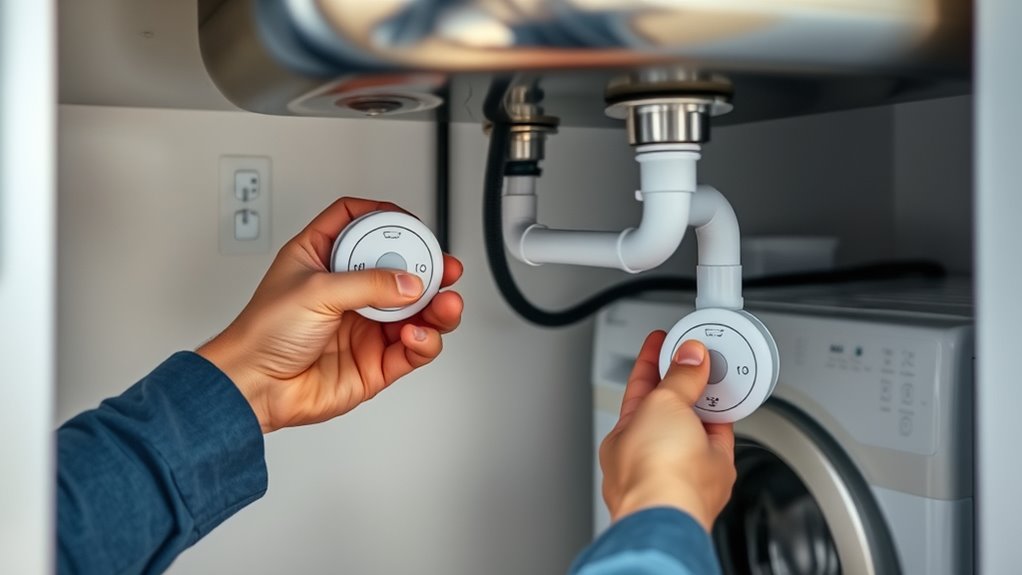
Placing smart leak detectors close to water sources guarantees they can quickly detect leaks before water causes significant damage. Focus on areas where water is most likely to escape, such as under sinks, behind appliances, and near water heaters. Position detectors on the floor or just above the base of these appliances, ensuring they’re within easy reach for maintenance and testing. Avoid placing them too far away from the source, as delayed detection can lead to costly water damage. Keep in mind that water flows downhill, so placing detectors at lower points beneath potential leak zones increases the chance of early detection. By positioning detectors strategically near water sources, you maximize their effectiveness and protect your home from costly water damage.
Avoiding High-Traffic Areas
While it might seem convenient to install smart leak detectors in busy areas, doing so can cause frequent false alarms and make maintenance inconvenient. To avoid this, choose locations away from high-traffic zones. Consider these tips:
- Place detectors in quiet spots near appliances, not hallways or busy kitchens.
- Avoid areas with heavy foot traffic or frequent activity, which can trigger false alerts.
- Keep detectors away from vents or windows that cause drafts, affecting sensor accuracy.
- Select spots where the detector won’t be accidentally bumped or obstructed.
- Be mindful of privacy policies that govern data collection and device operation in your chosen locations.
- Ensure the detector placement aligns with home safety guidelines to maximize effectiveness and safety.
- Regularly review your detector placement to ensure optimal performance and avoid unnecessary false alarms.
- Proper placement is essential to prevent sensor malfunctions and maintain reliable leak detection, especially since consistent attention to placement enhances the detector’s accuracy and durability.
Preparing the Installation Area
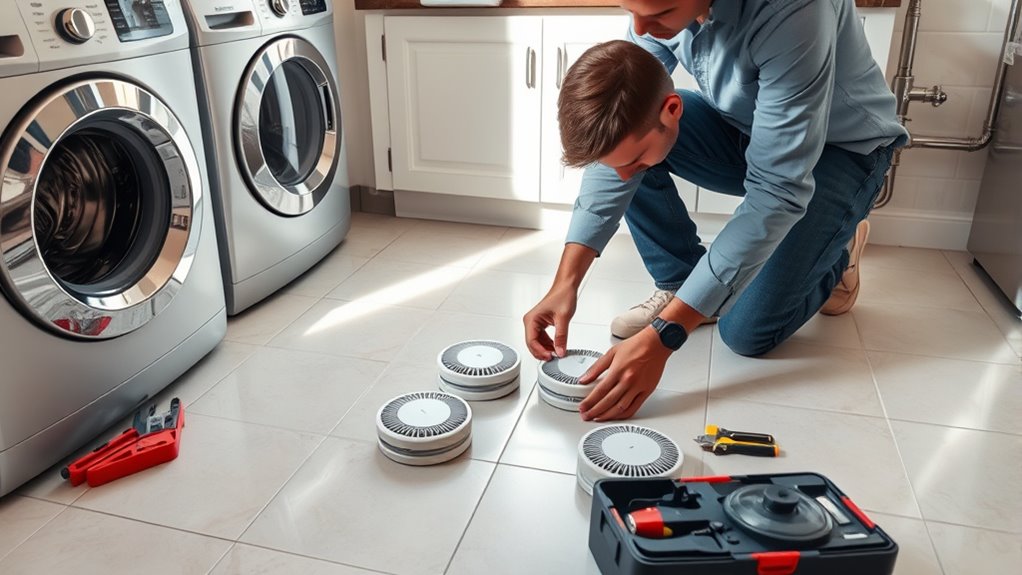
Before installing your smart leak detector, you need to prepare the area properly. Clear the workspace to make certain you have enough room to work safely and efficiently. Also, check for any obstructions that might interfere with the detector’s placement or accessibility. Consider effective placement techniques that emphasize the importance of adaptability and careful planning in changing environments. Incorporating organized space principles can help ensure the area remains accessible and clutter-free during installation.
Clear Workspace Preparation
To guarantee a smooth installation, you should first clear the area around the appliance where you’ll install the leak detector. This ensures you have enough space to work comfortably and prevents accidental damage.
Here’s what to do:
- Remove any clutter, tools, or objects near the installation site.
- Clear away any loose wires or cords that could interfere.
- Ensure the surface is flat and stable for secure mounting.
- Check that there’s adequate lighting to see what you’re doing.
Taking these steps will make the process safer and more efficient. A tidy workspace reduces the risk of mishaps and helps you focus on proper placement. Once the area is prepared, you can proceed with confidence to install your leak detector correctly.
Check for Obstructions
Have you checked the area for any obstructions that could interfere with installing your leak detector? It’s important to clear the space around the installation site. Remove any objects, clutter, or debris that could block access or interfere with sensor placement. Ensure there’s enough room for the detector to be mounted securely and for the device to function properly. Check for pipes, wiring, or other fixtures that might hinder installation or cause false alarms. If the area is crowded or cluttered, rearrange items or create a clear, open space. This ensures your leak detector can be installed correctly and works effectively. Taking a few moments to clear obstructions now prevents issues later and guarantees excellent leak detection performance.
Installing the Leak Detectors Correctly
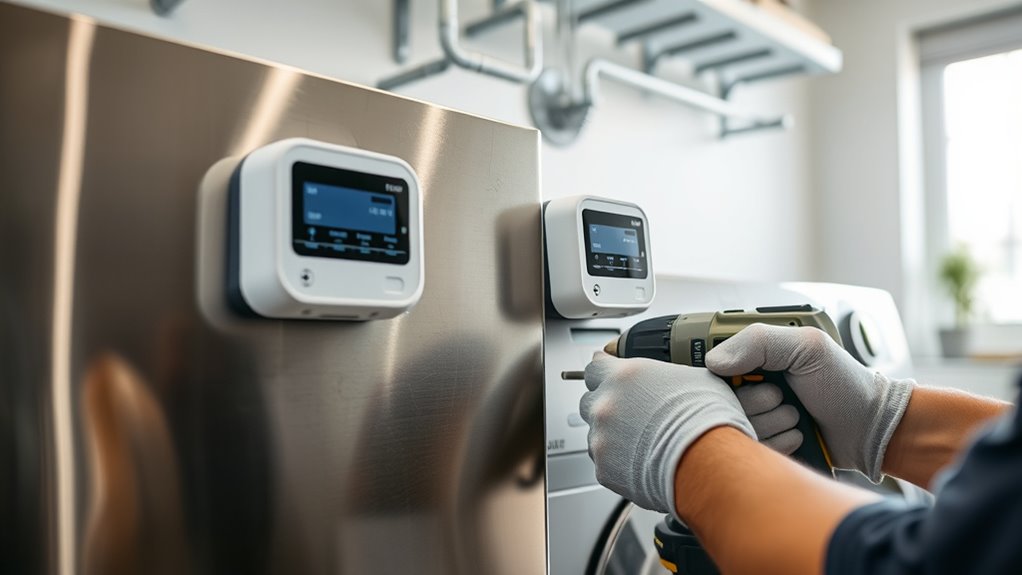
Properly installing leak detectors near appliances is essential to guarantee they function effectively when needed. To do this, follow these steps:
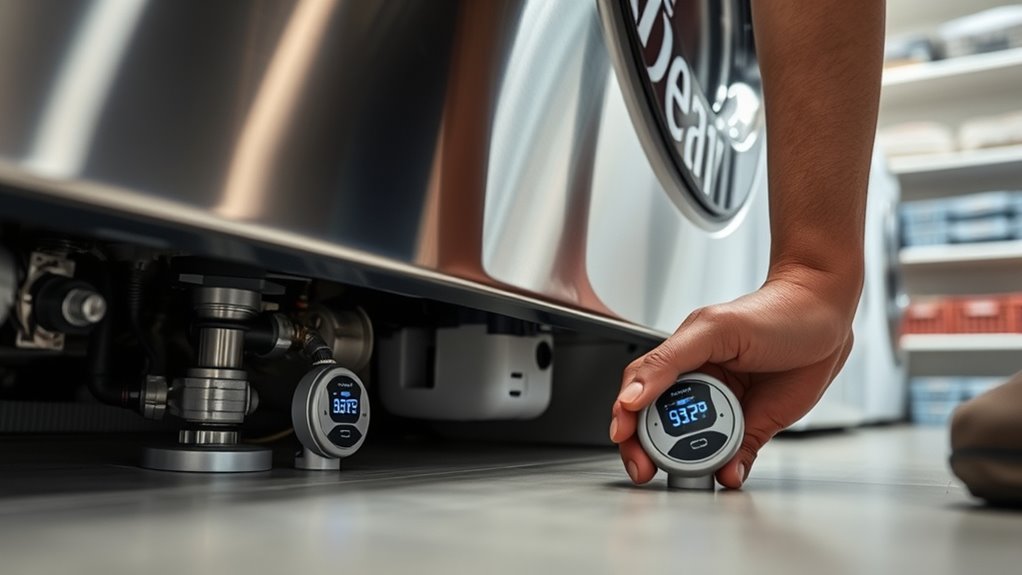
- Place the detector within a few inches of the appliance’s water source, ensuring it’s close enough to detect leaks early.
- Mount the detector on a flat, stable surface at the recommended height, typically near the floor.
- Avoid locations with excessive dust, humidity, or vibrations, which could affect performance.
- Ensure the detector’s sensors are unobstructed and not covered by objects or debris.
Connecting Leak Detectors to Your Smart Home System
To connect your leak detectors to your smart home system, first make sure they’re compatible with your existing devices. Once confirmed, follow the manufacturer’s instructions to set up the device and link it to your smart hub. This integration allows you to monitor leaks seamlessly and receive alerts instantly.
Compatible Device Setup
Connecting leak detectors to your smart home system is a straightforward process that enhances your home’s safety. First, verify your detector is compatible with your system’s platform. Next, open your app and locate the device setup section. Then, follow these steps:
- Power on your leak detector and put it into pairing mode.
- Select “Add Device” in your app and choose the detector model.
- Connect to your Wi-Fi network if prompted.
- Confirm the connection and assign a name to your detector.
Once connected, test the setup by triggering a leak alert. This ensures your detector is properly integrated and ready to notify you of any water issues. Compatibility is key to seamless operation and reliable alerts.
Integrating With Smart Hub
Integrating your leak detectors with a smart hub allows you to centralize control and receive alerts through a single platform. This simplifies monitoring, so you’re immediately notified if a leak occurs, no matter where you are. Connecting your devices is straightforward: follow the app instructions, pair each detector, and assign zones. Once set up, your system works seamlessly, providing peace of mind.
| Peace of Mind | Instant Alerts |
|---|---|
| Sleep soundly knowing your home is protected | Stay informed immediately if a leak is detected |
| Reduce damage and costly repairs | React quickly to prevent extensive water damage |
| Simplify home management | Streamline your smart home experience |
| Feel confident and secure | Protect your loved ones and belongings |
Testing the Functionality of Installed Devices
Before relying on your smart leak detector, ensuring that it’s functioning correctly is essential. To test its performance, follow these steps:
Ensure your leak detector works by testing it regularly with water and app alerts.
- Place the sensor in a safe, dry spot near the appliance.
- Press the test button to activate the device’s self-test feature.
- Use a damp cloth or small amount of water to simulate a leak near the sensor.
- Observe if the device alerts you via your connected app or alarm.
If the detector doesn’t respond, check the power source, replace batteries if needed, or reposition the sensor. Confirm that it’s properly connected to your smart hub. Proper testing ensures your device will alert you promptly when a real leak occurs, helping prevent damage.
Setting Up Alerts and Notifications
Once your leak detector is tested and working properly, the next step is to set up alerts and notifications so you’re immediately informed of any leaks. Most smart detectors connect to your Wi-Fi network and can send alerts via smartphone apps, emails, or text messages. Open the detector’s app and navigate to the notifications settings. Enable push notifications and customize the alert preferences, such as sound alarms or silent alerts. Make sure your contact information is correct so you won’t miss any critical updates. Some systems also allow you to set sensitivity levels or specific leak zones, ensuring you’re notified only for significant leaks. Properly configuring alerts guarantees you stay informed and can respond quickly to prevent water damage or costly repairs.
Maintaining and Replacing Batteries
How often should you check and replace the batteries in your smart leak detector? You should do this at least once a year, or whenever you notice the device’s alert indicators. To keep your detector functioning properly, follow these steps:
Check and replace your leak detector batteries annually or when alerts occur for reliable protection.
- Check the device regularly for low battery alerts or warning lights.
- Replace batteries immediately if you see a low-battery indicator.
- Use the recommended battery type specified by the manufacturer.
- Remove old batteries carefully, cleaning contacts if needed, before installing new ones.
Keeping batteries fresh ensures your leak detector remains reliable. Regular checks prevent false alarms and ensure timely alerts if leaks occur, helping protect your home efficiently.
Troubleshooting Common Installation Issues

Proper installation of your smart leak detector is key to guaranteeing it functions correctly. If it’s not detecting leaks, check that the device is positioned correctly—close to appliances but not directly on them. Make sure it’s on a stable, flat surface and not obstructed by debris or objects that could interfere with sensors. Verify that the power source or batteries are working and properly installed. If the device isn’t connecting to Wi-Fi or the app, confirm your network is stable and within range. Sometimes, resetting the detector or reinstalling the app can resolve connectivity issues. Also, ensure that you’re following the manufacturer’s installation instructions precisely. Troubleshooting these common issues can help your smart leak detector perform reliably and alert you promptly to potential leaks.
Tips for Maximizing Leak Detection Effectiveness
To get the most out of your smart leak detector, guaranteeing proper placement and maintenance is essential. Here are four tips to maximize its effectiveness:
- Place it close to the appliance’s water source, but avoid direct contact with water or moisture.
- Keep the detector clean and free of dust or debris that could interfere with sensors.
- Regularly test the device to verify it responds correctly to leaks.
- Update the detector’s firmware and app settings promptly for peak performance.
Frequently Asked Questions
How Long Does Installation Typically Take?
You’re wondering how long installation takes. Usually, it’s pretty quick—most smart leak detectors install in about 15 to 30 minutes. You’ll need to find a good spot near your appliance, like under the sink or behind the washer, and connect the device. The process involves minimal setup and pairing with your Wi-Fi. Overall, you can have it up and running in no time, giving you peace of mind.
Are There Specific Safety Precautions During Setup?
During setup, you should prioritize safety precautions to prevent accidents. Always turn off appliances or water sources before installing leak detectors to avoid electrical hazards or water damage. Use a flashlight if needed and guarantee your hands are dry. Follow the manufacturer’s instructions carefully, and avoid forcing connections. If you’re unsure, consider consulting a professional. These steps help keep you safe while ensuring your leak detectors work effectively.
Can Leak Detectors Be Installed Outdoors?
You might wonder if leak detectors can be installed outdoors. While some models are weatherproof and designed for outdoor use, most are intended for indoor environments. Before installing outdoors, check the manufacturer’s specifications to make certain it’s suitable for exterior conditions. If it is, place it in a protected spot away from direct rain or sunlight to maximize its effectiveness and lifespan. Always follow the manufacturer’s guidelines for outdoor installations.
Do Smart Leak Detectors Work With All Smart Home Brands?
Think of smart leak detectors as your home’s vigilant watchdogs, but not all bark the same. They work with many smart home brands, yet compatibility varies. You might need a hub or specific app to connect them seamlessly. Before buying, check if your existing system supports the detector. With a little research, you’ll find the perfect match, making your home safer without missing a beat.
What Is the Warranty Period for These Devices?
When considering the warranty period for smart leak detectors, you should check the manufacturer’s specifics, as it varies by brand. Typically, these devices come with a one to two-year warranty, covering defects and certain damages. You might also find extended warranty options. Always read the warranty details carefully, so you know what’s covered and how to get support if your device malfunctions or fails within the warranty period.
Conclusion
By choosing, checking, and chipping away at challenges, you’ll confidently create a clever, all-encompassing leak detection system. Keep keys like placement, preparation, and maintenance in mind, and you’ll catch leaks before they cause costly calamities. Stay savvy, stay safe — your smart sensor setup secures your space, shielding it from surprises. With careful consideration and consistent care, you’ll confidently control leaks, creating a calm, catastrophe-free home that’s secure, sound, and stress-free.