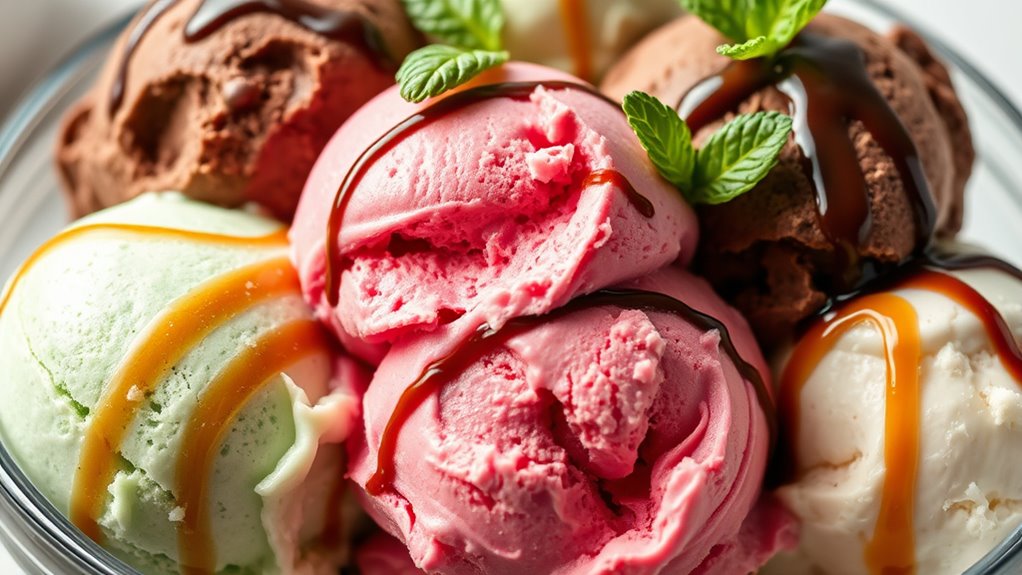
To make homemade ice cream so good your friends won’t believe it’s homemade, experiment with sugar substitutes like honey or stevia for healthier sweetness and rich flavor. Get creative with mix-ins like fresh fruits, herbs, or caramel bits, and always chill your mixture thoroughly before freezing. Stir during freezing to avoid ice crystals, and be patient with the process for perfect smoothness. Keep practicing these tips, and you’ll master irresistible homemade ice cream that wows everyone.
Key Takeaways
- Use high-quality ingredients and experiment with sugar substitutes for personalized sweetness and healthier options.
- Incorporate unique flavor combinations like fresh fruits, herbs, or mix-ins to impress your friends.
- Chill your mixture thoroughly and freeze with regular stirring to ensure a smooth, velvety texture.
- Taste and adjust flavors before freezing to achieve the perfect balance and richness.
- Be patient, allowing ample freezing time for a firm, creamy consistency that rivals professional ice cream.

Making homemade ice cream can be both fun and rewarding, especially when you know some key tips to guarantee it turns out perfectly. One of the most important aspects is experimenting with sugar alternatives, which can help create healthier options without sacrificing sweetness. You might try using honey, maple syrup, agave nectar, or even stevia to replace traditional sugar. Not only do these alternatives add unique flavors, but they also impact the texture and creaminess of your ice cream. For example, honey adds a slight floral note, while stevia offers sweetness without extra calories. Don’t be afraid to mix and match sugar substitutes to find what works best for your palate and dietary needs.
Another tip for making ice cream that your friends won’t believe is to get creative with flavor combinations. Think beyond classic vanilla or chocolate—combine fresh fruits like strawberries and mangoes, or add herbs such as basil or mint for a revitalizing twist. Incorporating ingredients like crushed cookies, nuts, or swirls of caramel or fruit preserves can elevate your homemade batch to a gourmet level. When experimenting with flavor combos, balance is key. Pair rich, creamy bases with tangy or bright accents to create a memorable taste experience. The more you play with different ingredients, the more you’ll discover what makes your ice cream stand out.
Temperature control is critical in achieving the perfect texture. Make sure your custard or mixture is thoroughly chilled before churning. This step helps the ice cream freeze faster and results in smaller ice crystals, giving you that smooth, velvety finish. If you’re using a no-churn method, freezing the mixture in a shallow container and stirring it every 30 minutes during the first few hours prevents ice crystals from forming, maintaining creaminess. Also, don’t forget to taste your mixture before freezing. Adjust the sweetness or flavor intensity as needed, especially if you’re using sugar alternatives that can sometimes be less sweet.
Finally, patience is essential. Let your ice cream freeze for several hours or overnight for ideal consistency. During this time, it firms up and develops a richer flavor profile. When you serve it, use a warmed scoop to help it slide out easily. Incorporate these tips—smart use of sugar alternatives, inventive flavor combinations, proper temperature control, and patience—and you’ll produce homemade ice cream so good, your friends will be amazed it’s made by you. With a little practice and creativity, you’ll be turning out spectacular batches that taste just as good, if not better, than store-bought.
Frequently Asked Questions
Can I Make Dairy-Free Ice Cream at Home?
Yes, you can make dairy-free ice cream at home. Use vegan alternatives like coconut milk, almond milk, or cashew cream as your dairy free base. Blend these with your favorite sweeteners and flavorings, then churn in an ice cream maker or freeze, stirring occasionally. You’ll end up with creamy, delicious dairy-free ice cream that everyone will love, all made with simple ingredients and your personal touch.
What’S the Best Way to Prevent Ice Crystals?
Think of ice crystals as tiny snowflakes that can ruin your creamy masterpiece. To keep them at bay, use proper freezing techniques like stirring your mixture every 30 minutes until solid. Incorporate sugar substitutes or natural sweeteners, which lower freezing point and reduce crystals. Also, store your ice cream in an airtight container, and avoid temperature fluctuations. These tricks help you craft smooth, luscious ice cream every time.
How Long Does Homemade Ice Cream Last?
Homemade ice cream typically stays good for about 2 to 4 weeks if stored properly in an airtight container. To avoid spoilage, keep an eye out for signs like ice crystals, freezer burn, or off smells. Proper storage duration helps maintain its flavor and texture. If you notice any of these spoilage signs, it’s best to discard the ice cream to prevent health risks.
Can I Add Alcohol to My Ice Cream?
Ever wondered if you can add alcohol flavoring to your homemade ice cream? Absolutely! Adding alcohol makes your boozy desserts more exciting, but keep in mind that it can affect the texture and freezing process. Small amounts of spirits like liqueurs or flavored vodkas work best. Just remember, too much alcohol can prevent your ice cream from setting properly. So, experiment carefully and enjoy your delicious, adult-inspired treats!
What Equipment Is Essential for Perfect Homemade Ice Cream?
To achieve the perfect homemade ice cream with ideal texture and flavor variations, you need essential equipment like an ice cream maker, which guarantees smooth, consistent texture. A good mixing bowl and spatula help incorporate ingredients thoroughly. An instant-read thermometer is helpful for precise temperature control. Using these tools, you can experiment with flavors and create creamy, delicious ice cream that impresses your friends every time.
Conclusion
Now you’ve got all the tips to make incredible homemade ice cream, it’s time to impress your friends. But here’s a fun fact: some say that adding a pinch of salt to your ice mixture actually helps your ice cream freeze faster and become creamier. So next time, experiment with that little trick! With a bit of practice, you’ll be serving up scoop-worthy treats that taste like they came from a fancy shop—right at home.


