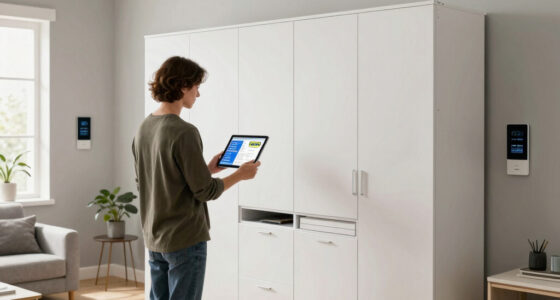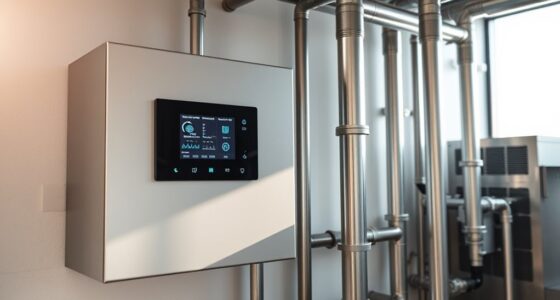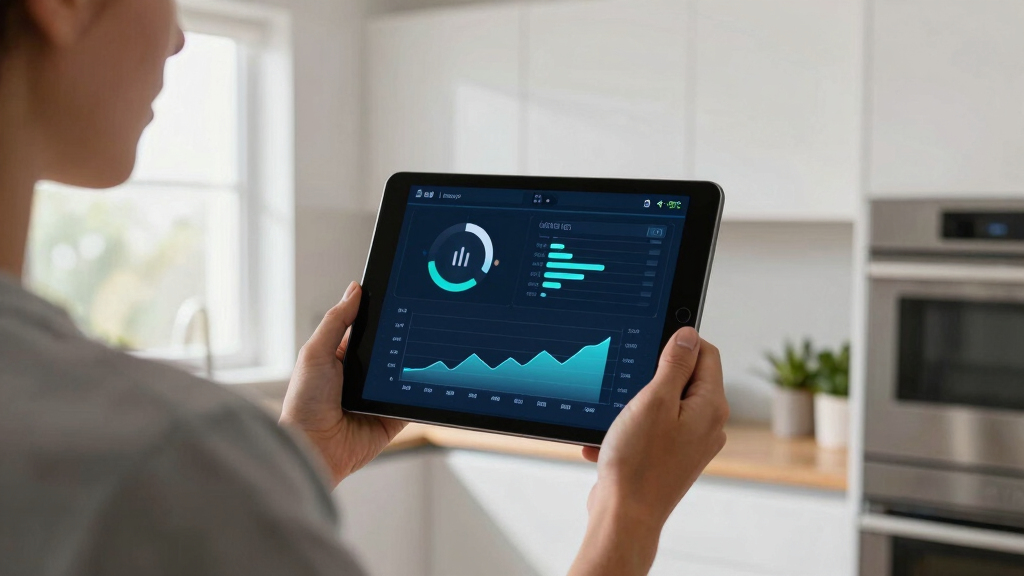
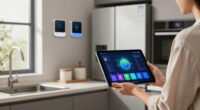
This guide shows how to set up a smart home energy monitor to track your household’s energy use. It is suitable for homeowners and renters with basic electrical knowledge and some comfort with technology. Completing this task helps you understand your energy consumption, identify savings opportunities, and optimize your energy use.

Emporia Vue 3 Home Energy Monitor – Real-Time Electricity Usage and Power Consumption Meter
- ✔ Certification: UL Listed
- ✔ Supported Systems: Single phase, 3-phase, 2/3-wire, Wye
- ✔ Sensors: Sixteen 50A branch sensors

Emporia Energy Monitor with 16 Sensors and 4 Smart Plugs Bundle
- ✔ Sensors: 16
- ✔ Smart Plugs: 4
- ✔ Compatibility: iOS, Android, Alexa

Smart Home Energy Monitor with 16 50A Circuit Sensors, Real-Time Power Usage & Cost Tracking, Compatible with Home Assistant
- ✔ Weight: 4.09 pounds
- ✔ Dimensions: 3.1 x 1.2 x 4.18 inches
- ✔ Sensors: 16 50A, 2 200A sensors
Difficulty: Beginner / Intermediate | Time: 30-60 minutes
What You’ll Need
Tools & Materials:
- Screwdriver (flat-head and Phillips)
- Voltage tester
- Wi-Fi-enabled smartphone or tablet
- Electrical tape
- Wire strippers
Knowledge:
- Basic understanding of electrical wiring
- Familiarity with home Wi-Fi networks
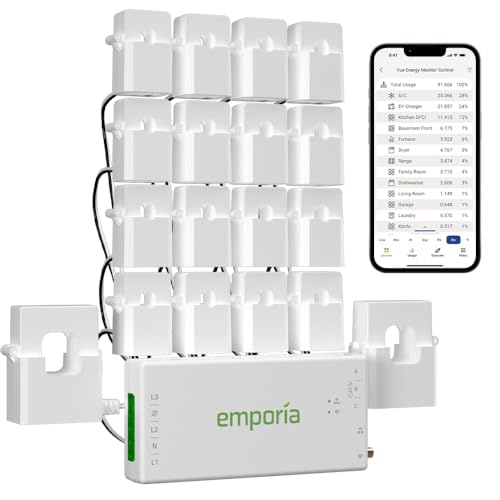
Emporia Vue 3 Home Energy Monitor - Smart Home Automation Module and Real Time Electricity Usage Monitor, Power Consumption Meter, Solar and Net Metering for UL Certified Safe Energy Monitoring
- UL Certified for Safety: Certified for electrical safety in US and Canada
- Easy Installation in Circuit Panel: Supports most home wiring systems with clamp-on sensors
- Real-Time Energy Monitoring: 24/7 management of home energy use and solar
As an affiliate, we earn on qualifying purchases.
Emporia Vue 3 Home Energy Monitor – Real-Time Electricity Usage and Power Consumption Meter
<p>The <strong>Emporia Vue 3</strong> stands out for its safety certification, wide compatibility with different electrical systems, and real-time energy data. This UL-listed monitor is ideal for homeowners seeking a dependable, straightforward solution to track energy use and support solar or net metering. Compared with more complex bundles, the Vue 3 offers a clear balance between ease of use and detailed insights. Its main tradeoff is reliance on Wi-Fi for live data, and the 7-day data retention limit for minute-by-minute readings can be a drawback for long-term analysis. Still, for most users, this monitor provides essential data without unnecessary complexity.</p>
Pros:
- UL-certified safety and reliability
- Supports multiple electrical configurations
- Includes sensors for critical load monitoring
- Real-time data via app
Cons:
- Requires Wi-Fi for live updates
- Additional sensor needed for 3-phase systems with neutral
- Data retention limited to 7 days for minute data
Best for: Homeowners wanting a reliable, versatile energy monitor with real-time insights and safety certification.
Not ideal for: Users seeking advanced automation, local LAN operation, or detailed long-term data retention without Wi-Fi dependence.
Bottom line: A dependable, versatile choice for homeowners who want real-time energy monitoring with safety assurance.
“A dependable, versatile choice for homeowners who want real-time energy monitoring with safety assurance.”
Emporia Energy Monitor with 16 Sensors and 4 Smart Plugs Bundle
<p>This bundle combines the detailed monitoring capabilities of the Emporia Vue with 16 sensors and four Wi-Fi smart plugs, making it the most comprehensive option for users wanting automation and remote control. It supports solar net metering and integrates seamlessly with platforms like Alexa, iOS, and Android. Compared to the standalone Vue 3, this system offers greater functionality for automation and real-time trend analysis. However, the setup process can be complex, especially for those unfamiliar with smart home systems. Additionally, the reliance on Wi-Fi and cloud data storage might not appeal to users prioritizing local control or minimal internet dependency. Nonetheless, its extensive sensors and smart plugs make it ideal for users wanting to optimize energy use actively.</p>
Pros:
- Comprehensive whole-home energy tracking
- Includes 4 Wi-Fi smart plugs for automation
- Supports solar net metering and automation workflows
- Compatible with popular smart home platforms
Cons:
- Requires setup and Wi-Fi connection
- Potential complexity for non-technical users
- Cloud dependency may raise privacy concerns
Best for: Homeowners seeking detailed monitoring combined with automation and smart device integration.
Not ideal for: Users who prefer simple, plug-and-play solutions or have limited technical skills for setup.
Bottom line: An excellent choice for smart home enthusiasts wanting detailed data and automation, with some setup complexity.
“An excellent choice for smart home enthusiasts wanting detailed data and automation, with some setup complexity.”
Smart Home Energy Monitor with 16 50A Circuit Sensors, Real-Time Power Usage & Cost Tracking, Compatible with Home Assistant
<p>This monitor excels at providing detailed, real-time energy data while supporting local LAN operation independent of the internet. Its easy clamp-on sensors make installation straightforward, especially for multi-phase setups like split-phase or three-phase systems. This pick is perfect for users who want a high level of control over data privacy, custom billing, or energy management in rental or shared living environments. The main tradeoff is the technical setup required for MQTT or LAN configuration, which might be daunting for less tech-savvy users. Compared to cloud-based options, this device offers greater privacy and flexibility, although some users desire more advanced app features to complement its local operation.</p>
Pros:
- Easy clamp-on sensors for quick installation
- Supports local LAN operation without internet
- Detailed real-time energy and cost data
- Ideal for rentals and shared spaces with customizable billing
Cons:
- Requires technical setup for MQTT and LAN use
- Limited to specific electrical configurations
- App features may be less advanced compared to cloud solutions
Best for: Power users needing local, customizable energy monitoring for multi-phase systems, especially in rental or shared homes.
Not ideal for: Beginners or those wanting plug-and-play solutions without technical networking setup.
Bottom line: A top pick for tech-savvy users prioritizing local control, privacy, and detailed customization in complex electrical setups.
“A top pick for tech-savvy users prioritizing local control, privacy, and detailed customization in complex electrical setups.”
As an Amazon Associate we earn from qualifying purchases.
Before You Start
Turn off the main power supply if working directly on your electrical panel. Confirm that your Wi-Fi network is active and stable. Have your energy monitor’s manual ready for reference. If unsure about electrical work, consult a qualified electrician.
Step-by-Step Instructions
Step 1: Select the installation location
Identify a suitable spot near your electrical panel or main circuit breaker where the energy monitor can be safely installed. Ensure there is good Wi-Fi signal reception in this area.Tip: Choose a location with enough space for wiring and mounting the device securely.
Check: The location is accessible, has sufficient space, and Wi-Fi signal strength is confirmed.
Step 2: Turn off the power supply
Switch off the main circuit breaker to ensure no electrical current flows during installation. Verify power is off using a voltage tester on the wires or panel.Tip: Double-check all wires are de-energized before proceeding.
Check: Power is confirmed off; no voltage detected at the installation site.
Step 3: Connect the energy monitor to the electrical panel
Open the electrical panel cover. Identify the main feed wires. Attach the monitor’s current sensors around the main live wires following the manufacturer’s wiring diagram. Secure all connections with appropriate wire connectors and electrical tape.Tip: Ensure sensors are tightly fitted and wires are correctly placed as per instructions.
Check: Sensors are installed correctly and wires are securely connected without loose ends.
Step 4: Connect the monitor to Wi-Fi
Power on the energy monitor. Use the device’s app or setup interface to connect it to your home Wi-Fi network, following the manufacturer’s pairing instructions.Tip: Make sure your smartphone is connected to the same Wi-Fi network during setup.
Check: Device indicates successful Wi-Fi connection through the app or device status light.
Step 5: Configure the energy monitor
Open the device’s app and follow setup prompts to name the device, set your location, and customize alert preferences. Link the monitor to your home energy account if applicable.Tip: Register the device if required, and update firmware if prompted.
Check: The app shows real-time energy data and the device is listed as active.
Step 6: Test the setup
Turn the main power back on. Observe the energy monitor’s app to see if energy readings update within a few minutes.Tip: Generate some household energy use (e.g., turn on lights or appliances) to verify the readings.
Check: Energy usage appears in the app and updates as household devices operate.
Common Mistakes to Avoid
- Incorrect wiring connections — Follow the manufacturer’s wiring diagram carefully and double-check connections before powering on.
- Choosing a poor Wi-Fi location — Test Wi-Fi signal strength at the installation site beforehand, or use a Wi-Fi extender if necessary.
- Not turning off power before wiring — Always switch off the main breaker and verify with a voltage tester before handling wires.
- Ignoring device firmware updates — Update the energy monitor’s firmware after installation to ensure optimal performance and security.
Troubleshooting
Problem: Device not connecting to Wi-Fi
Solution: Restart the device, ensure your Wi-Fi is working properly, and move the device closer to the router if signal is weak.
Problem: No energy readings shown in the app
Solution: Check all wiring connections, verify the monitor is powered, and restart the app or device.
Problem: Device powers on but no data appears
Solution: Ensure sensors are correctly attached, refresh the app, and confirm the device has internet access.
What Success Looks Like
The energy monitor displays real-time energy usage data in its app, with updated readings when household appliances operate. The device remains connected to Wi-Fi and shows no error messages. Installation appears secure and wiring is correct.
Next Steps
After successful setup, analyze your energy data regularly. Use insights to adjust habits, upgrade inefficient appliances, or consider further automation. If issues arise, contact customer support or consult a professional for assistance.
Frequently Asked Questions
Can I install the energy monitor myself?
Yes, if you have basic electrical knowledge and follow safety procedures. For high-voltage or complex setups, consult a professional electrician.
Will installing a smart energy monitor increase my electricity bill?
No, the device itself consumes minimal power and helps you identify ways to reduce your energy costs.
How often should I check for firmware updates?
Check for updates monthly or as prompted by the device’s app to ensure optimal performance and security.
Can I use multiple energy monitors in my home?
Yes, install additional monitors on different circuits or appliances for detailed energy analysis. Ensure they are compatible with your home network and management app.