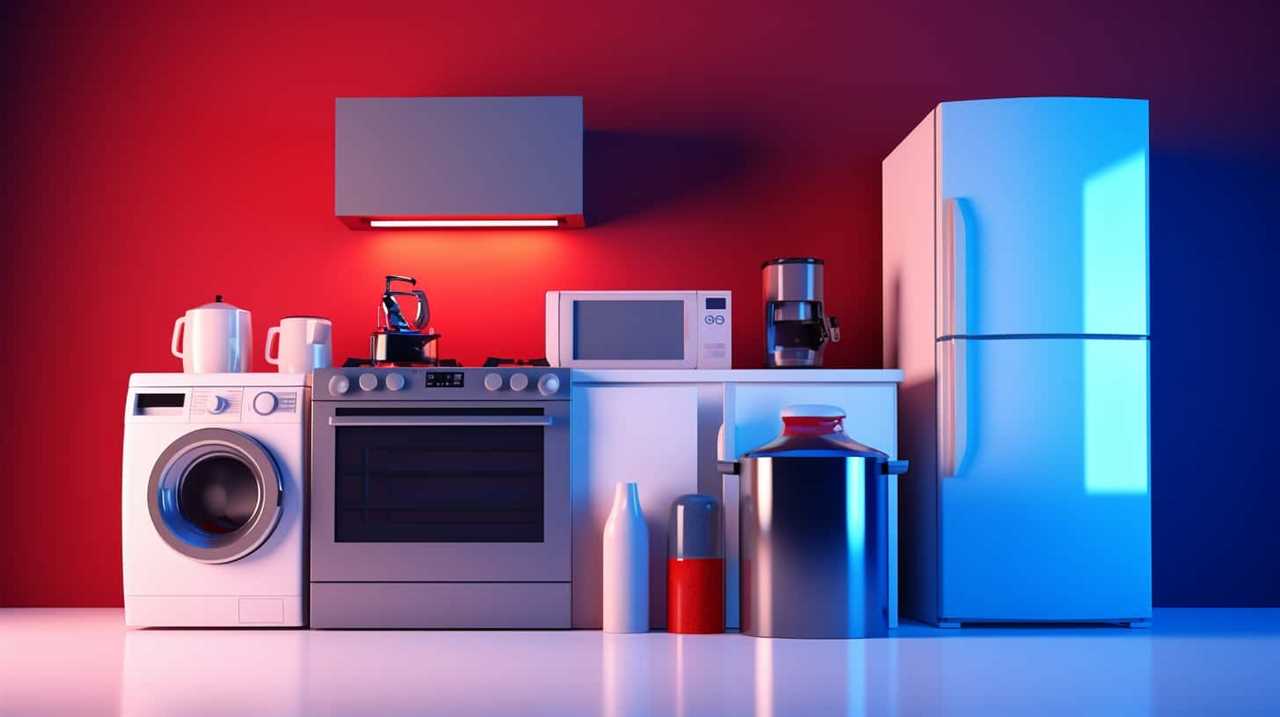
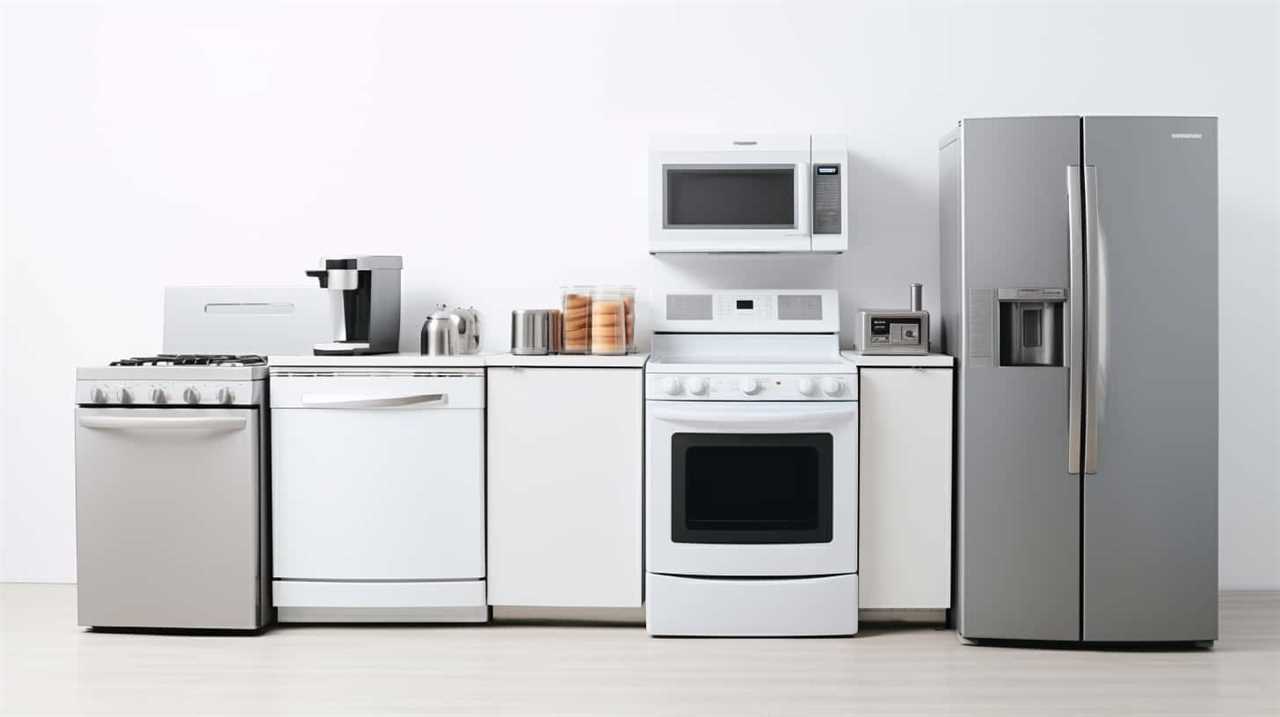
Are you prepared to handle those home appliance repairs? This comprehensive guide has got you covered. From safety tips to troubleshooting common problems, we will guide you through each step of the process.
With the right tools and a little know-how, you’ll be diagnosing and fixing problems like a pro. No more noisy appliances or ones that won’t turn on – we’ll show you how to handle it all.
Get ready to master the art of appliance repair and prevent future breakdowns. Let’s get started!
Key Takeaways
- Always prioritize safety precautions and follow the necessary steps to ensure personal safety during appliance repairs.
- Take the time to troubleshoot and diagnose common issues in order to identify the faulty parts and components.
- Gather the necessary tools and equipment for repairs, and ensure compatibility of replacement parts with the appliance.
- Regularly clean, maintain, and perform preventive measures on home appliances to extend their lifespan and prevent future breakdowns.
No Drill Motorized Blinds with Remote, Blackout Automatic Blinds with Solar Panel, Cordless Smart Electric Roller Shades for Windows, Beige, 32 x 72
No Tools, No-Drill, Easy Install: Quick and easy to set up, these no drill blinds operate smoothly and...
As an affiliate, we earn on qualifying purchases.
Safety Precautions
To ensure our safety while repairing home appliances, we must always adhere to a set of essential safety precautions. When it comes to DIY repair techniques, preventing accidents should be our top priority.

First and foremost, always unplug the appliance before attempting any repairs. This will eliminate the risk of electric shocks.
Additionally, wear protective gear such as gloves and safety goggles to prevent injuries from sharp edges or flying debris.
It’s also important to work in a well-ventilated area to avoid the inhalation of harmful fumes.
Furthermore, familiarize yourself with the appliance’s user manual and follow all instructions carefully.

Lastly, if you’re unsure about a repair or feel uncomfortable, it’s best to seek professional assistance.

Motorized Blackout Smart Roller Blinds with Remote Control & Solar Panel - Automatic Electric Shades for Windows, Compatible with Alexa - White,34" W*72" H
【Complimentary Solar Panel】: The package includes motorized roller blind *1, solar panel * 1, single-channel remote control *1,...
As an affiliate, we earn on qualifying purchases.
Troubleshooting Common Issues
Let’s now dive into troubleshooting common issues that may arise when repairing home appliances.
When it comes to diagnosing heating problems, there are a few key points to keep in mind. First, check the thermostat settings to ensure they’re properly calibrated. Next, inspect the heating element for any signs of damage or wear. Additionally, make sure the power supply is functioning correctly, as a faulty connection can cause heating issues.
When it comes to repairing water leaks, there are a few steps you can take. First, check the water supply hose for any cracks or leaks. If you find any damage, replace the hose immediately. Next, inspect the seals and gaskets for any signs of wear or damage. If necessary, replace them to prevent further leaks. Finally, check the water inlet valve for any clogs or blockages that may be causing the leak.


Bringnox Motorized Blinds with Remote,100% Blackout Smart Roller Blinds Compatible with Apple Homekit Google Home and Alexa Via HUB,and Customized (Linen Stone-01)
[100% BLACKOUT MATERIAL]effectively block sunlight, protect your privacy, and customizable in size and color to meet different decoration...
As an affiliate, we earn on qualifying purchases.
Tools You’ll Need
We will need a set of basic tools to successfully repair home appliances. Having the right tools can make all the difference in quickly and effectively troubleshooting and fixing common issues.
Here is a list of essential equipment you should have in your toolkit:
- Screwdrivers: A set of screwdrivers with different sizes and types (Phillips, flathead) is necessary for opening appliance cases and accessing internal components.
- Multimeter: This versatile tool is used to measure voltage, current, and resistance. It’s essential for diagnosing electrical problems in appliances.
- Pliers: Pliers are useful for gripping and bending wires, as well as holding small parts securely during repair.
- Wire cutters/strippers: These tools are needed for cutting and stripping wires when making electrical connections.
- Nut driver set: Nut drivers are essential for removing and tightening nuts and bolts commonly found in appliances.

MANSNIX Smart Motorized Blinds with Remote, Cordless No-Drill Automatic Roller Shades, Blackout Electric Blind for Windows, Grey, 46 x 72
Easy No-Drill No- Tools Installation: Features a patented no-drill design for quick and tool-free setup—just adjust and secure....
As an affiliate, we earn on qualifying purchases.
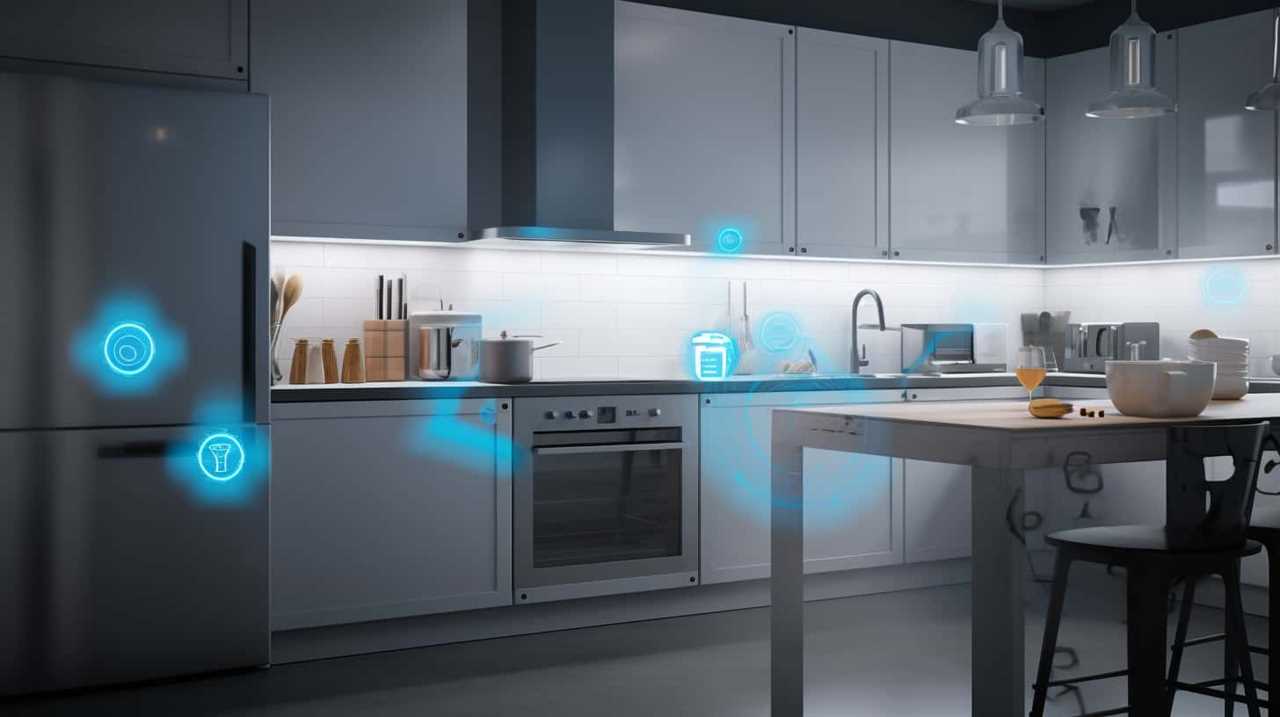
How to Diagnose the Problem
To identify the issue with a malfunctioning home appliance, we’ll need to systematically troubleshoot and narrow down the potential causes. Here are some steps to help you diagnose the problem:
- Start by checking the power supply. Ensure that the appliance is plugged in correctly and that there are no issues with the electrical outlet.
- Next, examine the appliance for any visible damage or signs of wear and tear. Look for loose wires, broken parts, or leaks.
- If you’re diagnosing a refrigerator, check the temperature settings and listen for any unusual noises coming from the compressor.
- For troubleshooting a dishwasher, inspect the water supply and drainage systems. Make sure there are no clogs or blockages in the hoses or filters.
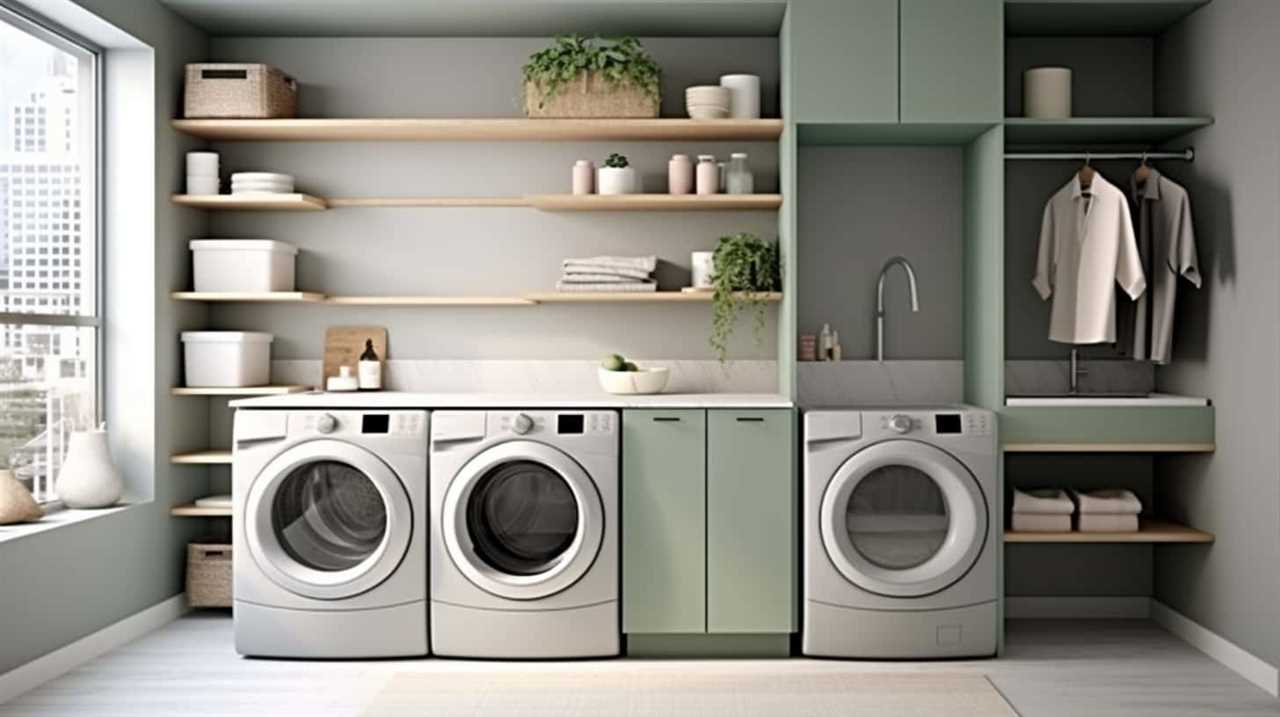
Cleaning and Maintenance Tips
Continuing with our troubleshooting process, it’s important to regularly clean and maintain your home appliances to ensure optimal performance and prevent potential problems.

Proper cleaning techniques can help remove dirt, dust, and debris that can accumulate and affect the efficiency of your appliances. For example, vacuuming the coils of your refrigerator can improve its cooling capabilities. Similarly, cleaning the lint filter of your dryer can prevent fire hazards and improve drying efficiency.
It’s also essential to follow a maintenance schedule for tasks such as changing water filters, cleaning dishwasher spray arms, and descaling coffee makers. By incorporating these cleaning techniques and following a maintenance schedule, you can extend the lifespan of your appliances and keep them running smoothly.
Now, let’s move on to the next section and discuss how to replace faulty parts.
Replacing Faulty Parts
Now, let’s move on to the next step in repairing home appliances: replacing faulty parts.

When faced with common issues, such as a malfunctioning motor or a broken thermostat, troubleshooting is key.
Once the problem is identified, finding compatible replacement parts is crucial for a successful repair.
Troubleshooting Common Issues
After identifying the faulty parts in home appliances, we can begin replacing them to troubleshoot common issues.
When it comes to diagnosing refrigerator issues, it’s important to check the condenser coils for dirt and debris buildup, as this can affect the cooling performance. Another common problem is a faulty thermostat, which can cause the refrigerator to either not cool enough or to freeze food.
In the case of fixing dishwasher leaks, the first step is to inspect the door gasket for any signs of wear or damage. Additionally, a malfunctioning water inlet valve can lead to leaks, so it’s crucial to examine it carefully.
Finding Compatible Replacement Parts
To begin finding compatible replacement parts for repairing home appliances, we should first consult the appliance’s user manual or contact the manufacturer for specific part information. This will ensure that we get the exact replacement parts needed for our particular appliance model. However, if the manual or manufacturer does not provide the necessary information, there are other options available. One option is to search for compatible parts online. There are many websites that specialize in selling appliance parts, and they often have search filters to help narrow down the options. Another tip for online part shopping is to compare prices from different sellers to find the most affordable option. Additionally, reading customer reviews can provide valuable insights about the quality and compatibility of the parts. By following these tips, we can find compatible replacement parts at reasonable prices and successfully repair our home appliances.
| Tips for Finding Compatible Replacement Parts | Tips for Online Part Shopping | Finding Affordable Options |
|---|---|---|
| Consult the user manual or contact the manufacturer for specific part information | Search for compatible parts online and use search filters to narrow down options | Compare prices from different sellers to find the most affordable option |
| If the manual or manufacturer does not provide the necessary information, explore other options | Read customer reviews to gain insights about the quality and compatibility of the parts | Take advantage of sales, discounts, and promotions |
| Consider the age and condition of the appliance when searching for replacement parts | Look for reputable sellers and websites that specialize in selling appliance parts | Consider purchasing used or refurbished parts as a more affordable alternative |
| Seek guidance from professionals or experienced individuals in appliance repair if needed | Verify the compatibility of the parts with the appliance model before making a purchase | Explore local stores and suppliers for potential cost-saving options |
Fixing Electrical Issues
Now let’s tackle the important task of fixing electrical issues in home appliances.
Before we begin, it’s crucial to prioritize safety precautions to prevent any accidents or further damage.

We’ll discuss troubleshooting common electrical problems and the necessary tools needed for these repairs.
Safety Precautions for Electrical Repairs
Our first step in ensuring safety when repairing electrical issues is to gather all the necessary tools and equipment. This includes insulated gloves, safety glasses, and a voltage tester. It’s important to diagnose electrical faults accurately before attempting any repairs. A thorough understanding of electrical circuits and components is essential.
When working with electricity, it’s crucial to take the following safety measures:
- Always turn off the power supply before starting any repair work.
- Use insulated tools to minimize the risk of electric shock.
- Avoid working on wet surfaces to prevent electrical accidents.
- Keep a fire extinguisher nearby in case of emergencies.
Troubleshooting Common Electrical Problems
After gathering all the necessary tools and equipment, we can now delve into troubleshooting common electrical problems and fixing issues in home appliances. When it comes to diagnosing faulty wiring, there are a few telltale signs to watch out for.

Look for flickering lights, outlets that don’t work, or appliances that suddenly stop functioning. These could indicate a problem with the wiring. Another common issue is circuit breaker trips. If your circuit breaker frequently trips, it could be due to overloaded circuits or faulty wiring.
To diagnose the problem, start by unplugging all appliances and resetting the breaker. If it continues to trip, you may need to call a professional to inspect the wiring. Understanding and addressing these common electrical problems is essential for successful appliance repairs.
Now, let’s move on to the tools needed for these repairs.
Tools Needed for Repairs
To effectively fix electrical issues in home appliances, we’ll need a specific set of tools. These tools are essential for diagnosing issues and performing repairs safely and efficiently. Here are the key tools you’ll need:

- Multimeter: This versatile tool allows you to measure voltage, current, and resistance, helping you pinpoint electrical problems accurately.
- Insulated Screwdrivers: Insulation on these screwdrivers prevents electrical shock while working on live circuits.
- Wire Strippers: These tools are necessary for safely removing insulation from wires without damaging the conductors.
- Needle-nose Pliers: With their long, narrow jaws, needle-nose pliers provide precise control for bending, gripping, and cutting wires.
Remember to always follow proper safety protocols and turn off the power before working on any electrical appliance.
Regular maintenance and troubleshooting can help prevent electrical issues, ensuring that your appliances continue to function optimally.
Repairing Leaking Appliances
We commonly encounter leaking appliances in our homes, such as a dishwasher or a refrigerator. When it comes to diagnosing dishwasher leaks, it’s important to check the door gasket for any signs of wear or damage. Additionally, inspect the water inlet valve and the float switch as they can also be potential sources of leaks.
To fix refrigerator leaks, start by examining the water supply line and the water filter for any leaks or blockages. It’s also crucial to inspect the drain pan and the defrost drain to ensure they’re clear and functioning properly. If any issues are found, they can be addressed by replacing faulty parts or repairing damaged components.
Now, let’s move on to the next section and discuss dealing with noisy appliances.
Dealing With Noisy Appliances
When it comes to dealing with noisy appliances, it’s important to understand the causes of the noise. Common culprits include loose parts, worn-out bearings, or faulty motors.
If you’re the DIY type, there are steps you can take to reduce the noise, such as tightening screws or applying lubrication.
However, for more complex issues or if you’re unsure of what’s causing the noise, it’s best to consult a professional repair service.

Causes of Appliance Noise
Our team has identified several common causes of appliance noise and will provide solutions for dealing with noisy appliances. Diagnosing strange sounds is the first step in eliminating appliance noise. Here are some possible culprits:
- Loose or worn-out parts: Check for loose screws, belts, or bearings that may need tightening or replacement.
- Unbalanced load: Ensure that the load you’re putting in the appliance is distributed evenly to prevent excessive vibrations.
- Clogged filters or vents: Clean or replace filters and vents regularly to maintain proper airflow and reduce noise.
- Faulty motor or fan: If the noise is coming from the motor or fan, it may require professional repair or replacement.
By addressing these common causes, you can significantly reduce appliance noise and improve their performance.
Now, let’s move on to the next section where we’ll discuss DIY noise reduction techniques.
DIY Noise Reduction
To effectively reduce appliance noise, we regularly clean or replace filters and vents to maintain proper airflow and minimize disruptions caused by clogged components.
However, if the noise persists, there are additional DIY soundproofing techniques that can help reduce appliance noise.
One option is to use acoustic foam panels or insulation to absorb and block the noise. These can be easily installed on the walls or cabinets surrounding the appliance.
Another option is to create a barrier by using heavy curtains or soundproofing curtains that are specifically designed to reduce noise.
Additionally, placing rubber or foam pads under the appliance can help absorb vibrations and reduce noise.

Professional Repair Options
We often rely on professional repair services to address noisy appliances. While there are DIY repair techniques that can help reduce noise, sometimes the problem requires the expertise of a professional.
Here are a few reasons why professional repair services can be the best option for dealing with noisy appliances:
- Knowledge and Experience: Professional technicians have the knowledge and experience to diagnose and fix the root cause of the noise effectively.
- Specialized Tools and Equipment: They have access to specialized tools and equipment that may be necessary to repair the appliance properly.
- Warranty Coverage: Professional repair services often come with warranty coverage, providing peace of mind and protection in case the issue reoccurs.
- Safety Considerations: Noisy appliances can sometimes indicate underlying safety hazards. Professional technicians can identify and address these concerns to ensure the safety of your home.
Now, let’s move on to the next section and discuss fixing appliances that won’t turn on.
Fixing Appliances That Won’t Turn on
When appliances refuse to turn on, it can be frustrating and inconvenient.
The first step in fixing appliances that won’t turn on is to troubleshoot power issues. Check if the appliance is securely plugged into a working outlet and if the circuit breaker or fuse is intact.
If these aren’t the problem, the next step is to inspect the power cord for any signs of damage. If the power cord appears to be fine, the issue may be a mechanical failure. In this case, it’s recommended to consult the appliance’s user manual for troubleshooting tips specific to the model.
If the problem persists, it may be necessary to call a professional repair service to diagnose and repair the appliance.
Handling Temperature Control Problems
For troubleshooting temperature control problems in home appliances, start by checking the settings on the control panel. Ensure that the temperature settings are correctly adjusted according to your desired comfort level. If the appliance isn’t maintaining the set temperature, it could be due to a faulty thermostat.

To diagnose thermostat issues, follow these steps:
- Check for any visible damage or loose connections on the thermostat.
- Use a multimeter to test the thermostat for continuity.
- If the thermostat fails the continuity test, it may need to be replaced.
- Consult the appliance’s manual or contact a professional technician for guidance on replacing the thermostat.
Tips for Preventing Future Breakdowns
To prevent future breakdowns, it’s essential to regularly maintain and clean your home appliances. By doing so, you can ensure their optimal performance and prolong their lifespan.
One important aspect of maintenance is diagnosing water damage. Water leaks or spills can lead to serious issues, such as electrical shorts or corrosion. If you notice any signs of water damage, such as discolored or warped components, it’s crucial to address the issue promptly.
Another key maintenance task is preventing rust formation. Rust can weaken appliance parts and cause them to malfunction. To prevent rust, make sure to keep your appliances dry and clean. Wipe any moisture immediately and apply a rust inhibitor if necessary.

Regular maintenance and preventive measures will go a long way in preventing future breakdowns and keeping your appliances in top shape.
Frequently Asked Questions
Can I Repair a Home Appliance Without Any Prior Experience or Knowledge?
Yes, we can repair a home appliance without prior experience or knowledge. By learning repairing techniques and understanding common appliance problems, we can gain the necessary skills to fix them effectively.
What Should I Do if My Appliance Starts Smoking or Emitting a Burning Smell?
If an appliance starts smoking or emitting a burning smell, we need to act quickly. It could indicate a serious problem with the appliance. We should immediately unplug it and consult a professional for troubleshooting techniques and appliance maintenance.
Is It Safe to Repair an Appliance While It Is Plugged In?
Repairing an appliance while it’s plugged in poses a risk of electrical shock. To ensure safety, always unplug the appliance before attempting any repairs. Follow proper safety precautions and consult a professional if needed.

How Do I Know if a Specific Part Needs to Be Replaced or if It Can Be Repaired?
When determining whether to repair or replace a specific part, it is crucial to look for signs of faultiness. Conduct a thorough inspection to identify any visible damage or malfunction, and consult technical manuals for guidance.
Are There Any Potential Health Hazards Associated With Repairing Home Appliances?
Potential dangers associated with repairing home appliances include electrical shocks, burns, and exposure to harmful gases. To ensure safety, it is crucial to follow safety precautions such as wearing protective gear and disconnecting power sources before starting any repair work.
Conclusion
So there you have it, folks! Now you’re equipped with the knowledge to fix your home appliances like a pro.
Just remember to always prioritize safety, troubleshoot the common issues, and have the right tools handy.
Don’t forget to keep your appliances clean and well-maintained to avoid any future breakdowns.
And if all else fails, just embrace the symphony of noisy appliances in your home.
Happy repairing!