Cleaning your washer like a pro's easier than you think! Start by emptying the drum, removing any debris. Then, mix distilled white vinegar and Borax, and pour it into the drum. Run a normal cycle for one minute, let it soak for an hour, then choose a heavy-duty cycle. After that, wipe down the surfaces with a diluted vinegar solution to tackle any leftover grime. Don't forget to leave the washer door open for ventilation. If you want even more tips and tricks to keep your washing machine in top shape, stick around for some helpful insights!
Key Takeaways
- Regularly clean your washer with a mixture of distilled white vinegar and Borax to eliminate odors and buildup effectively.
- Run a hot water cycle monthly to remove bacteria and prevent unpleasant smells from developing in your machine.
- Wipe down surfaces, including the drum and gasket, with a diluted vinegar solution to maintain cleanliness and inhibit mold growth.
- Check and clean the detergent compartment and lint filter frequently to prevent clogs and ensure optimal washing performance.
- Leave the washer door open after use for proper air circulation, preventing moisture retention and odors.
Importance of Cleaning Your Washer
Cleaning your washer isn't just a chore; it's vital for maintaining the machine's performance and keeping your laundry fresh.
The importance of cleaning your washer can't be overstated, especially if you're doing 7-8 loads a week. Over time, detergent residue can build up, leading to the growth of mold or mildew inside the drum. This not only affects the efficiency of your washer but also compromises the cleanliness of your laundry.
A dirty washer can reintroduce grime and unpleasant odors to your clothes, making it imperative to keep the machine clean.
Regular maintenance helps extend the lifespan of your washing machine by ensuring that internal components remain free from buildup, allowing them to function effectively.
Plus, a clean washer enhances its efficiency, leading to better cleaning results.
Essential Cleaning Supplies
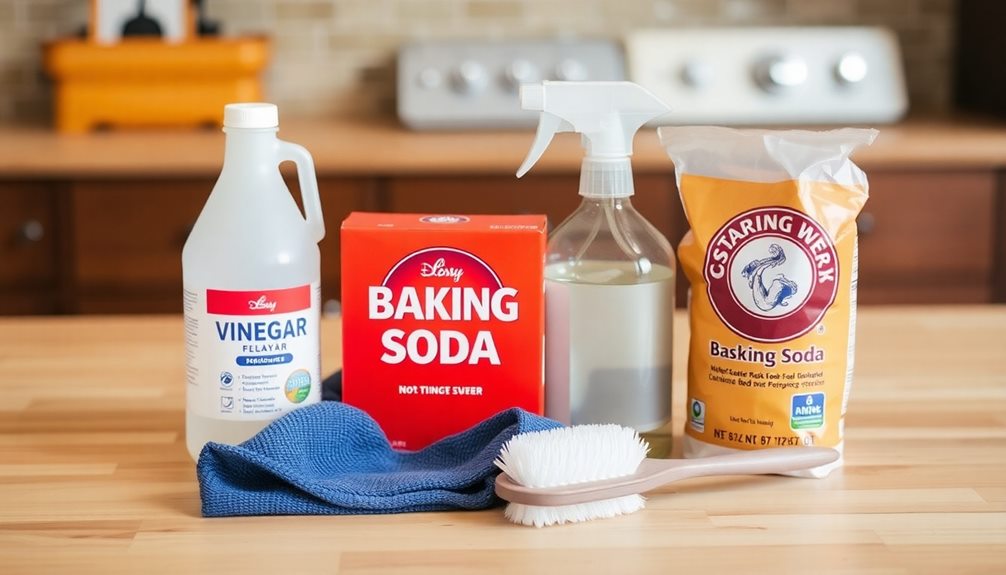
To effectively clean your washer, you'll need some essential supplies.
Gather items like distilled white vinegar, Borax, and soft cloths to tackle odors and buildup.
Having a spray bottle and warm water on hand will also make your cleaning process smoother and more efficient.
Must-Have Cleaning Supplies
When it comes to giving your washer a thorough clean, having the right supplies on hand makes all the difference. First, you'll need one gallon of distilled white vinegar. This powerful cleaning agent effectively dissolves detergent buildup and eliminates odors, leaving your washer fresh.
Additionally, ensuring proper airflow around the washer can enhance the cleaning process, similar to how air purifiers need maintenance for peak performance. Next, grab one pound of Borax. It's a natural deodorizer that tackles mold and mildew, enhancing your cleaning process.
A spray bottle is also essential. It allows you to create diluted cleaning solutions, making it easier to apply your cleaners to various surfaces within the washer. Don't forget to have access to warm water; it helps activate the cleaning agents, boosting their effectiveness.
To wipe down surfaces, use soft cloths or sponges. These are perfect for ensuring that all areas, including the drum and gasket, are thoroughly cleaned.
If you want an extra boost, consider incorporating baking soda. It's great for scrubbing away stubborn grime and odor.
With these must-have cleaning supplies, you're well on your way to achieving a washer that's not just clean but truly refreshed. Happy cleaning!
DIY Cleaning Solutions
Creating your own cleaning solutions for your washer can be both effective and economical. With a few essential supplies, you can whip up powerful DIY cleaning solutions that tackle grime, odors, and mineral deposits.
Start with 1 gallon of distilled white vinegar. This ingredient not only breaks down deposits but also eliminates unpleasant smells. Add 1 pound of Borax, a natural deodorizer that effectively targets mold and mildew.
To make application easier, use a spray bottle to create a diluted vinegar solution. This allows you to spray various surfaces inside and outside the washer. Warm water is vital during your washing cycle, as it enhances the effectiveness of your cleaning solutions.
After the wash, grab soft cloths or sponges to wipe down surfaces, ensuring you remove any remaining grime.
For a quick alternative, mix 2 cups of vinegar, 1/4 cup of baking soda, and 1/4 cup of water. This DIY cleaning solution is a great substitute for commercial cleaners.
Essential Tools Needed
A few essential tools can make cleaning your washer a breeze. Start with a gallon of distilled white vinegar; it's fantastic at removing odors and residue.
Pair that with a pound of Borax, a natural deodorizer that helps combat mold and mildew buildup. You'll also need a spray bottle for applying your cleaning solutions, guaranteeing even coverage on surfaces like the drum and detergent drawer.
Don't forget soft cloths or sponges for wiping down both the interior and exterior surfaces of the washer. This prevents grime from accumulating and keeps your machine looking fresh.
For the external surfaces, a mild detergent or glass cleaner works wonders in maintaining a clean appearance and preventing dirt buildup.
Lastly, grab a soft bristle scrub brush for those hard-to-reach areas, such as the agitator and filter. This guarantees thorough maintenance of your washer, especially during a clean cycle.
With these essential tools at your side, you're well-equipped to tackle the task of cleaning your washer effectively and efficiently.
Step One: Empty the Washer
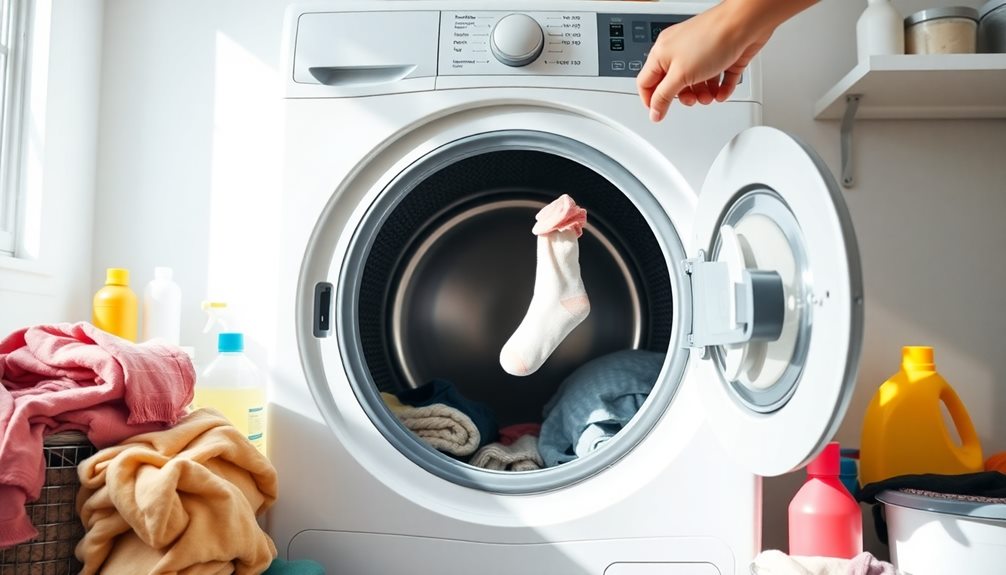
Before you start the cleaning process, it's vital to empty the washer completely.
Begin by removing all clothes and debris from the washer drum. This guarantees you have a clear workspace and allows for a thorough cleaning. As you do this, check for any leftover lint, soggy paper, or small items like coins or toys that may have been left behind in the drum. These can interfere with the cleaning agents you'll be using.
Once you've successfully emptied the washer, you're setting the stage for effective cleaning.
With the drum clear of any items, the cleaning agents will work better against mold and mildew buildup. It's important to make sure that the drum is completely empty before you move on to the next step.
To prepare for the cleaning cycle, consider pouring a mixture of 1 gallon of distilled white vinegar and 1 pound of Borax directly into the empty washer drum.
This combination is effective in tackling any lingering odors and grime. By following these steps to empty the washer, you'll be well on your way to a fresher, cleaner appliance.
Step Two: Start the Cleaning Cycle

To start the cleaning cycle, set your washing machine to a normal wash cycle and run it for just one minute.
This short burst allows the vinegar and Borax mixture to blend effectively in the drum, targeting mold and mildew.
After that minute, you'll let the solution sit for an hour for maximum cleaning power.
Initial Cycle Setup
Starting the cleaning cycle is vital to guaranteeing your washer gets the deep clean it needs. To begin the initial cycle setup, set your washer to a normal setting and initiate a wash cycle for one minute. This brief cycle allows the vinegar and Borax mixture to blend effectively within the drum, preparing it for a thorough clean.
- Breaks down mold and mildew: The vinegar works its magic by tackling those pesky growths.
- Natural deodorizer: Borax helps combat any lingering odors, keeping your washer fresh.
- Optimal mixing: The normal setting guarantees that your cleaning solution circulates effectively.
During this minute, keep an eye on the cycle to confirm that the mixture is properly agitating and circulating. This step is vital for the success of your cleaning process.
The initial cycle setup not only prepares your washing machine for a thorough soak but also enhances the effectiveness of the cleaning process that follows. By taking these steps, you'll set the stage for a washer that looks and smells like new!
Mixing Solution Effectively
Mixing your cleaning solution effectively sets the foundation for a successful washer refresh.
Begin by setting your washer to a normal wash cycle and let it run for one minute. This brief cycle is vital for mixing the vinegar and Borax effectively within the drum. Be certain to use warm water during this step, as it enhances the cleaning power of the solution and helps distribute it evenly, targeting mold and mildew throughout your washer.
After the minute has elapsed, stop the cycle. This pause allows the vinegar and Borax mixture to sit for an hour, penetrating and dissolving built-up grime.
This initial mixing phase is essential, as it prepares your washer for the subsequent soak period, maximizing the effectiveness of the cleaning agents. By taking the time to mix your solution properly, you guarantee that every corner of your washer benefits from the cleaning properties of vinegar and Borax.
Step Three: Soak and Clean
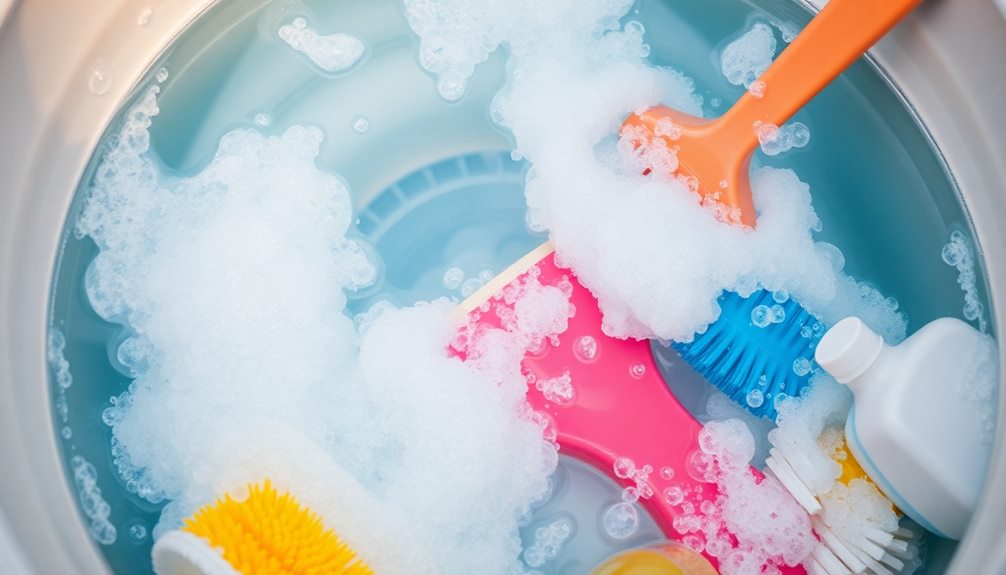
Soaking your washer with a vinegar and Borax solution is an important step in the cleaning process. This soaking period allows the solution to work its magic, penetrating and dissolving stubborn residues that accumulate over time.
You'll want to let the mixture sit in the washing machine drum for one hour to maximize its cleaning power against mold, mildew, and detergent buildup.
While the solution is soaking, take advantage of this time to tackle other laundry tasks. You could:
- Fold clothes that are waiting
- Prep your next load
- Organize your laundry supplies
The combination of vinegar's acidity and Borax's natural deodorizing properties works synergistically, effectively breaking down grime and odors.
This step is vital for ensuring your washer is primed for a thorough cleaning in the next cycle. Once that hour's up, you'll notice a significant difference, making your washing machine ready for the heavy-duty cleaning that follows.
Step Four: Run a Heavy-Duty Cycle

Now that you've soaked and cleaned your washer, it's time to run a heavy-duty cycle.
Select the longest and most vigorous wash option to really boost your cleaning power, as this will help dislodge any stubborn grime.
With higher agitation and water temperature, you'll effectively target mold and mildew while ensuring any cleaning solution is completely rinsed away.
Optimal Cycle Selection
When it comes to cleaning your washer, selecting the right cycle is essential, and running a heavy-duty cycle is one of the best ways to guarantee a deep cleanse. This cycle is designed to maximize cleaning efficiency by utilizing higher agitation and spin speeds, effectively dislodging stubborn residues.
To make certain you're making the best cycle selection, keep these tips in mind:
- Use the longest cycle available: This allows for thorough removal of built-up grime and odors.
- Run with hot water: Hot water helps dissolve lingering grime and enhances the cleaning process.
- Follow previous steps: After soaking with vinegar and Borax, the heavy-duty cycle flushes out any remaining moisture and debris.
Enhanced Cleaning Power
To enhance your washer's cleaning power, running a heavy-duty cycle is vital. This cycle utilizes the longest and most vigorous wash settings, maximizing agitation and spin speed to effectively remove moisture and debris from your washing machine.
By incorporating the heavy-duty cycle, you'll notice a significant boost in the effectiveness of the vinegar and Borax solution, guaranteeing a thorough breakdown of any remaining buildup and odors.
This cycle is particularly beneficial for tackling stubborn stains and grime that may have accumulated in hard-to-reach areas of the washer. Setting the machine to this cycle allows for ideal interaction between the cleaning agents and the washer's surfaces, promoting a deeper clean.
Additionally, regularly incorporating a heavy-duty cycle into your washing machine maintenance routine can improve its longevity and overall performance. While it may take a bit more time, the results are worth it.
Step Five: Final Wipe Down

A final wipe down is essential for keeping your washer in top condition. This step guarantees that any leftover residue is removed, preventing odors and maintaining hygiene.
Here's what you need to do:
- Create a diluted vinegar solution: Mix equal parts vinegar and water in a spray bottle.
- Spray generously: Apply the solution to the drum, gasket around the door, handle, and detergent drawer. Let it sit for a few minutes to break down any remaining grime.
- Wipe thoroughly: Use a microfiber cloth or sponge to clean all surfaces. Pay special attention to the gasket, as mold can easily accumulate there.
After you've wiped everything down, prop the door and detergent drawer open to facilitate air-drying. This helps prevent moisture buildup, which can lead to unpleasant odors.
Regularly performing this final wipe down, especially after deep cleaning, enhances your washer's longevity and keeps it smelling fresh.
Deep Cleaning Washer Components

Maintaining your washer's cleanliness goes beyond a simple wipe down; deep cleaning its components is key to peak performance.
Start by consulting your washing machine's owner's manual to safely remove the agitator and filter. Always unplug your machine before disassembly to guarantee safety. Use a socket wrench to take off the agitator bolt, then soak both the agitator and filter in a hot, soapy water solution or a DIY cleaning solution for ideal results.
After soaking, rinse them thoroughly and dry them with a microfiber cloth to prevent any moisture from lingering, which can lead to mold.
For front-load washers, pay special attention to the door gasket and detergent trays, as these areas can easily harbor mold and mildew if neglected.
Once you've cleaned these components, always prop the washer door open afterward to guarantee complete drying. This simple step will help prevent odors from developing in the future, keeping your washing machine fresh and ready for its next load.
Regular deep cleaning of these components won't only enhance your washer's performance but also extend its lifespan.
Maintenance Tips for Longevity

Regular maintenance is essential for keeping your washer running smoothly and extending its lifespan. By staying proactive, you can prevent issues like detergent buildup, mold, and mildew that can lead to unpleasant odors and inefficiencies.
- Clean your washer monthly to avoid buildup.
- Leave the door open after use for air circulation.
- Regularly check the detergent compartment and filter.
To keep your washing machine in top condition, start by cleaning it every month. This helps prevent any detergent residue and mold from forming.
After each wash, leave the door open to allow air to circulate, which helps dry out any residual moisture—especially vital for front-load models.
Consider using a mix of vinegar and baking soda to naturally deodorize and clean the drum. Additionally, don't forget to inspect and clean the detergent compartment and filter every few months.
This guarantees there are no clogs affecting performance. Finally, always follow your manufacturer's maintenance guidelines, including using the right cycle settings to maximize your washer's lifespan.
Resources for Further Assistance
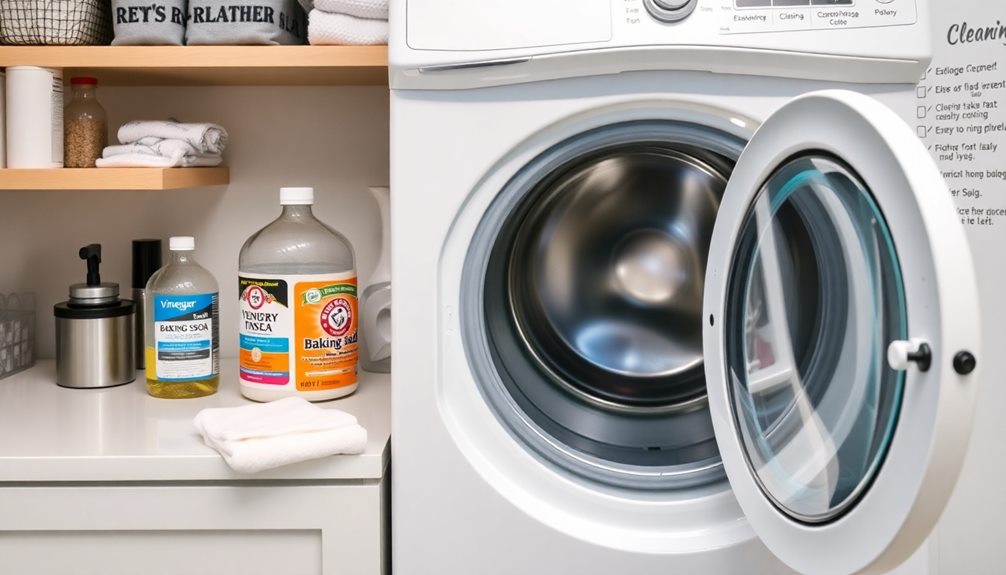
When you're looking for additional help with cleaning your washer, numerous resources are at your fingertips. Start by exploring online articles and video tutorials that provide step-by-step guidance on various cleaning methods tailored to your needs. These resources can be invaluable in your laundry room.
To maintain a healthy home environment, consider checking out the importance of air quality as you clean, ensuring the space remains fresh and free from allergens.
Don't forget to check your washing machine's owner's manual. Many manufacturers include specific cleaning instructions and maintenance tips suited to your model, ensuring you follow best practices.
Websites dedicated to household cleaning often address common issues, like mold and mildew, offering effective solutions to keep your washer in top shape.
Consider signing up for newsletters or email updates from cleaning brands. They frequently share exclusive tips, promotions, and DIY solutions to enhance your washer maintenance routine. This can be a great way to stay informed about new techniques and products that can simplify your cleaning efforts.
If you run into persistent or complex problems, don't hesitate to reach out for help. Customer service or professional cleaning services can offer personalized assistance and expert advice, giving you peace of mind in your laundry room.
Frequently Asked Questions
What Is the Best Thing to Deep Clean a Washing Machine With?
To deep clean your washing machine, try using bleach for bacteria and odors, or hydrogen peroxide for a natural option. You can also mix vinegar and baking soda for a budget-friendly, effective solution.
How Can I Thoroughly Clean My Washing Machine?
To thoroughly clean your washing machine, empty it, add vinegar and Borax, run a wash cycle, let it sit, then use a diluted vinegar solution to wipe surfaces, maintaining it monthly for best performance.
Is Bleach or Vinegar Better to Clean a Washing Machine?
When cleaning your washing machine, choose between bleach and vinegar. Bleach effectively kills bacteria and eliminates odors, while vinegar naturally dissolves stains. Just don't mix them, as that can produce harmful fumes.
What Can I Add to My Washing Machine to Self Clean It?
To self-clean your washing machine, you can add 1/2 cup of bleach, 2 cups of hydrogen peroxide, or 2 cups of vinegar with 1/2 cup of baking soda. Each option effectively eliminates odors and bacteria.
Conclusion
Cleaning your washer not only boosts its efficiency but also keeps your clothes fresher. Did you know that over 60% of people neglect this vital task, leading to musty odors and grime buildup? By following these simple steps, you can guarantee your washer runs like new and extends its lifespan. Regular maintenance is key to peak performance, so don't wait—make cleaning your washer a part of your routine. You'll thank yourself later!
