
To restore yellowed plastic on appliances, clean the surface thoroughly with soap and water. Apply a hydrogen peroxide-based treatment and expose it to sunlight or UV light for about 1-2 hours, rotating the item for even results. Lightly sanding heavily yellowed spots can improve absorption. For safe and effective restoration, avoid harsh chemicals like bleach. Keep these tips in mind, and you’ll discover more methods to bring back your plastic’s original brightness.
Key Takeaways
- Clean the yellowed plastic thoroughly with mild soap and water to remove surface dirt and oils before treatment.
- Apply hydrogen peroxide (3%-12%) evenly and expose to sunlight or UV light for 1-2 hours to activate whitening.
- Lightly sand heavily yellowed areas to improve chemical adherence and ensure even whitening results.
- Use controlled methods like professional-grade whitening products or natural sunlight to achieve uniform restoration.
- Wear protective gloves and work in ventilated areas to safely handle chemicals and UV exposure during the process.

QiwagFerng Plastic Yellowing Restorer Kit,Multi-Purpose Whitening Cleaner Spray for Air Conditioners,Toilet Seats,Household Appliances,Restores Whiteness with Cleaning Cloth (clear)
Powerful Yellowing Removal Formula:Specially formulated to effectively remove yellowing from plastic surfaces, instantly restores the original whiteness of…
As an affiliate, we earn on qualifying purchases.
As an affiliate, we earn on qualifying purchases.
Understanding Why Plastic Turns Yellow
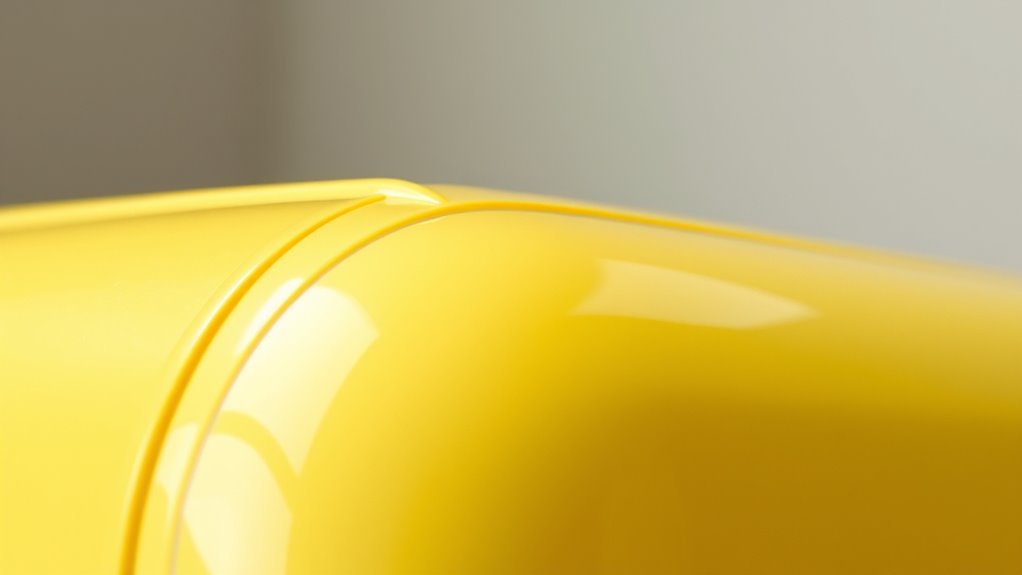
Plastic turns yellow primarily because its chemical structure breaks down when exposed to environmental factors like oxygen and UV light. When sunlight hits the plastic, UV radiation triggers photooxidative degradation, causing chain reactions that break polymers into smaller, reactive fragments. These fragments absorb light differently, leading to a yellow hue. Oxygen reacts with double bonds in polymers, especially in plastics like ABS resin, altering their structure and contributing to discoloration. Elevated temperatures accelerate thermal oxidation, further degrading the material and intensifying yellowing. Additives such as antioxidants and flame retardants can also cause or speed up yellowing, especially if they degrade or react over time. Overall, prolonged exposure to light, heat, and environmental pollutants gradually weaken the polymer’s chemical bonds, resulting in the yellowed appearance you see. Surface nanostructures formed by UV exposure also contribute to discoloration, which is a recent discovery indicating that surface changes play a significant role in the yellowing process. Additionally, the presence of environmental pollutants can accelerate this process by interacting with the surface of the plastic and promoting chemical reactions that lead to discoloration. Furthermore, oxidative degradation involves complex chemical reactions that further alter the plastic’s surface and internal structure, contributing to the yellowing effect.

Swan Hydrogen Peroxide Antiseptic Topical Solution, 16 fl. oz.
Local antiseptic to treat minor cuts and abrasions
As an affiliate, we earn on qualifying purchases.
As an affiliate, we earn on qualifying purchases.
Common Household Cleaning Methods for Yellowed Plastics
You can start by using gentle cleaning solutions like mild dish soap or detergent to remove surface dirt and oils that may hinder whitening. Rinse thoroughly and dry the plastic before applying any whitening agents for best results. For stubborn stains or intricate areas, a soft brush can help lift debris without damaging the surface. Proper cleaning before treatment ensures the whitening process is more effective. Additionally, choosing keto-friendly oils like coconut oil or avocado oil can help maintain the plastic’s integrity during cleaning.
Gentle Cleaning Solutions
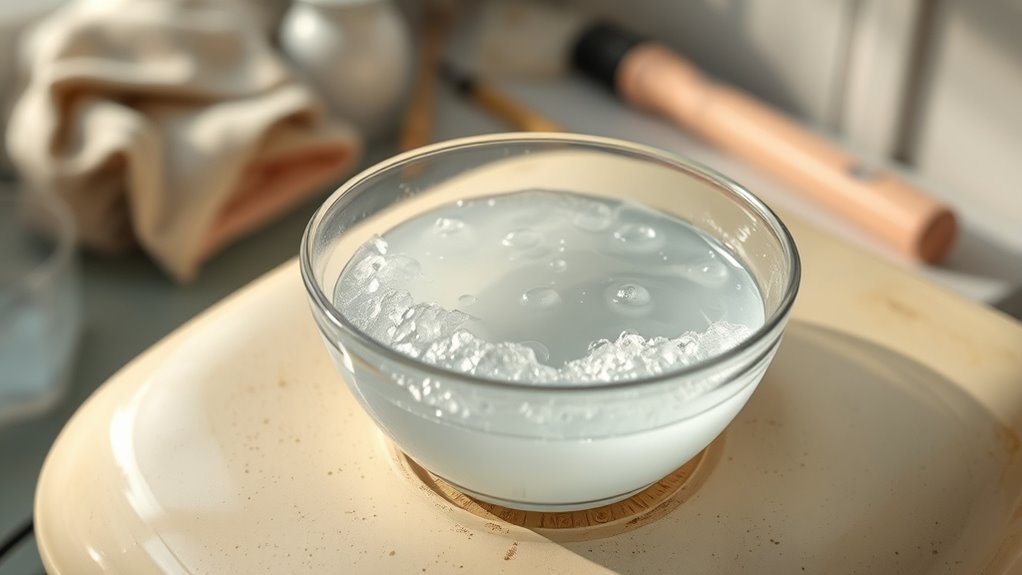
To gently restore yellowed plastics using household items, starting with a mild cleaning solution is essential. This step helps remove surface dirt without risking damage. First, use dish soap mixed with water to clean the plastic, which prepares it for further treatment. Second, hydrogen peroxide (3% to 12%) can be applied to reverse yellowing effectively; combining it with sunlight enhances results. Third, applying a baking soda paste can aid in whitening, but be careful to avoid uneven discoloration. Always test cleaning agents on a small area first. Gentle scrubbing with soft cloths or sponges ensures thorough cleaning without scratching. Additionally, understanding the importance of attention in creative practice can inspire more mindful and effective cleaning routines. Incorporating knowledge about best heat pump features and maintenance can also help prevent future appliance issues, maintaining their appearance and function over time.
Effective Stain Removal
When tackling yellow stains on plastic, household cleaning methods like bleach treatment and hydrogen peroxide application can be effective options. Bleach can remove stains but risks uneven discoloration and damage if left too long. Hydrogen peroxide, especially with UV exposure, offers a safer, more controlled whitening process, but requires proper ventilation and careful application. Baking soda is useful for mild surface grime but less effective on deep discoloration. Here’s a comparison:
| Method | Pros | Cons |
|---|---|---|
| Bleach | Good stain removal, quick | Potential damage, uneven color |
| Hydrogen Peroxide | Safe, effective with UV activation | Longer process, needs ventilation |
| Baking Soda | Gentle, non-damaging | Limited stain removal |
| UV Light Exposure | Accelerates whitening | Can worsen yellowing without treatment |
| Combined Methods | Better results, versatile | Requires careful handling |
Additionally, combining these methods with proper preparation can enhance safety and effectiveness.

Rechargeable Teeth Whitening Light 5 LED Blue UV Teeth Whitening Lamp Professional LED Accelerator Lights Only(Gel Not Included)
【Teeth Whitening Light】:Rechargeable Design For Convenient Use (Not incldue gel,But you need use with gel to Use).10 Minutes…
As an affiliate, we earn on qualifying purchases.
As an affiliate, we earn on qualifying purchases.
The Retrobright Technique: How Hydrogen Peroxide Restores Color
When you apply hydrogen peroxide to yellowed plastic, it acts as a powerful bleaching agent, reversing discoloration caused by UV exposure. By activating the peroxide with UV light, you trigger a chemical reaction that breaks down the oxidized compounds responsible for yellowing. With careful handling, this process safely restores color and refreshes your plastic items. Additionally, understanding the power of hydrogen peroxide can help you optimize the restoration process for different types of plastics. Recent advancements in AI discoveries have also contributed to more efficient and targeted restoration techniques, enhancing the effectiveness of traditional methods.
Hydrogen Peroxide Activation
Hydrogen peroxide activation lies at the core of the Retrobright process, transforming yellowed plastics back toward their original color. When exposed to UV light or sunlight, hydrogen peroxide breaks down into reactive oxygen species, which actively attack the discolored molecules. This chemical reaction oxidizes the chromophores responsible for yellowing without removing material. To maximize effectiveness, you should:
- Use peroxide concentrations between 6% and 40%, depending on the severity of yellowing.
- Ensure proper exposure to UV light or sunlight to trigger peroxide activation.
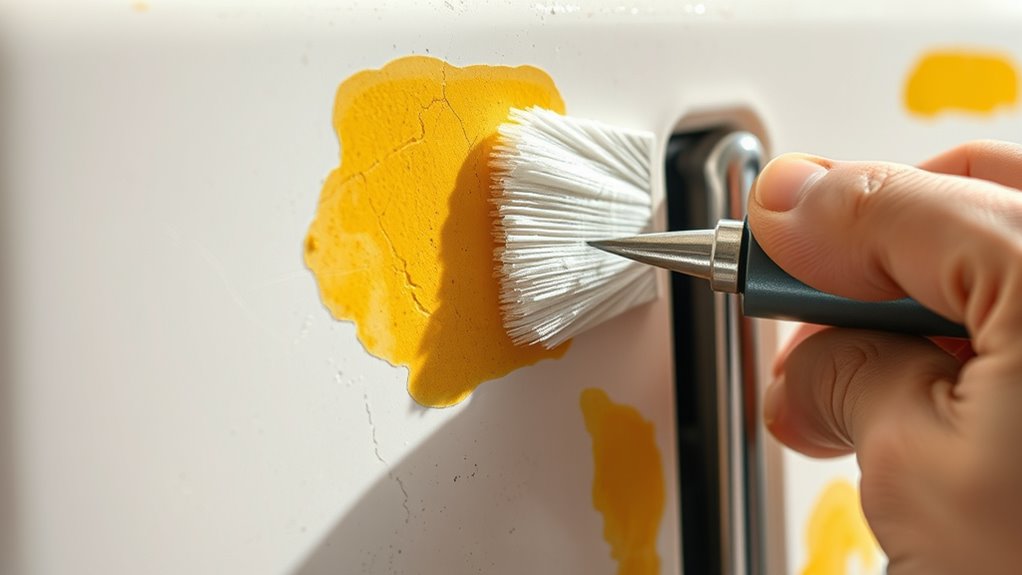
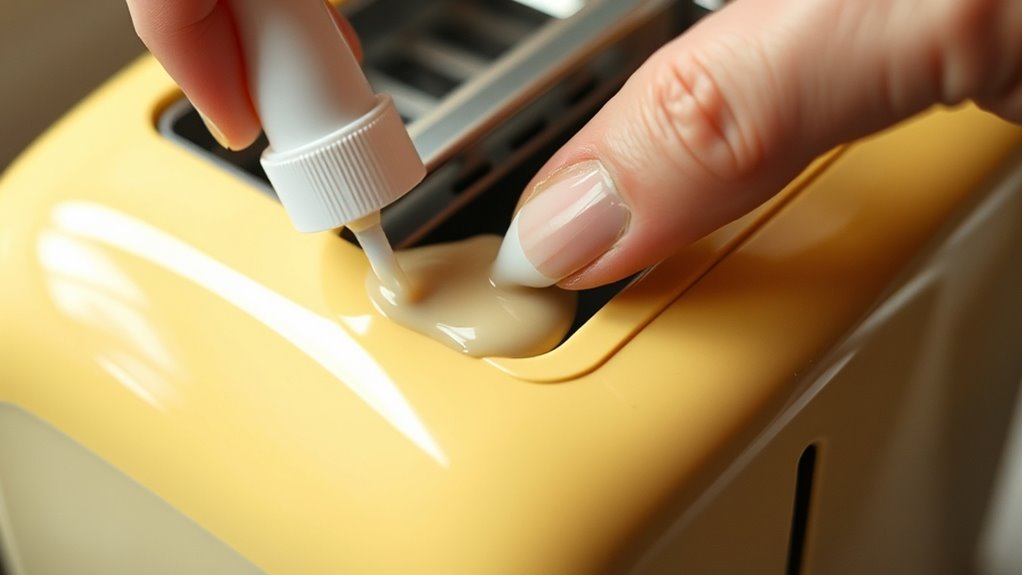
- Apply the peroxide evenly via immersion, gels, or targeted brushing, and reapply as needed for thorough treatment.
- Headphone compatible UV light sources can enhance the activation process for more consistent results. Additionally, understanding photoactivation can help optimize the process for different plastics and environments.
This precise activation process restores the plastic’s appearance while maintaining its structural integrity.
Safe Brightening Process
The Retrobright technique effectively restores yellowed plastics by carefully activating hydrogen peroxide with UV light or sunlight. To guarantee safety, always handle concentrated peroxide with gloves and in well-ventilated areas. Protect decals and painted surfaces from prolonged exposure, as they can bleach or damage easily. Use light-proof containers to store the solution and prevent premature activation. Apply Retrobright as a gel or liquid, spreading it evenly over cleaned plastic parts. Expose the parts to UV light for several hours daily, reapplying every couple of hours or when the solution dries. Both sunlight and dedicated UV lamps work well. While the process improves appearance and color evenness considerably, it’s not permanent. Proper safety precautions help achieve effective, consistent brightening without risking damage. Additionally, understanding the role of AI in Business can help optimize the restoration process through automation and data analysis techniques.
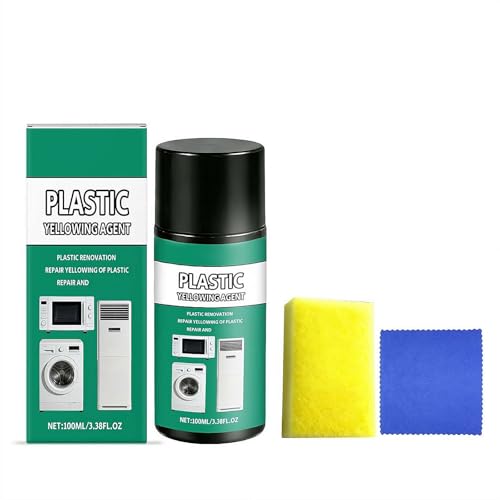
Plastic Yellowing Repair Agent 100ml – Restorer for Discolored Appliances | Refurbisher for Microwave, AC, Washing Machine | Restore White Plastic with Sponge & Cloth Kit
【Powerful Plastic Restorer】: This professional plastic yellowing repair agent uses an advanced formula to effectively reverse discoloration on…
As an affiliate, we earn on qualifying purchases.
As an affiliate, we earn on qualifying purchases.
Preparing Your Plastic Items for Retrobright Treatment
Preparing your plastic items properly guarantees the retrobright treatment works effectively and safely. To set up, first verify your workspace is protected.
- Cover surfaces with old newspapers or disposable sheets to prevent spills.
- Use glass or ceramic containers for mixing the creme developer, avoiding metal that could react.
- Fully disassemble plastic items from electronics and remove labels or stickers to prevent moisture damage during treatment.
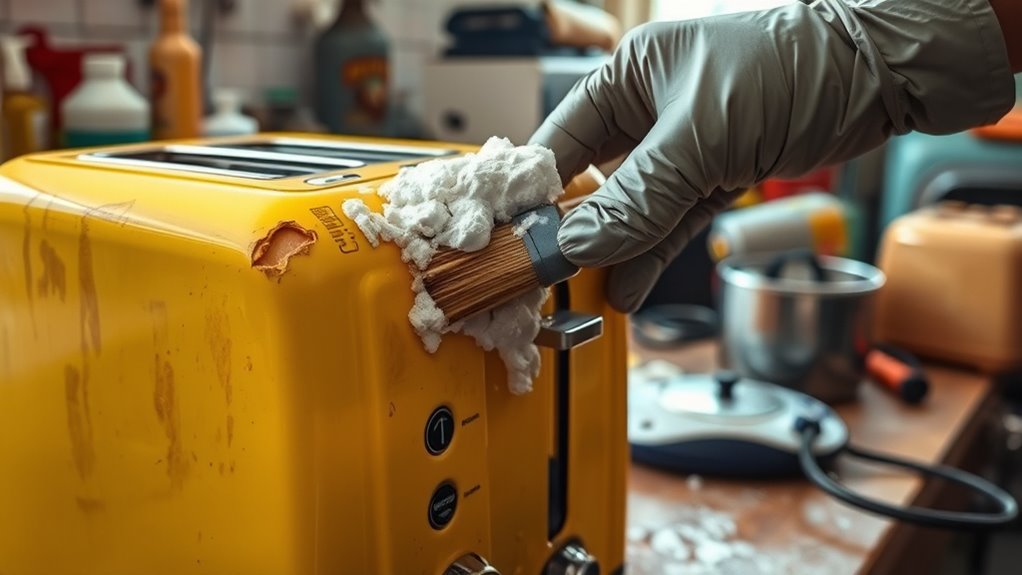
Next, clean the plastic thoroughly with mild detergent to eliminate dirt, oils, and residues. Dry completely to prevent dilution of the chemicals. Check for cracks or damage, as fragile plastics may worsen. Lightly sand severely yellowed surfaces to enhance chemical adherence, but be cautious not to cause damage.
Additionally, understanding candy varieties can inspire creative ways to restore or repurpose colorful plastics and decorations associated with vintage or novelty items. Recognizing the importance of data privacy in the context of digital records can also guide you in safely handling any stored information related to your items.
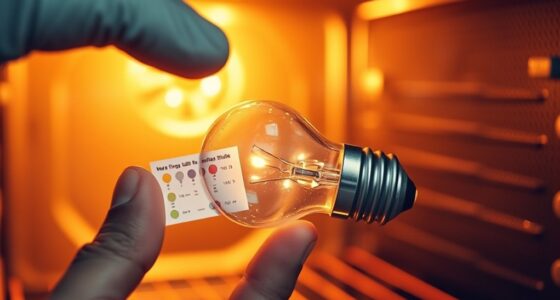
Step-by-Step Guide to Applying Hydrogen Peroxide and UV Light

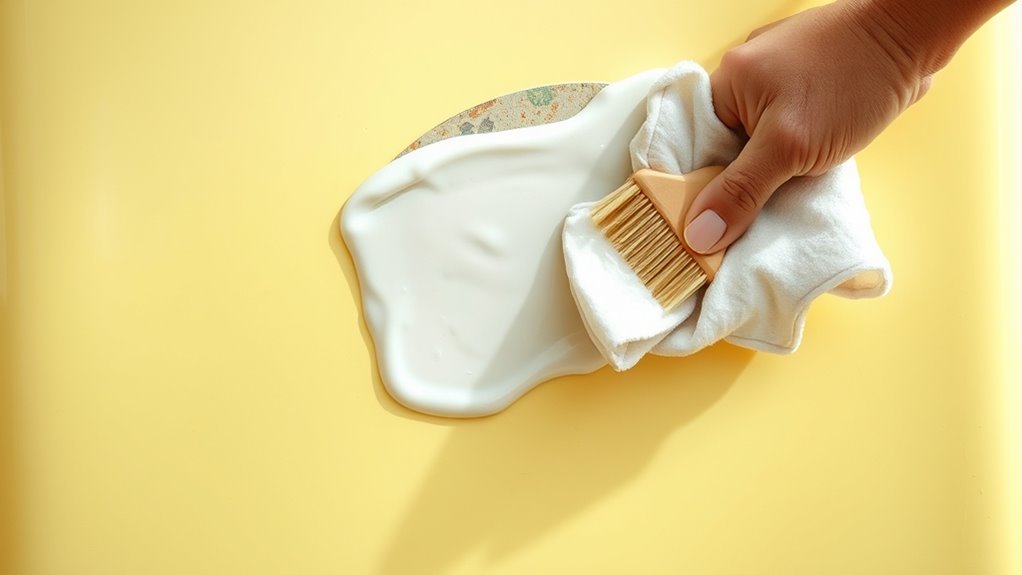
Applying hydrogen peroxide and UV light effectively requires careful preparation and attention to detail. First, thoroughly clean your plastic to remove dirt and oils, ensuring even application. Next, apply hydrogen peroxide cream or liquid evenly using a brush or by submersion, covering all surfaces. Wrap the item with clear plastic wrap to keep the peroxide moist. Placing the plastic under direct sunlight or a UV lamp facilitates the UV-C light technology, which kills bacteria and viruses through ultraviolet radiation, for 1 to 2 hours, rotating frequently for uniform exposure. Use the following table to help plan your process:
| Step | Method | Duration |
|---|---|---|
| Surface preparation | Clean with soap and water | 5 minutes |
| Applying peroxide | Spread evenly or submerge | 10 minutes |
| Wrapping | Cover with plastic wrap | Immediate |
| UV exposure | Sunlight or UV lamp | 1-2 hours |
| Final rinse | Wash and dry | 5 minutes |
Additionally, maintaining proper moisture levels during the process can enhance the effectiveness of the treatment.
Comparing Chemical Treatments: Bleach, Salon Bleach, and Natural Methods
When choosing a method to restore yellowed plastic, understanding the differences between chemical treatments and natural options is essential. Chemical treatments like bleach and Salon Care 40 work quickly by breaking down oxidized layers, often delivering more noticeable results. However, they require careful handling to avoid damage or uneven discoloration. Natural methods, such as sunlight exposure, are safer and environmentally friendly, but typically take longer and may not completely restore heavily oxidized plastics.
Choosing between chemical and natural methods depends on your yellowed plastic’s condition and safety preferences.
Consider these options:
- Household bleach can dissolve yellowed layers but risks uneven results and potential damage.
- Salon Care 40 provides a controlled, professional-grade approach with more uniform whitening.
- Sunlight offers a gentle, chemical-free alternative, ideal for mild yellowing but slower in effect.
Tips for Achieving Even Whitening Results
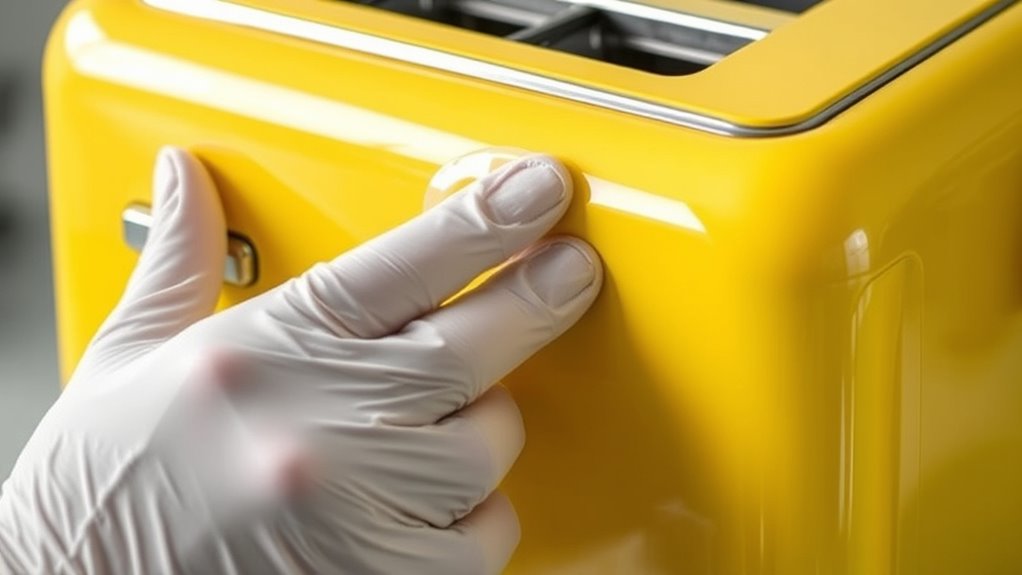
Achieving an even whitening result starts with proper surface preparation. First, clean the plastic thoroughly with mild detergent or dish soap to remove dirt, oils, and residues. Make sure it’s completely dry, as moisture can hinder even application. Inspect the surface for cracks or damages; smooth or sand rough areas to create a uniform base, avoiding glossy spots that reflect uneven results. Mask off zones you don’t want whitened to maintain control. When applying the whitening agent, use a consistent layer, spreading it evenly with brushes or sponges to prevent thick or thin spots. Wrapping the item in clear plastic wrap helps keep the agent moist and promotes uniform reaction. Reposition or rotate the item during treatment to ensure all sides receive equal exposure to light and treatment. Additionally, understanding the effects of UV exposure can help optimize the whitening process for best results. Proper surface preparation is essential for achieving a uniform and professional-looking finish.
Safety Precautions When Using Chemical and UV Treatments
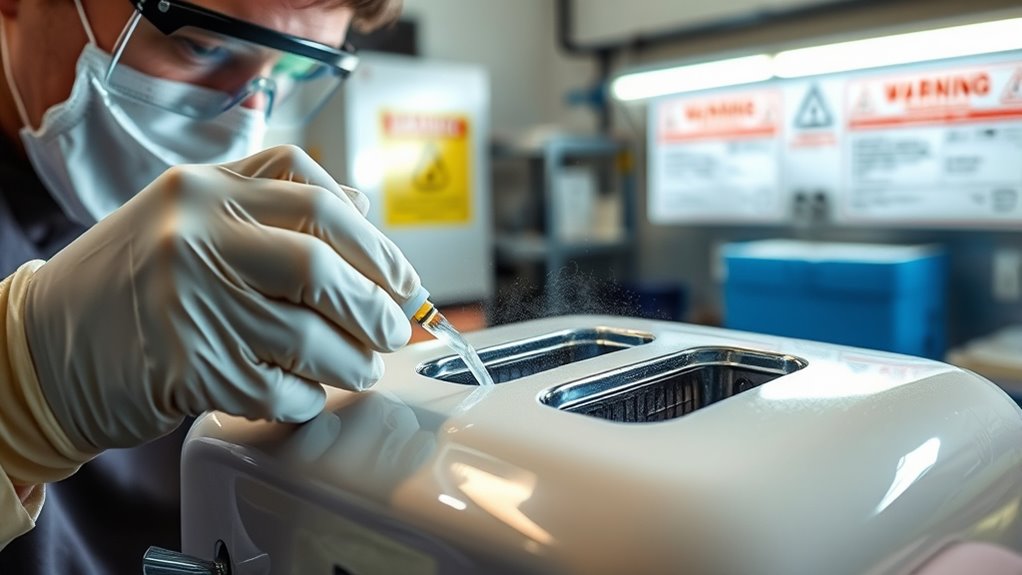
Using chemical and UV treatments to restore yellowed plastic can be effective, but safety precautions are essential to protect yourself and your surroundings. First, always wear gloves and eye protection to prevent skin and eye contact with harsh chemicals like hydrogen peroxide or bleach. Second, work in a well-ventilated area to avoid inhaling fumes that can irritate or harm your respiratory system. Third, shield your skin and eyes from direct UV exposure by using goggles and protective clothing, and limit exposure time to prevent burns or plastic damage. Additionally, do not mix chemicals, store them safely out of children’s reach, and dispose of residues responsibly. Proper safety protocols ensure your safety while achieving the best possible results. Remember that certain smart toilet features, such as self-cleaning functions, can also assist in maintaining hygiene without the need for harsh chemicals.
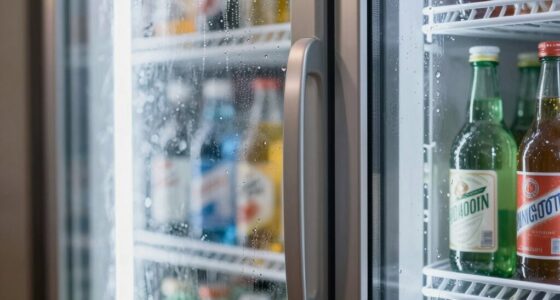
Maintaining and Preventing Future Discoloration of Plastic Appliances
To keep your plastic appliances looking their best, regular cleaning plays a key role in preventing yellowing and surface damage. Use mild soap and warm water often to remove dirt and oils that trap stains and speed up discoloration. Avoid abrasive cleaners, which can scratch plastic surfaces and make them more prone to yellowing. After cleaning, wipe appliances dry to prevent water spots that dull their appearance. Microfiber cloths are ideal for gentle cleaning without microabrasions. Protect your appliances from UV damage by limiting direct sunlight exposure, using UV-resistant sprays, and storing unused items in UV-blocking covers. Proper ventilation and controlling humidity also help reduce environmental factors like smoke and grease. Regular inspections and proactive care can profoundly extend the freshness and brightness of your plastic appliances. Additionally, understanding the causes of plastic discoloration can help you implement targeted prevention strategies for long-term preservation. Maintaining proper ventilation further minimizes exposure to damaging environmental elements that accelerate discoloration.
Frequently Asked Questions
Can Retrobright Damage or Weaken Plastic Over Time?
Yes, retrobright can damage or weaken plastic over time. It uses hydrogen peroxide, which causes oxidation that breaks polymer chains and can lead to structural weakening. Repeated or prolonged treatments increase this risk, potentially causing cracks or embrittlement. To minimize damage, use diluted solutions, limit UV exposure, and avoid applying retrobright on plastics needing long-term preservation. Protective coatings can also help slow deterioration after treatment.
Is Hydrogen Peroxide Safe for All Types of Plastics?
Hydrogen peroxide isn’t safe for all plastics. You should avoid using it on polypropylene or other plastics that aren’t resistant to oxidation, as it can cause brittleness or degradation. It works well with certain polyethylene types and PTFE, but you need to verify compatibility first. Always use the correct concentration and limit exposure time to prevent damage. When in doubt, test on a small area first to confirm safety.
How Long Does the Whitening Process Typically Take?
The whitening process usually takes between 6 to 24 hours to see visible results. You might notice bubbling or whitening effects after just a few hours under sunlight or UV light, with overnight treatments often delivering significant whiteness. Keep in mind that the exact time depends on plastic type, thickness, and your chosen method. Monitoring your progress helps prevent over-bleaching and guarantees the best possible restoration.
Will Retrobright Work on Colored or Transparent Plastics?
Retrobright can work on colored and transparent plastics, but with caution. It effectively restores yellowed transparent plastics, especially when combined with UV and ozone exposure. For colored plastics, it can sometimes revert to the original hue, but risks include uneven streaks, fading, or damage to decals. You should apply it carefully, using gel forms and even coverage, and expect multiple treatments for ideal results. Always prioritize safety during application.
Are There Eco-Friendly Alternatives to Chemical Whitening Methods?
You can opt for eco-friendly alternatives like using natural light exposure, hydrogen peroxide, baking soda, lemon juice, or vinegar to whiten yellowed plastics. These methods avoid harsh chemicals and reduce environmental impact. You also might consider replacing plastic parts with sustainable options like glass, ceramic, or wood, which don’t require whitening. Adopting DIY natural cleaning routines and choosing eco-friendly brands helps maintain your appliances while protecting the planet.
Conclusion
With a little patience and the right touch, you can breathe new life into your yellowed plastics, turning faded relics back into vibrant treasures. Think of it as giving your appliances a second sunrise, where color and brightness dawn anew. By understanding the causes and applying gentle, effective methods, you’re not just restoring plastic—you’re reviving memories and reclaiming shine. So, roll up your sleeves and let your appliances glow with renewed freshness, ready to brighten your everyday moments.