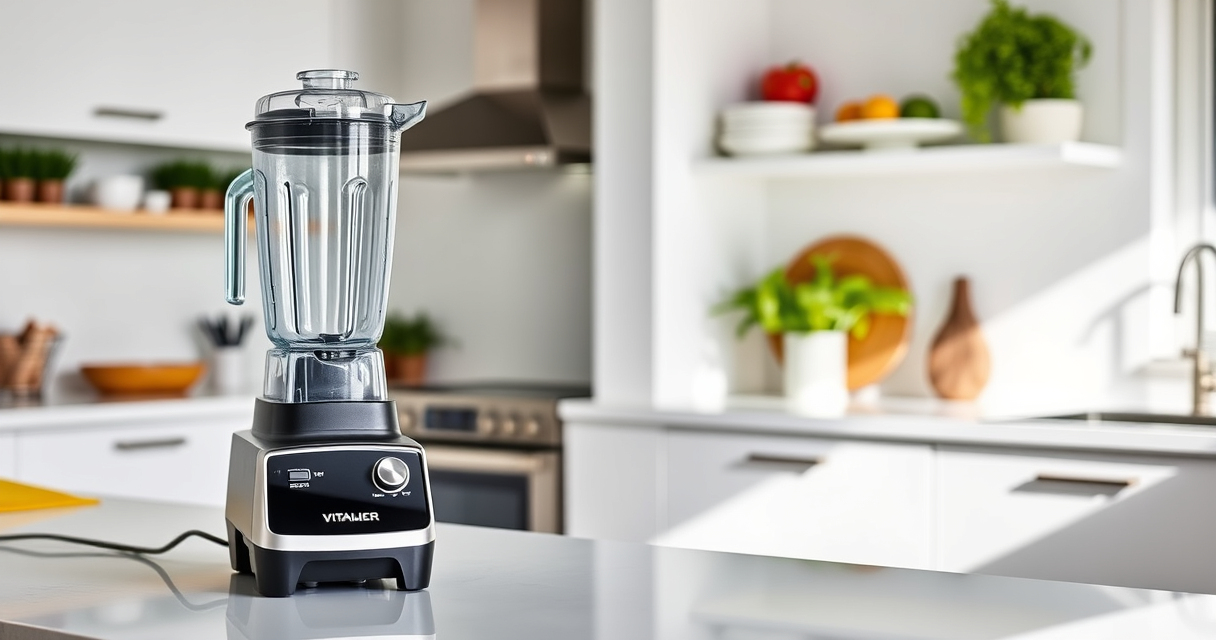
Maintaining your Vitamix Ascent X3 Blender is essential for consistent performance and durability. Whether you’re experiencing blending issues or just want to keep your machine in top shape, this comprehensive guide provides practical, safe, and effective troubleshooting and care steps. From basic cleaning to more advanced troubleshooting, you’ll find clear instructions to keep your Vitamix running smoothly for years to come.
Open a free Amazon Business account
Business pricing, bulk buying and tax-exempt orders.
Create a free accountAs an affiliate, we earn on qualifying purchases.
Understanding your blender’s features and common issues empowers you to perform simple repairs and maintenance, saving time and money. Let’s dive into the essential steps to troubleshoot, clean, and care for your Vitamix Ascent X3 Blender.
Key Takeaways
| Regular cleaning prolongs lifespan | Clean your blender after each use to prevent residue buildup. |
| Troubleshoot before replacing parts | Identify simple issues like jams or clogs first. |
| Proper assembly is crucial | Ensure blades and containers are correctly attached. |
| Use recommended replacement parts | Replace blades or containers with OEM parts for best results. |
| Avoid overloading | Do not exceed recommended capacity or blend tough ingredients without prep. |
Basic Cleaning and Maintenance
- Start by unplugging your Vitamix to ensure safety.
- Remove the container from the motor base and disassemble the lid, tamper, and blade assembly if needed.
- Wash the container, lid, and tamper with warm, soapy water. Use a soft brush for stubborn residues.
- For the blades, check for any stuck ingredients or buildup. Use a brush to clean around the blades carefully.
- Reassemble all parts and run the Self-Cleaning Program: add warm water, a drop of dish soap, and select the program. This takes about 60 seconds.
- Dry all components thoroughly before reassembling to prevent mold and corrosion.
Regular cleaning ensures that residues do not affect blending performance and that your blender stays hygienic.
Troubleshooting Common Issues
- Blender not turning on: Ensure the power cord is plugged in securely. Check the circuit breaker or outlet with another device.
- Blades not spinning: Remove the container and inspect for jams or obstructions. Clear any stuck ingredients.
- Unusual noises or vibrations: Verify the container is seated correctly and that blades are not damaged or loose.
- Blender stops mid-blend: Check for overheating. Allow the motor to cool down for 15 minutes before resuming.
- Poor blending results: Ensure ingredients are cut into smaller pieces and not exceeding capacity limits.
Replacing the Blade Assembly
If blades become dull or damaged, replacing the wet blade assembly is recommended. Use only OEM parts like the Vitamix Wet Blade Assembly (asin=B0028Y4CT6) to ensure compatibility and performance.
- Unplug the blender and remove the container from the base.
- Unscrew the existing blade assembly from the container.
- Carefully install the new blade assembly, tightening it securely without over-tightening.
- Reassemble the container and test the blender with a small batch of ingredients.
Regularly inspecting and replacing blades prevents inefficient blending and extends the life of your appliance.
Extending Your Blender’s Lifespan
Proper care extends the lifespan of your Vitamix. Always use the recommended containers and parts. Avoid blending very hot ingredients abruptly to prevent warping or damage. Keep the blender in a dry, cool place away from direct sunlight.
Perform periodic checks on the power cord and motor base for signs of wear. Store the tamper and accessories properly to prevent damage. If you notice persistent issues despite troubleshooting, consult a professional or contact Vitamix customer support for repairs.
When to Seek Professional Service
If basic troubleshooting does not resolve your issues, or if you experience electrical problems, strange noises, or persistent overheating, professional servicing is recommended. Do not attempt to disassemble the motor base yourself, as this may void your warranty. Always use authorized parts for repairs to ensure safety and reliability.
The Products in This Guide

Vitamix Ascent X3 Blender
- ✔ Weight: 13 lbs
- ✔ Dimensions: 8 x 9 x 20 inches
- ✔ Warranty: 5 years

Vitamix Wet Blade Assembly
- ✔ Weight: 1.5 lbs
- ✔ Dimensions: 4 x 4 x 2 inches
- ✔ Warranty: 1 year
Vitamix Ascent X3 Blender
The Vitamix Ascent X3 Blender is a professional-grade appliance perfect for smoothies, soups, and more. Its self-cleaning feature and intuitive controls make it easy to maintain and operate. Proper troubleshooting and regular care will ensure it performs optimally for years.
Pros:
- Powerful stainless-steel blades
- Self-cleaning program
- Multiple blending programs
- User-friendly touch controls
Cons:
- Not compatible with older containers
- Requires careful handling of blades
- Higher price point
Best for: Home chefs wanting a versatile, durable blender
Not ideal for: Users with limited space or budget constraints
Bottom line: A versatile, easy-to-maintain blender suitable for daily kitchen use.
Vitamix Wet Blade Assembly
The Vitamix Wet Blade Assembly is designed for quick replacements and ensures your blender maintains peak performance. Made of hardened stainless steel, it handles ice crushing and pureeing effortlessly, with bearings that keep noise and wear to a minimum.
Pros:
- Durable stainless steel
- Fits multiple container sizes
- Quiet operation
- Easy to replace
Cons:
- Not compatible with newer containers
- Limited to standard containers
- Replacement cost
Best for: Maintaining optimal blade sharpness and performance
Not ideal for: Owners of newer Vitamix models or low-profile containers
Bottom line: A reliable replacement blade that restores peak performance.
Frequently Asked Questions
How often should I clean my Vitamix?
Clean your Vitamix after each use with warm, soapy water or the Self-Cleaning Program to prevent residue buildup.
What should I do if my blender won’t turn on?
Check that it is plugged in securely, the outlet is functional, and the motor base is correctly assembled. Reset circuit breakers if needed.
Can I replace the blades myself?
Yes, with the proper OEM part like the Vitamix Wet Blade Assembly, you can replace blades yourself following safety instructions.
Is it safe to blend hot ingredients?
Yes, the vented lid and lid plug allow hot ingredients to be blended safely, and the container can handle temperatures for hot soups.
How do I troubleshoot poor blending results?
Ensure ingredients are cut into smaller pieces, do not overload the container, and verify the blades are clean and sharp.
Keeping Your Vitamix at Peak Performance
Proper troubleshooting and maintenance are key to ensuring your Vitamix Ascent X3 Blender delivers consistent, high-quality results. Regular cleaning, timely replacement of blades, and correct assembly will extend its lifespan and performance. Don’t hesitate to consult the user manual or contact customer support for complex issues. With attentive care, your Vitamix will remain a reliable kitchen companion for years to come.
Affiliate disclosure: As an Amazon Associate we earn from qualifying purchases. Prices and availability are accurate as of the time of publishing.
NFL season / tailgating Picks
team gear
As an affiliate, we earn on qualifying purchases.