To clean your refrigerator coils safely, first turn off and unplug the appliance. Locate the coils, usually at the back or beneath the fridge, and gather a soft brush, vacuum with a hose attachment, and mild cleaning solution. Gently brush and vacuum away dust and debris, then wipe the coils with a damp cloth or use a coil cleaner if needed. Make certain everything is dry and reassemble before plugging in. If you continue exploring, you’ll find tips to keep your fridge running smoothly.
Key Takeaways
- Always unplug the refrigerator before cleaning to prevent electrical shock and protect internal components.
- Locate coils (back, underneath, or behind panels) and ensure easy access without damaging parts.
- Use soft brushes and a vacuum with a hose attachment to gently remove dust and debris from coils.
- Apply a coil cleaner or mild detergent, then wipe with a damp cloth, ensuring coils are dry before reassembly.
- Reattach panels securely, plug in the refrigerator, and verify proper operation after cleaning.
Turn Off and Unplug Your Refrigerator
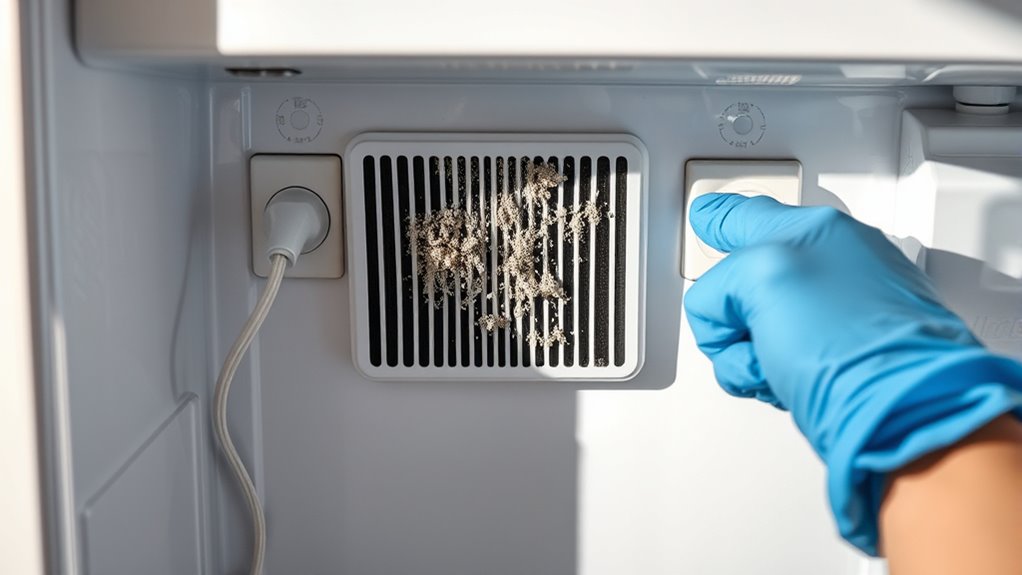
Have you ever tried to clean your refrigerator coils without turning it off first? It’s a risky move that can lead to electric shock or damage. Before you start, locate the power cord and unplug your refrigerator from the outlet. This guarantees no power runs through the appliance while you’re working on it. Turning it off and unplugging not only keeps you safe but also prevents the compressor from running, which could cause injury or make cleaning more difficult. Never skip this step, even if you’re in a rush. Always double-check that the refrigerator is completely disconnected before you begin cleaning the coils. This simple safety measure protects you and prolongs the life of your appliance. Additionally, understanding the importance of electrical safety can help you avoid accidents and ensure a safe cleaning process. Being aware of proper safety procedures ensures you handle appliances carefully and responsibly during maintenance. Remember, the electric components inside the refrigerator can retain residual charge, so caution is always advised. Moreover, following manufacturer guidelines can help prevent damage and ensure effective cleaning. Recognizing the importance of proper maintenance can also extend the lifespan of your refrigerator and keep it running efficiently.
Locate Your Refrigerator Coils

To clean your refrigerator coils, you first need to find where they are. Look for coils either at the back of the unit or underneath it, depending on your model. Once you spot them, check if they’re easily accessible for cleaning or if you need to move the fridge slightly. It’s also helpful to understand the location of essential oils for optimal safety when using them around appliances. Additionally, understanding automation’s role in business intelligence can help you streamline maintenance schedules and monitor coil performance over time. Being aware of data privacy challenges is crucial when utilizing smart home devices to ensure your information remains secure.
Find Coil Location
Wondering where to find your refrigerator’s coils? They’re usually located in one of three spots:
- At the back of the fridge – behind a panel or cover that you can remove. Knowing how to safely access appliance components can prevent damage and injury. Many refrigerators, including modern Honda models, feature accessible coil designs that facilitate easier cleaning. Recognizing angel numbers can also symbolize readiness for positive changes in your home and life.
- Underneath the unit – accessible by pulling out the refrigerator or lifting a removable grille.
- Behind the kickplate or toe grille – at the bottom front, often hidden behind a decorative vent.
Check these locations first. The coils are typically a series of thin, metal tubes or fins that look like a radiator. Knowing their exact location helps you prepare for safe cleaning and prevents unnecessary movement of your fridge. Additionally, understanding the coil design can make the cleaning process more efficient. Once located, you’re ready to proceed with cleaning safely.
Check Coil Accessibility
Before you start cleaning, it’s important to check how accessible your refrigerator’s coils are. Look behind or beneath your fridge to locate them. Some models have coils on the back panel, which are easy to reach by pulling the fridge away from the wall. Others have coils on the bottom, concealed behind a grille or panel that may need to be removed. If you see a panel or grille, determine if it’s secured with screws or clips. Confirm whether you can clean the coils comfortably with tools like a brush or vacuum hose, or if you’ll need to move the fridge further for better access. Knowing the coil’s location and accessibility helps you plan your cleaning process efficiently and safely. Additionally, understanding coil placement can prevent damage to your appliance during cleaning. It’s also helpful to review the manufacturer’s instructions to ensure you don’t void any warranties when performing maintenance. Being aware of potential hazards, such as electrical components, can also enhance your safety during the process. For example, consulting the latest AI-driven smart home security systems can alert you to electrical issues or safety concerns while working around appliances.
Gather the Necessary Cleaning Tools
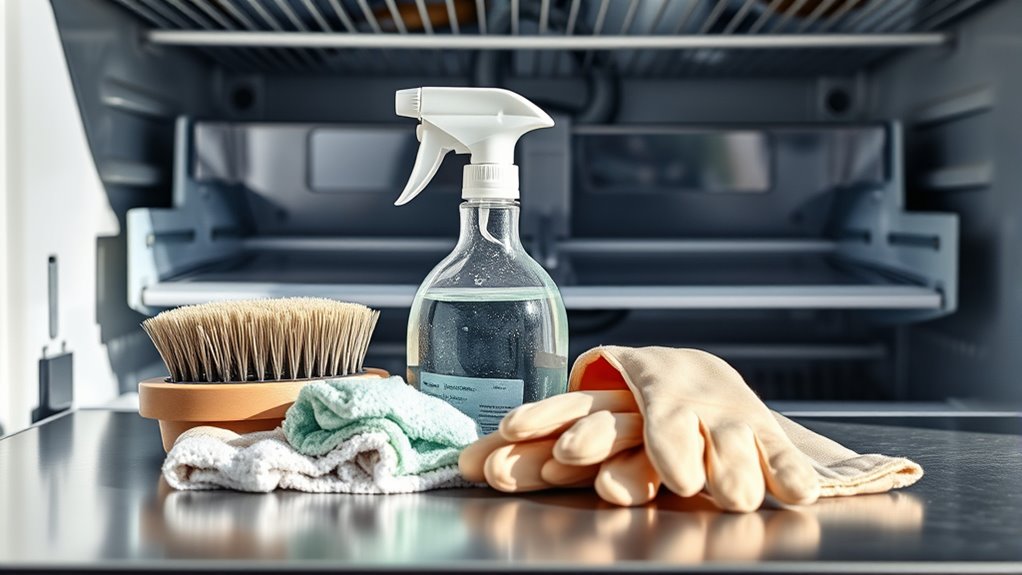
Gathering the right cleaning tools is essential to effectively clean your refrigerator coils. First, you’ll need a soft-bristle brush or a coil cleaning brush to loosen dust and debris. Second, have a vacuum cleaner with a hose attachment ready to suction away loosened dirt. Third, keep a damp cloth or microfiber towel on hand to wipe down the coils and surrounding areas. Using the proper tools guarantees you remove dust without damaging the coils or spreading dirt elsewhere. Make sure your tools are clean and in good condition to avoid introducing additional grime. Having everything prepared before you start makes the process smoother and more efficient, helping you maintain a clean, energy-efficient refrigerator. Additionally, understanding the importance of preventive maintenance can prolong the lifespan of your appliance and improve its performance.
Remove Dust and Debris With a Brush or Vacuum
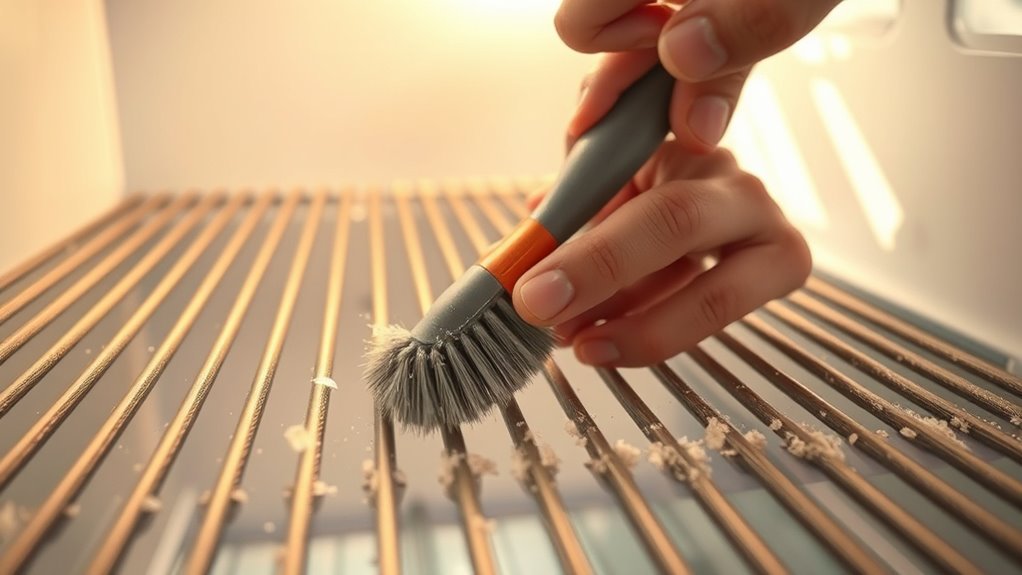
Choose the right brush or vacuum attachment to effectively remove dust and debris from your coils. Using the correct tool guarantees you clear out dirt without damaging the coils. This step is key to maintaining your refrigerator’s efficiency and prolonging its lifespan.
Choosing the Right Tool
Using the right tool makes cleaning refrigerator coils easier and more effective. A sturdy brush or a vacuum with a brush attachment works best. When choosing your tool, consider these points:
- Brush Type: Use a coil brush or a stiff-bristled brush to dislodge dust without damaging coils.
- Vacuum Power: Select a vacuum with enough suction to pull debris away efficiently.
- Attachments: Ensure your vacuum has a narrow nozzle or crevice tool for reaching tight spaces.
Using the right tool prevents damage and makes the process faster. A dedicated coil brush is great for deep cleaning, while a vacuum is ideal for quickly removing surface dust. Pick the tool that matches your comfort level and the coil’s accessibility.
Effective Dust Removal
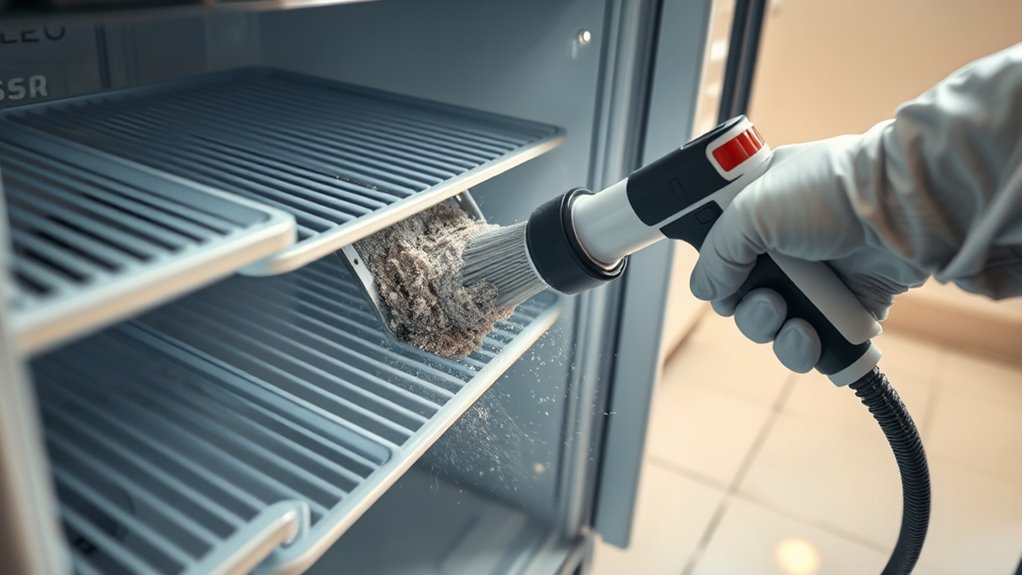
Wondering how to effectively remove dust and debris from your refrigerator coils? The best way is to use a brush or a vacuum with a brush attachment. Gently loosen dust and dirt from the coils without applying too much pressure. If you’re using a brush, opt for a coil cleaning brush or an old toothbrush, and work in small sections. For a vacuum, set it to low power and carefully run the brush attachment over the coils, making sure to catch all debris. Be thorough but gentle to avoid damaging the coils. Regular dust removal keeps your refrigerator running efficiently and prevents overheating. Remember, consistent cleaning with the right tools makes a big difference in prolonging your appliance’s lifespan.
Use a Coil Cleaner or Mild Detergent Solution if Needed
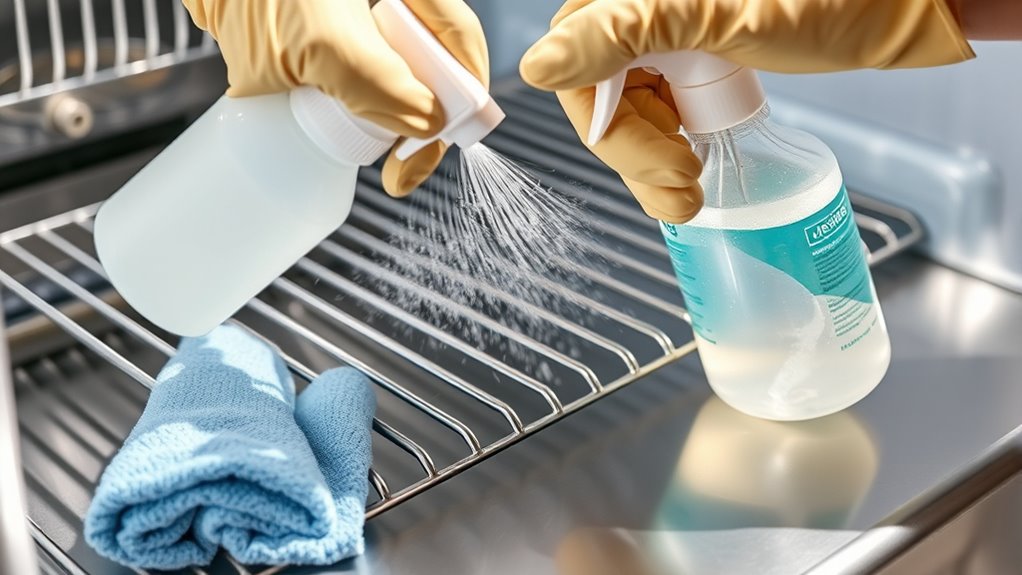
If your refrigerator coils are especially dirty or greasy, applying a coil cleaner or a mild detergent solution can make cleaning more effective. You can choose from commercial coil cleaners or make a simple solution with water and gentle dish soap. Here’s what to do:
- Select a suitable cleaner or detergent that’s safe for coils.
- Spray or apply the solution directly onto the coils, ensuring full coverage.
- Let it sit for a few minutes to loosen grime before rinsing or wiping away.
Using a coil cleaner or mild detergent helps break down stubborn grease and dirt, making the removal easier. Always follow the instructions on the product label and avoid harsh chemicals to prevent damage. This step ensures your coils stay clean and your refrigerator runs efficiently.
Gently Clean and Wipe Down the Coils

Once you’ve loosened dirt and grease with a cleaning solution, it’s important to carefully wipe down the coils to remove any remaining debris. Use a soft cloth or sponge to delicately clean the coils without applying too much pressure. This prevents damage to the delicate fins and ensures you don’t push dirt further into the coils. Wipe in the direction of the coil fins to avoid bending or breaking them. If you encounter stubborn spots, dampen your cloth slightly and gently work on those areas. Take your time to cover all surfaces thoroughly, making sure no dust or grime is left behind. Remember, gentle pressure is key to cleaning the coils effectively without causing damage.
Rinse and Dry the Coils Thoroughly
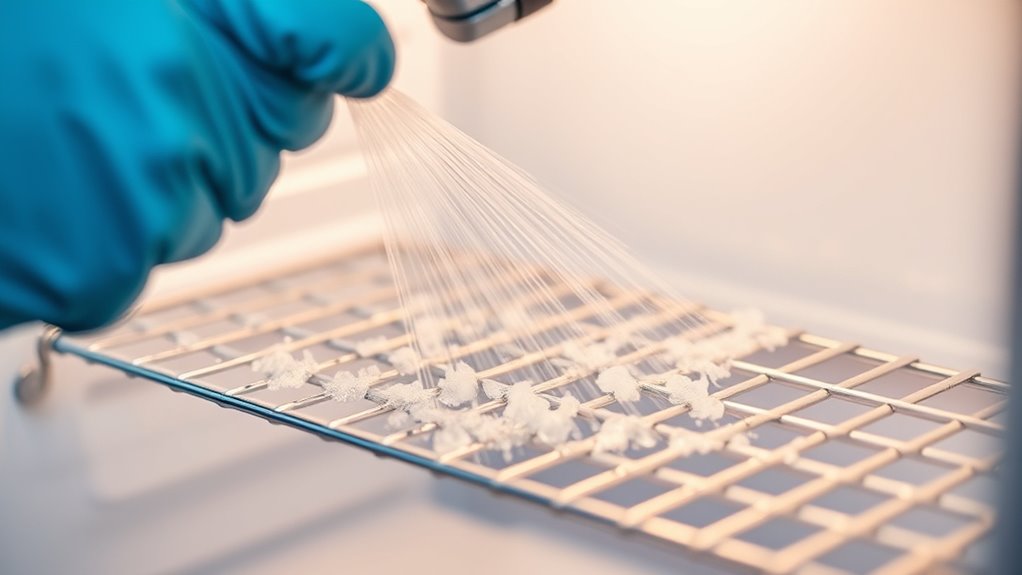
After you’ve wiped down the coils, it’s essential to rinse away any remaining cleaning residue to prevent buildup. Use a damp cloth or sponge with clean water to gently wipe over the coils, ensuring all soap or cleaning solution is removed. This step helps maintain proper airflow and efficiency. To dry the coils thoroughly, follow these tips:
- Pat the coils dry with a clean towel to remove excess moisture.
- Allow the coils to air dry completely before reassembling or plugging in the fridge.
- Check for any remaining damp spots and wipe them dry to prevent mold or corrosion.
Taking your time ensures no residue is left behind and that the coils are completely dry, promoting ideal refrigerator performance.
Reassemble and Plug In Your Refrigerator

Before reassembling and plugging in your refrigerator, make certain the coils are completely dry and free of any debris or residue. Check that all parts are securely reattached and properly aligned to prevent any gaps or loose connections. Carefully place any panels or covers back into position, ensuring they snap or screw in firmly. Once everything looks in order, plug the refrigerator back into the power outlet. Confirm that the cord is undamaged and positioned safely away from any obstructions. Turn on the unit and listen for normal operation—no unusual noises or vibrations. Give the fridge a few hours to stabilize, and then verify that it’s cooling properly. Taking these steps ensures your refrigerator runs efficiently and safely after cleaning the coils.
Perform Regular Maintenance Checks
Regular maintenance checks are essential to keep your refrigerator running smoothly and efficiently. By inspecting your appliance regularly, you catch potential issues early. Focus on these key areas:
Routine fridge maintenance keeps your appliance efficient and helps prevent costly repairs.
- Clean the coils: Dust and debris can impair efficiency, so check and clean your coils every 6-12 months.
- Check door seals: Ensure gaskets are tight and free of cracks to prevent cold air leaks.
- Monitor temperature settings: Keep the fridge at 37-40°F and the freezer at 0°F for ideal performance.
Performing these checks helps prevent costly repairs and extends your refrigerator’s lifespan. Schedule a quick inspection monthly, and address problems promptly. Staying proactive saves energy and keeps your food fresh longer.
Frequently Asked Questions
How Often Should I Clean My Refrigerator Coils?
You should clean your refrigerator coils every six to twelve months, depending on how much dust or pet hair accumulates in your home. Regular cleaning keeps your fridge running efficiently and prevents overheating. If you notice your refrigerator is noisy or not cooling properly, it’s time to check the coils sooner. Keeping them clean helps save energy and extends the lifespan of your appliance.
Can I Use a Pressure Washer to Clean Coils?
Using a pressure washer to clean refrigerator coils isn’t recommended. The high pressure can damage delicate coils or push debris further inside. Instead, you should turn off the fridge, unplug it, and gently vacuum or brush the coils with a coil brush or a soft brush. This method safely removes dust and dirt without risking damage, ensuring your refrigerator runs efficiently and lasts longer.
Are There Any Safety Precautions for Cleaning Coils?
Coincidentally, safety is key when you’re cleaning coils. You should unplug the refrigerator first to avoid electrical shocks. Wear gloves and safety goggles to protect your skin and eyes from dust and debris. Avoid using water jets or high-pressure tools directly on electrical components. Follow manufacturer instructions carefully, and make certain you’re in a well-ventilated area. Taking these precautions keeps you safe and prevents damage to your appliance.
What Signs Indicate My Coils Need Cleaning?
You’ll notice your coils need cleaning when your fridge runs more often or struggles to keep cool. If you see excessive dust, dirt, or pet hair on the coils, it’s a clear sign they’re dirty. Also, if your energy bills spike unexpectedly, it could be due to inefficient cooling caused by dirty coils. Regularly inspecting and cleaning them helps maintain peak performance and extends your fridge’s lifespan.
Is It Necessary to Wear Protective Gear During Cleaning?
Think of cleaning your refrigerator coils like donning armor before battle. Yes, it’s wise to wear protective gear—gloves, a mask, and goggles—to guard against dust, dirt, and potential allergens. The coils can be covered in grime, and inhaling or touching these particles isn’t worth the risk. Protecting yourself guarantees a safe, efficient cleaning experience while keeping harmful debris at bay. Safety first makes the task smoother!
Conclusion
Keeping your refrigerator coils clean is like giving your appliance a gust of fresh air—vital for efficiency and longevity. By following these simple steps, you guarantee it runs smoothly and saves energy. Don’t let dust and debris build up like a silent thief stealing performance. Regular maintenance isn’t just a chore; it’s a gift you give your fridge—and yourself. Stay proactive, and your appliance will thank you with reliable, quiet service for years to come.


