
To keep your solar-powered appliances running smoothly, you’ll want a charge controller that matches your system’s needs. Options include PWM controllers, which are simple and affordable for small setups, or MPPT controllers, which are more efficient for larger systems. Proper selection, installation, and maintenance guarantee safety and longevity. If you’re interested in making sure your solar devices operate at peak performance, there’s plenty more to explore below.
Key Takeaways
- Select MPPT or PWM charge controllers based on system size, voltage, and budget for optimal efficiency.
- Ensure compatibility by matching controller ratings with panel voltage, current, and battery specifications.
- Consider environmental durability and installation environment to prevent damage and ensure longevity.
- Utilize built-in safety features like overcurrent, overvoltage, and short circuit protections for appliance safety.
- Perform regular maintenance and monitoring to optimize performance and extend the lifespan of solar-powered appliances.
Understanding the Role of Charge Controllers in Solar Systems

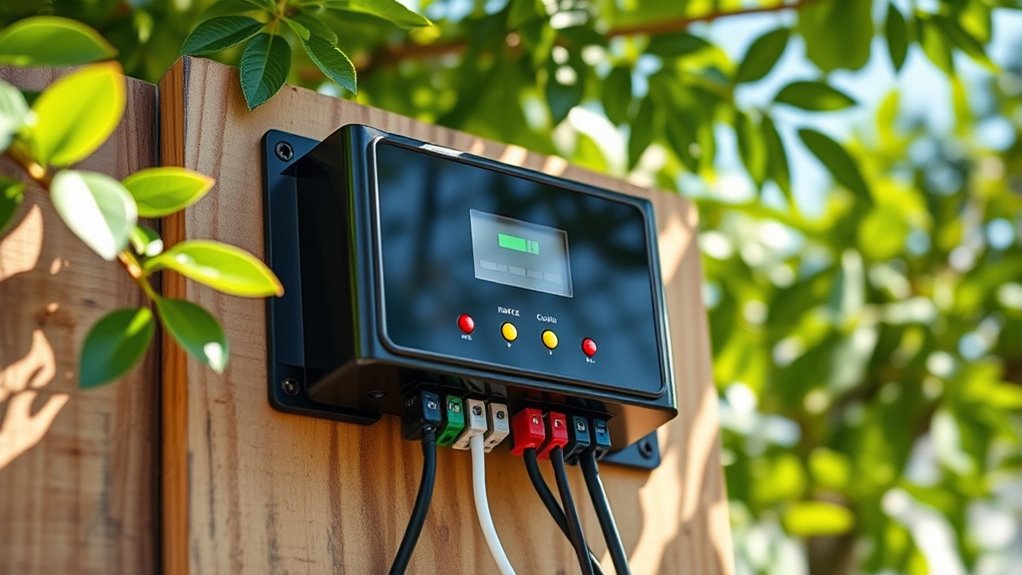
Charge controllers play a crucial role in solar power systems by regulating the flow of electricity from your solar panels to your batteries. They prevent overcharging, which could damage your batteries or reduce their lifespan. When sunlight hits your panels, they generate electricity that needs to be properly managed. The charge controller monitors this current and adjusts it to match your batteries’ needs. It guarantees a steady, safe charge without overloading the system. This regulation helps maintain ideal performance and prolongs your batteries’ life. Without a charge controller, your batteries could be overcharged or drained too deeply, risking damage. Basically, the controller acts as a safeguard, making sure your solar system operates efficiently and safely over time.
Types of Charge Controllers: PWM vs. MPPT
When choosing a charge controller for your solar system, understanding the main types—PWM and MPPT—is essential, as each offers different advantages tailored to specific needs. PWM (Pulse Width Modulation) controllers are simpler and more affordable, making them ideal for smaller systems. They work by gradually reducing current as the battery reaches full charge, preventing overcharging. MPPT (Maximum Power Point Tracking) controllers are more advanced and efficient, especially in variable sunlight conditions. They continuously optimize the power transfer from your solar panels to your batteries, resulting in higher energy yields. While MPPT controllers tend to be more expensive, their efficiency can justify the cost for larger or more complex systems. Your choice depends on your system size, budget, and energy requirements. Additionally, battery maintenance can significantly impact the overall efficiency and lifespan of your solar energy system. Proper system monitoring can help maximize performance and identify issues early, ensuring your investment pays off. Regularly inspecting your system components and understanding their performance metrics can further enhance long-term efficiency and reliability. Implementing proper wiring techniques ensures minimal energy loss and optimal system performance over time.
How PWM Charge Controllers Function
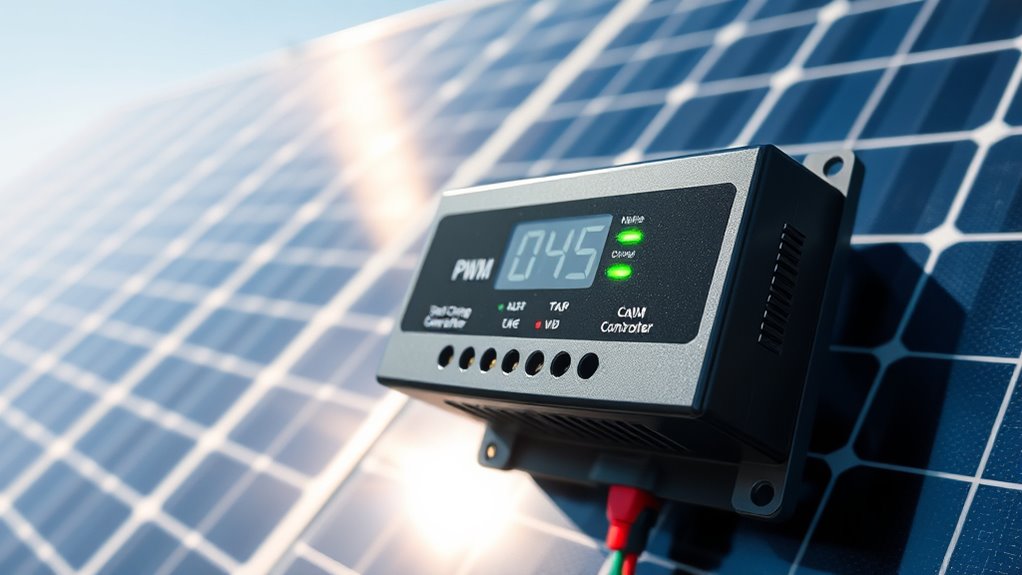
PWM (Pulse Width Modulation) charge controllers work by rapidly switching the flow of electricity between your solar panels and batteries, adjusting the power as needed to prevent overcharging. They turn the current on and off at a high frequency, controlling how much energy reaches your batteries. When your batteries are almost full, the controller reduces the flow, ensuring safe charging levels. This process maintains battery health and maximizes lifespan. Here’s a simple overview:
| Action | Effect |
|---|---|
| Switching ON/OFF rapidly | Regulates energy flow to batteries |
| Adjusting pulse width | Controls charging rate based on battery needs |
| Reducing current near full charge | Prevents overcharging and damage |
This method keeps your batteries safe while maximizing efficiency.
The Advantages of MPPT Charge Controllers
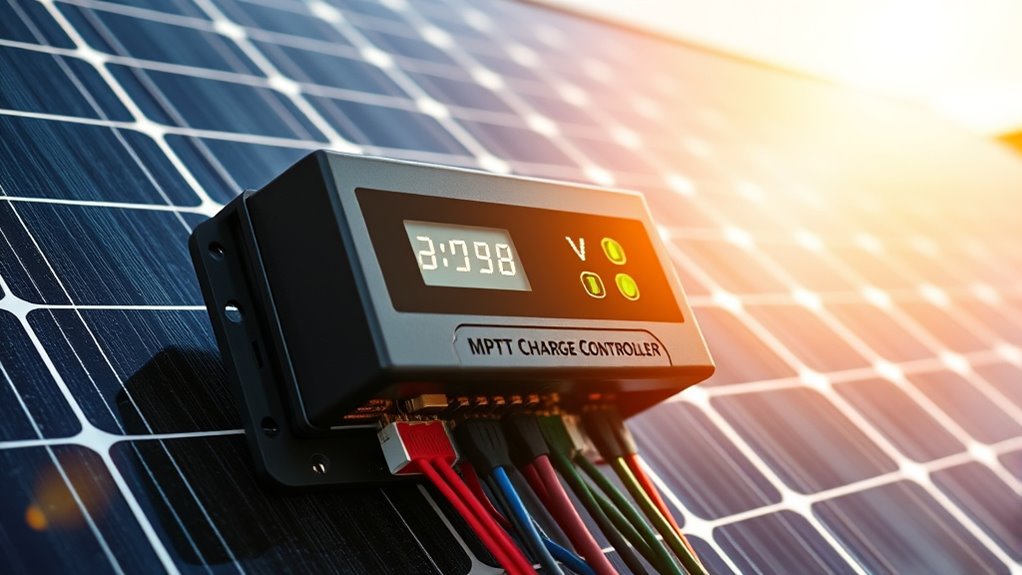
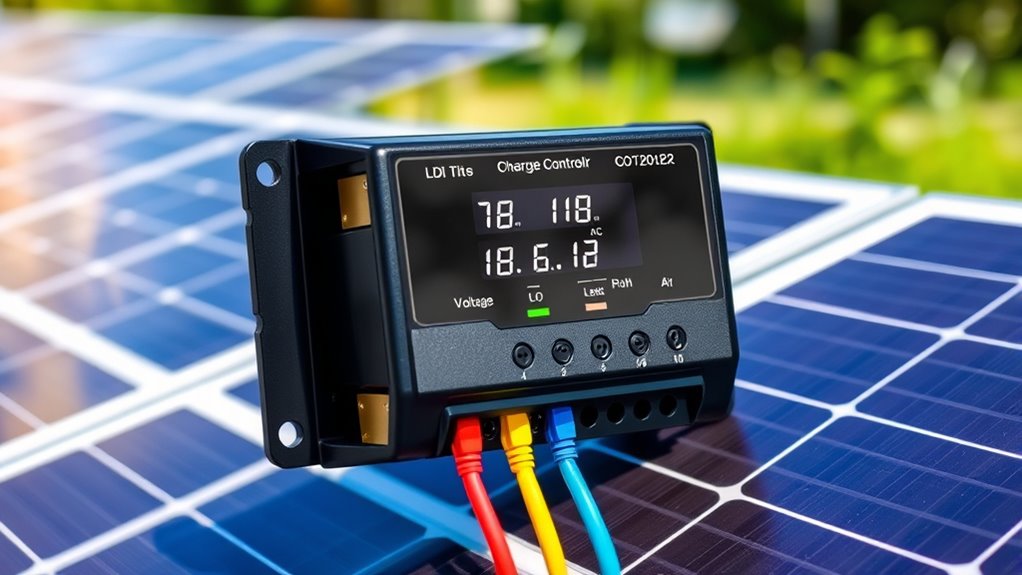
MPPT (Maximum Power Point Tracking) charge controllers offer significant advantages by optimizing the energy transfer from your solar panels to your batteries. They continuously monitor the voltage and current of your panels to find the most efficient power point, ensuring maximum energy harvest. This means you get more usable power, especially during cloudy days or when your panels aren’t perfectly aligned. Voltage and current are key parameters that MPPT controllers track to maximize power output. MPPT controllers also operate at higher voltages, allowing you to use smaller wiring and reduce energy loss over long distances. They adapt to changing sunlight conditions, maintaining peak performance throughout the day. Additionally, system efficiency can be significantly improved with MPPT technology, leading to better overall performance of your solar setup. This technology is especially beneficial when dealing with variable weather conditions, as it can adjust to ensure optimal energy collection regardless of weather fluctuations. Using MPPT controllers can also maximize your energy yield during variable weather conditions, ensuring you get the most out of your solar investment. A well-designed system with MPPT controllers can also help protect your batteries from overcharging and extend their lifespan. Overall, MPPT charge controllers increase your system’s efficiency, extend battery life, and help you make the most of your solar investment.
Factors to Consider When Selecting a Charge Controller
Choosing the right charge controller involves considering several key factors to guarantee your solar setup operates efficiently and safely. First, determine the voltage and current ratings of your solar panels and batteries to select a controller that matches these specifications. Pay attention to the controller’s maximum current capacity to prevent overloads. Think about your system’s future expansion; a controller with adjustable settings or higher capacity can accommodate growth. Durability matters—choose a controller built to withstand environmental conditions where you’ll install it. Additionally, consider features like load control, temperature compensation, and display options that help you monitor and optimize performance. Finally, ensure the controller’s type (PWM or MPPT) aligns with your system’s needs and budget for the best long-term investment. Incorporating Kia Tuning enhancements can also improve the overall efficiency of your vehicle’s electrical systems, complementing your solar power setup.
Compatibility and Sizing for Your Solar Setup
Selecting a charge controller that fits your solar setup requires careful attention to compatibility and proper sizing. First, verify the controller matches your solar panel voltage and current. Check the open-circuit voltage (Voc) of your panels and confirm the controller’s maximum voltage rating. Next, determine your battery bank’s voltage and capacity to select a controller that can handle the current without overload. Oversized controllers may be inefficient, while undersized ones risk damage or inadequate charge management. Consider future expansion—if you plan to increase your panels or batteries, choose a controller with some headroom. Proper sizing prevents issues like power loss or equipment failure, ensuring your system operates smoothly and safely over the long term. Additionally, understanding system compatibility can help you select the most efficient and reliable charge controller for your specific solar setup. Recognizing relationships in system components can further optimize your overall solar energy performance. Being aware of component interactions ensures that all parts of your system work seamlessly together. It is also beneficial to evaluate the installation environment to prevent potential safety hazards and maximize system longevity. Incorporating water-resistant or weatherproof features can enhance durability in outdoor settings.
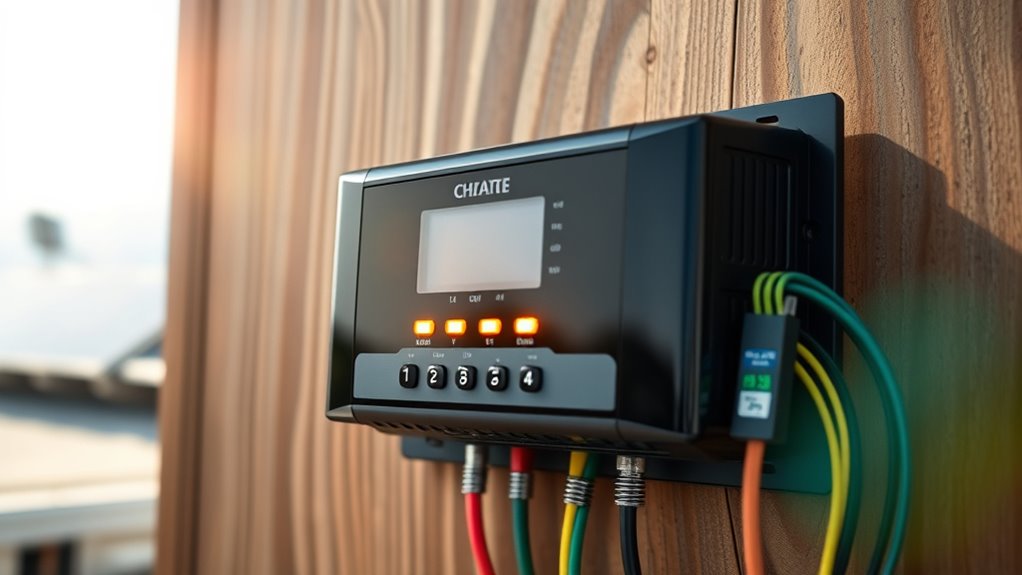
Installation and Maintenance Tips
Proper installation and regular maintenance are essential to keep your charge controller operating efficiently and safely. Always follow the manufacturer’s instructions carefully during installation, ensuring all connections are tight and correctly polarized to prevent damage. Mount the controller in a dry, ventilated area away from direct sunlight and moisture. Check the wiring periodically for corrosion, loose connections, or damage, and clean terminals as needed. Keep vents clear to prevent overheating. Regularly inspect for dust and debris that could impair cooling. Firmware updates, if available, should be applied promptly to improve performance and security. Understanding the Comparative Advantage of proper maintenance can optimize your system’s efficiency and longevity. Additionally, implementing routine water management practices for your solar components can further enhance system safety and reliability. Staying informed about industry trends can help you adapt your maintenance practices over time. By staying vigilant, you extend your charge controller’s lifespan and ensure your solar system runs smoothly and safely.
Common Features and Additional Functions
Many charge controllers come with built-in safety protections to prevent overloads and short circuits, keeping your system secure. You can also find models with adjustable charge settings to optimize performance for different batteries. Additionally, remote monitoring options let you track system status and make adjustments from anywhere.
Built-in Safety Protections
Built-in safety protections are essential features that help guarantee your solar-powered system operates reliably and safely. They prevent damage to your batteries, appliances, and the charge controller itself. Overcurrent protection automatically disconnects the system if current exceeds safe levels, avoiding overheating or fires. Short-circuit protection shuts down the system instantly if a fault occurs, safeguarding components. Overvoltage protection prevents excessive voltage from damaging batteries or sensitive devices. Temperature sensors monitor the controller’s environment, reducing power output if it gets too hot, which prolongs device lifespan. Some controllers also include reverse polarity protection, stopping damage if connections are accidentally reversed. These safety features ensure your system runs smoothly, reducing risks and minimizing maintenance needs, so you can trust your solar setup to operate safely day after day.
Adjustable Charge Settings
Adjustable charge settings allow you to fine-tune your solar system’s performance to match your specific battery and appliance requirements. With these settings, you can control the charging voltage and current, ensuring your batteries are charged ideally without risking damage. This feature is especially useful if you use different battery types or need to adapt to changing conditions. By customizing the charge parameters, you optimize battery lifespan and system efficiency. Some controllers let you set bulk, absorption, and float voltages manually, giving you greater control over the entire charging cycle. This flexibility helps prevent overcharging or undercharging, which can harm your batteries over time. Overall, adjustable charge settings empower you to tailor your solar system for maximum performance and longevity.
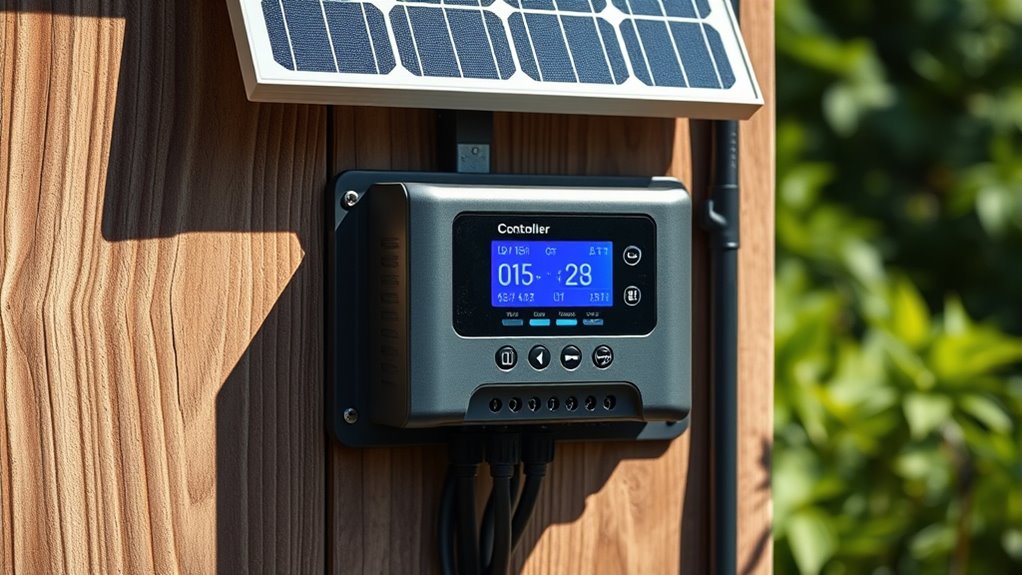
Remote Monitoring Options
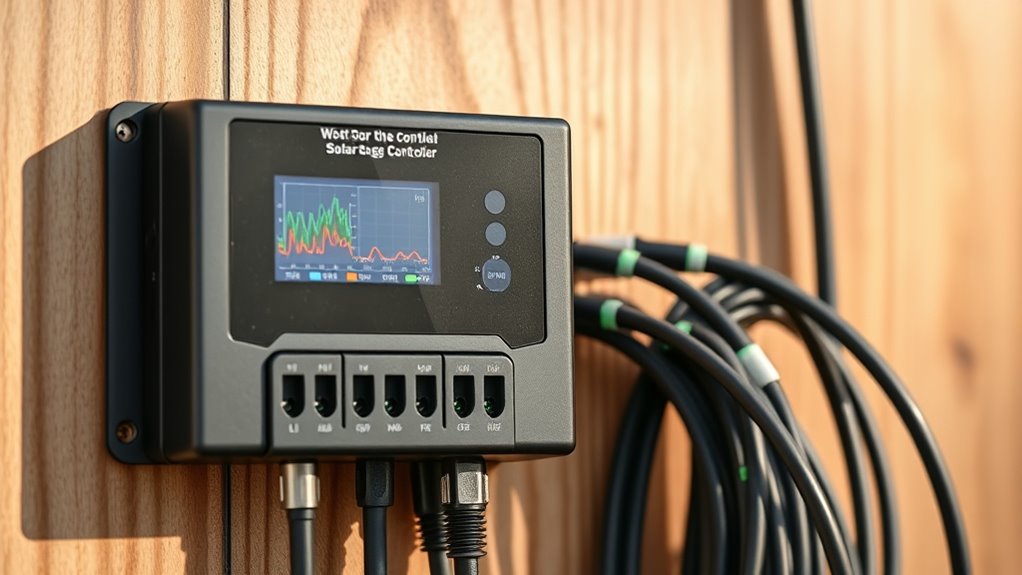
Have you considered how remote monitoring can enhance your solar system’s management? With these options, you can track your charge controller’s performance in real time via smartphone or computer. This allows you to identify issues early, such as voltage drops or system faults, minimizing downtime and optimizing efficiency. Many controllers offer features like data logging, battery status updates, and alerts for low charge or overvoltage. Some include Wi-Fi or cellular connectivity, giving you instant access from anywhere. This proactive approach helps you make better decisions about maintenance and system adjustments. Additionally, remote monitoring can save you time and money by preventing costly repairs. Overall, integrating these features provides peace of mind and keeps your solar-powered appliances running smoothly.
Troubleshooting and Optimizing Charge Controller Performance
To keep your charge controller running smoothly, you need to recognize common malfunctions and know how to fix them quickly. Fine-tuning voltage settings can improve efficiency and protect your system, so it is crucial to understand how to adjust them properly. Regular maintenance practices, like cleaning connections and monitoring performance, help prevent issues before they arise.
Identifying Common Malfunctions
When troubleshooting charge controllers, recognizing common malfunctions can save you time and prevent costly damage. Being aware of typical issues helps you diagnose problems quickly and keep your system running smoothly. Look out for signs like inconsistent charging, where the controller stops supplying power unexpectedly. Check if the display shows error codes or warning lights, which often indicate specific faults. Additionally, listen for unusual noises or overheating, as these can signal internal failures. Common malfunctions include:
- Wiring faults or loose connections
- Overvoltage or undervoltage conditions
- Faulty or damaged components within the controller
Identifying these issues early allows you to take targeted action, whether it’s tightening connections, resetting the system, or replacing faulty parts, ensuring your solar setup remains efficient and reliable.
Fine-Tuning Voltage Settings
Fine-tuning voltage settings on your charge controller is essential for maximizing efficiency and preventing battery damage. Correct voltage adjustments guarantee your batteries charge fully without overcharging or sulfating. Start by reviewing the manufacturer’s recommended voltage parameters, then adjust the settings accordingly. Use a multimeter to verify battery voltage and compare it to your controller’s settings. Small tweaks can make a big difference in performance. Here’s a quick reference:
| Setting | Typical Range | Purpose |
|---|---|---|
| Absorption | 14.4-14.8 V | Complete charging phase |
| Float | 13.2-13.8 V | Maintain full charge, prevent overcharge |
| Equalization | 14.8-15.2 V | Balances cell voltage, avoids sulfation |
Always monitor battery health after adjustments for maximum performance.
Regular Maintenance Practices
Regular maintenance is key to ensuring your charge controller operates efficiently and reliably over time. By staying proactive, you can prevent issues and maximize performance. Start by regularly inspecting connections for corrosion or looseness—clean and tighten as needed. Keep the controller’s ventilation area free of dust and debris to prevent overheating. Additionally, monitor system readings and logs to spot irregularities early.
- Check and clean terminals and wiring connections periodically
- Keep vents and cooling fins free of dust and debris
- Review system logs to identify unusual patterns or errors
Performing these simple tasks helps maintain peak performance, extends the lifespan of your controller, and ensures your solar-powered system runs smoothly. Regular upkeep saves you time and costly repairs down the line.
Frequently Asked Questions
How Long Do Charge Controllers Typically Last?
You’re wondering how long charge controllers last. Generally, they have a lifespan of 10 to 15 years, depending on the quality and usage. Regular exposure to weather and electrical stress can affect their longevity. To guarantee they last longer, keep them in a protected environment, perform routine maintenance, and follow manufacturer guidelines. With proper care, your charge controller can serve you reliably for many years.
Can Charge Controllers Be Used With Wind or Hydro Systems?
Imagine guiding a river’s flow, controlling its energy smoothly. Yes, you can use charge controllers with wind or hydro systems. They regulate the power generated, preventing overloads and ensuring efficiency. Just like with solar setups, choose controllers compatible with your wind turbines or hydro generators. Properly matched, they keep your system safe and running seamlessly, turning natural energy into reliable power without a hitch.
What Safety Features Should I Look for in a Charge Controller?
When choosing a charge controller, you should look for safety features like over-voltage protection, over-current protection, and short-circuit prevention. These guarantee your system stays safe under various conditions. Additionally, look for temperature compensation, which prevents overheating, and automatic shutdown to protect your batteries. These features help avoid damage, extend your system’s lifespan, and keep your setup safe during operation.
Are There Any Environmental Conditions That Damage Charge Controllers?
Imagine your charge controller as a delicate dancer on a stormy stage. Harsh environmental conditions like extreme heat, heavy rain, snow, or intense sunlight can damage it, causing it to falter. Moisture and dust can seep in, creating electrical chaos. To protect your device, guarantee it’s weatherproof, placed in shaded areas, and shielded from the elements, so it can perform its dance smoothly, rain or shine.
How Do I Upgrade or Replace My Existing Charge Controller?
If you’re looking to upgrade or replace your current charge controller, first identify your system’s power needs and compatibility. Turn off your system, disconnect the old controller, and carefully remove it. Install the new controller by connecting it as per the manufacturer’s instructions, guaranteeing proper wiring and settings. Make sure to update any system configurations and double-check all connections before powering up to ensure safe and efficient operation.
Conclusion
Choosing the right charge controller guarantees your solar-powered appliances run smoothly and efficiently. By understanding the differences between PWM and MPPT, and considering compatibility and features, you can make an informed decision. Are you ready to optimize your solar system and extend your battery life? Remember, proper installation and regular maintenance keep everything working at its best. Empower your solar setup today—your future energy savings depend on it!