
To maintain your Maytag top-load washer’s performance, it’s crucial to clean the filter regularly. Start by **shutting off and unplugging** the washer, then open the lid fully to reach the filter inside the agitator tube. Unscrew the cap, take out the filter, and **rinse it under flowing water** to get rid of dirt. Remember to drain the pump hose into a shallow container to avoid any mess. After cleaning the filter, reattach it by turning it clockwise until it locks in place. **Routine maintenance every 3-6 months** will keep your washer in top shape, and there are more useful tips to come. Anyone who wants their washer to keep working efficiently should keep reading.
Key Takeaways
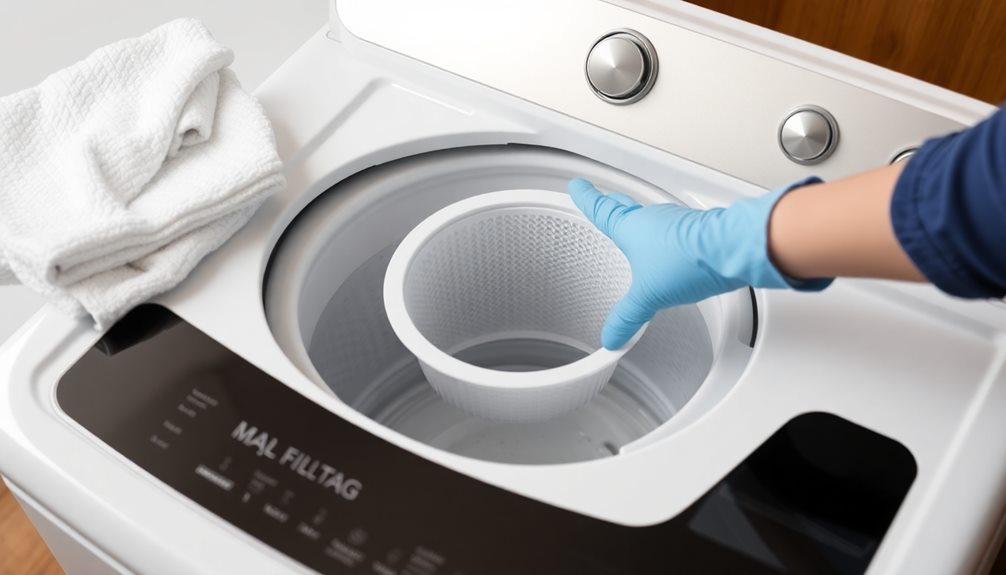
- Locate the filter at the center of the agitator tube for easy access in your top-load Maytag washer.
- Fully open the washer lid and unplug the machine for safety before cleaning.
- Drain the pump hose by unclasping it and removing the plug, using a shallow container to catch spills.
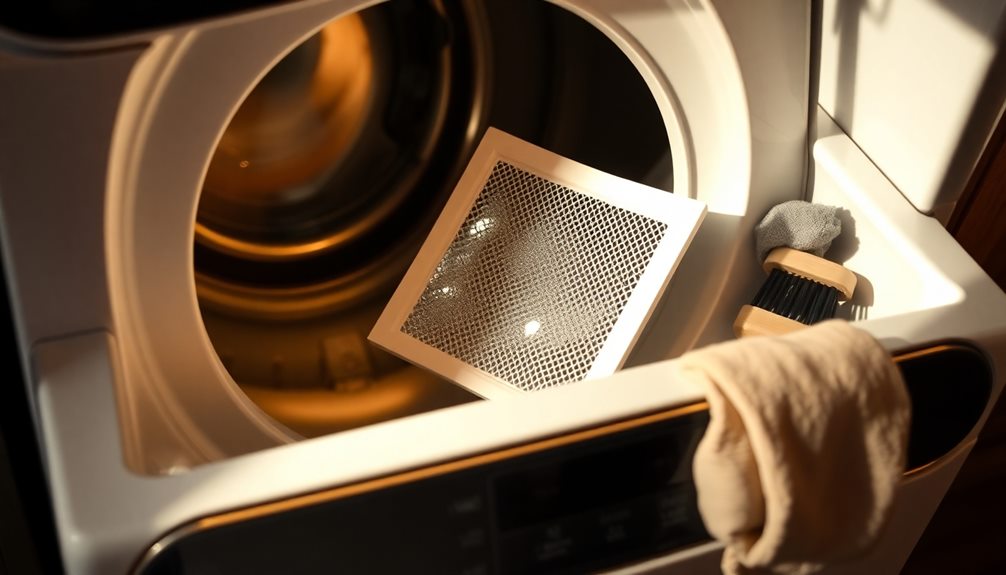
- Remove the filter by unscrewing the agitator cap, rinsing it under running water to eliminate debris.
- Replace the clean filter by turning it clockwise until it clicks securely back into place.
Importance of Cleaning the Filter
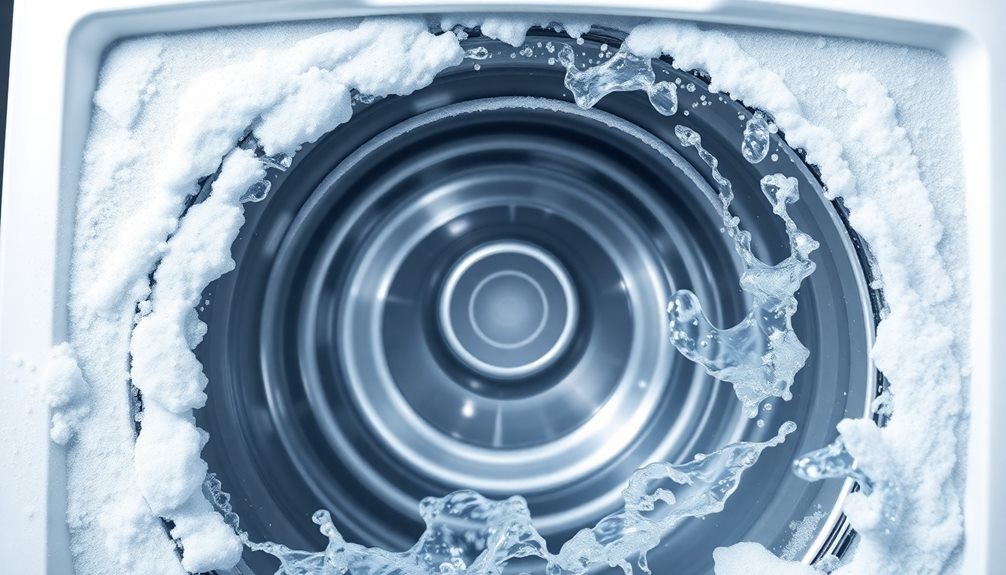
Cleaning the filter of your Maytag washer is essential for keeping your machine running smoothly. Regularly cleaning the washer filter prevents lint and debris from clogging the system, which can lead to drainage issues.
When the filter gets clogged, you might notice excess water buildup in the washer tub, making your machine less efficient and increasing wash cycle times.
Moreover, if you neglect to clean the filter, detergent residue can accumulate, resulting in soiled clothing and potential machine malfunctions. These issues can necessitate costly repairs that you could easily avoid with routine maintenance.
It's important to remember that a dirty filter can also cause damage to the drain pump, leading to even more expensive replacements.
To guarantee peak performance and extend the life of your washing machine, aim to clean the washer filter every 3-6 months.
By adopting this simple habit, you'll not only keep your washer functioning at its best but also save yourself the hassle of dealing with drainage problems or unexpected repairs.
Don't underestimate the importance of cleaning the filter—it's key to maintaining your Maytag washer's efficiency and longevity.
Locating the Washer Filter
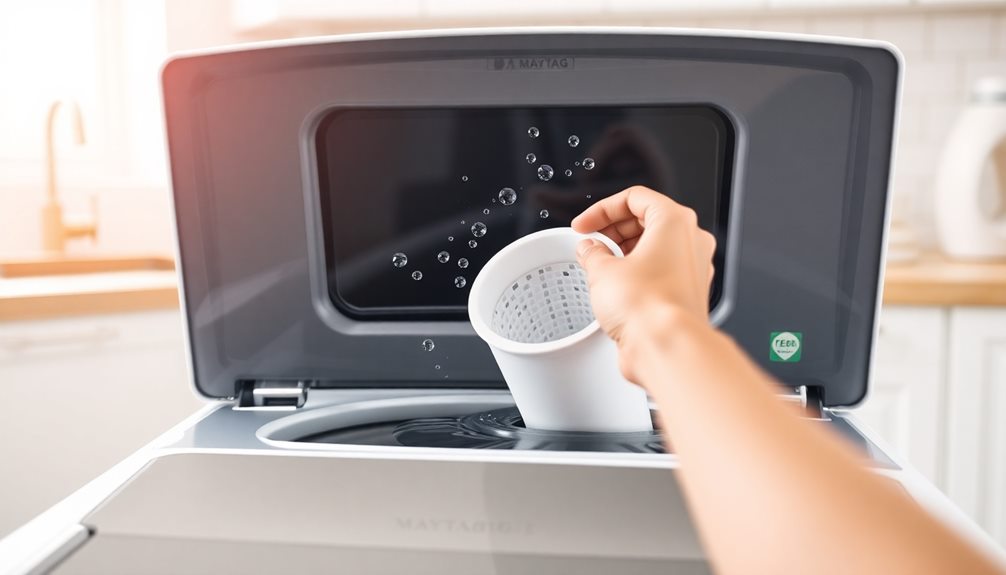
To find the washer filter in your Maytag machine, start by checking the center of the agitator tube in top-loading models. This location makes it easy for you to access and maintain the filter regularly. First, you'll need to remove the agitator cap, which allows you to clean the filter effectively.
Here are a few tips to help you locate and maintain the filter:
- Refer to the Owner's Manual: Your specific model may have unique features or variations, so consulting the owner's manual is a great first step.
- Check for Model Variations: Many modern Maytag washers manufactured after 2001 don't have a dedicated lint filter. Instead, they utilize enhanced drain pumps for maximum performance.
- Regular Cleanings: It's advisable to clean the filter every 3-6 months. Regular maintenance will help prevent clogs and guarantee your washing machine runs efficiently.
Preparing to Clean

Before you plunge into cleaning the Maytag washer filter, make certain you've set the stage for a smooth process. Start by fully opening the washer lid to access the filter area safely.
Clear away any packing trays or obstructions around the washer to create a tidy workspace. This will help you focus solely on cleaning.
Next, gather the necessary tools. A shallow container is vital to catch any water that may spill during the process, and towels will help soak up any mess.
It's also essential to confirm that the washer is turned off and unplugged to guarantee your safety while you work.
Familiarize yourself with the location of the filter, which is usually found in the center of the agitator tube for top-loading models.
Knowing where to find it will streamline your cleaning procedure, saving you time and frustration.
Draining the Pump Hose
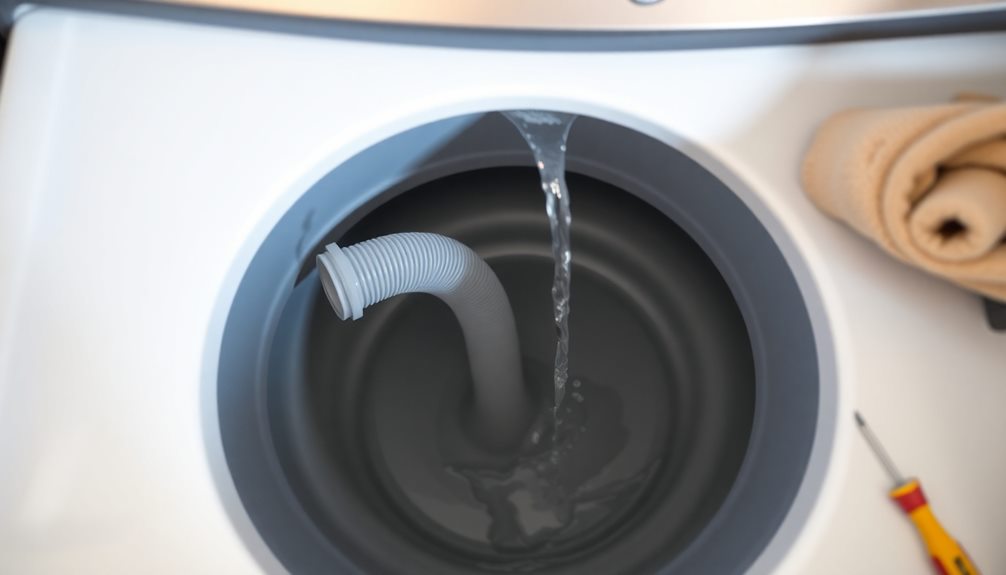
When you're ready to drain the pump hose, start by placing a shallow container on a towel beneath the filter to catch any water that spills out.
Unclasp the pump hose and remove the plug at the end to guarantee proper drainage.
After the water's drained, remember to secure the hose plug back in place for a proper seal.
Preparation for Drainage Process
Cleaning your Maytag washer filter starts with proper preparation for the drainage process. Before you begin, it's essential to gather your materials and set up your workspace effectively. This will guarantee a smooth and efficient operation.
- Container and Towel: Place a shallow container on a towel beneath the filter. This will catch any water that spills during the procedure, preventing a mess.
- Unclasp the Pump Hose: Unclasp the drain hose from its clip, and carefully remove the plug at the end of the hose. This allows the water from the drain pump to flow out completely.
- Empty the Container: As the water drains, keep an eye on your container. Empty it as it fills to avoid overflow and keep your area clean.
Regularly draining the pump hose is key to preventing clogs and maintaining the overall efficiency of your washing machine.
After the water has fully drained, don't forget to securely replace the hose plug to avoid any leaks during future washing cycles.
Follow these steps, and you'll guarantee your washer stays in top shape.
Ensuring Proper Drainage Technique
After successfully preparing for the drainage process, it's time to focus on guaranteeing proper drainage technique.
Start by placing a shallow container on a towel beneath the filter to catch any excess water. This will help you manage the mess during the cleaning process.
Next, unclasp the pump hose from its clip to gain easy access for draining.
Now, remove the plug at the end of the pump hose. You'll notice accumulated water flowing into the container, which is exactly what you want.
As the container fills, be sure to regularly empty it to prevent any overflow. This step is essential for effective drainage and keeps your workspace tidy.
Once you've drained all the water, don't forget to securely replace the hose plug. This guarantees there are no leaks when your Maytag washer is back in operation.
Following these steps will help you maintain proper drainage and keep your washer filter clean, ultimately prolonging the life of your appliance.
Properly draining the pump hose is key to effective cleaning and will make future maintenance much easier.
Post-Drain Maintenance Steps
Post-drain maintenance is essential to keep your Maytag washer running smoothly.
After you've drained the pump hose, follow these steps to guarantee everything's in order and to prevent future clogs.
- Prepare for drainage: Before you start, place a shallow container on a towel beneath the drain filter to catch any water that spills out. This will save you from a mess.
- Drain the pump hose: Unclasp the pump hose from its clip and direct it into the container. Remove the plug at the end of the hose to facilitate proper drainage. Be ready to empty the container as it fills to prevent overflow.
- Secure everything back: Once the water has drained completely, replace the hose plug securely to guarantee no leaks occur during your next wash cycle.
Completing these post-drain maintenance steps helps keep your Maytag washer efficient.
Regularly cleaning the filter and guaranteeing proper drainage will prolong the life of your appliance and enhance its performance.
Removing the Filter

To remove the filter from your Maytag top-loading washer, start by locating it within the agitator tube. You'll need to unscrew the agitator cap first. Once you've done that, carefully pull out the filter, making certain to have a towel ready to catch any residual water or debris. To loosen the filter from its housing, turn it counterclockwise, guaranteeing you don't damage the unit in the process.
Here's a quick reference table to guide you through the steps:
| Step | Action | Note |
|---|---|---|
| 1. Locate the filter | Unscrew the agitator cap | Use a screwdriver if needed |
| 2. Pull out the filter | Hold a towel underneath | Catch any water or debris |
| 3. Loosen the filter | Turn it counterclockwise | Be gentle to avoid damage |
| 4. Dispose of debris | Remove clumps by hand | Keep your hands clean |
| 5. Rinse the filter | Use running water | Verify it's free from blockages |
Once you've cleaned the filter, replace it by turning it clockwise to secure it and reattach the agitator cap.
Cleaning the Filter
Cleaning your Maytag washer filter is essential for maintaining peak performance and preventing clogs.
You should aim to clean it every 3-6 months to keep your machine running smoothly.
Let's go through the step-by-step process to guarantee your filter is in top shape.
Filter Function Importance
The filter in your Maytag washer plays an important role in maintaining its efficiency and performance. Understanding the filter function significance will help you appreciate why cleaning the Maytag washer filter is necessary. A clean filter guarantees that your top load washer operates smoothly and effectively, preventing a host of issues that could arise from neglect.
Here are three key reasons why keeping your filter clean is crucial:
- Prevents Clogs: A dirty filter can accumulate lint and debris, which might hinder drainage efficiency and lead to water buildup in the washer tub.
- Enhances Washing Performance: Regularly maintaining the filter helps minimize accumulated detergent residue on your clothes, leading to better washing results and fresher laundry.
- Saves Repair Costs: A clogged filter can damage the drain pump, resulting in costly repairs. By staying on top of cleaning, you'll prolong the life of your washing machine.
Cleaning Frequency Guidelines
Maintaining a consistent cleaning schedule for your Maytag washer filter is essential for peak performance. It's recommended to clean the filter every 3 to 6 months. This regular upkeep not only prevents drainage problems and excess water buildup but also protects your clothing from detergent residue and potential damage to the drain pump. Following these cleaning frequency guidelines can save you from costly repairs down the line.
Here's a quick reference table to help you visualize the importance of regular cleaning:
| Time Frame | Cleaning Action |
|---|---|
| Every 3 Months | Check and clean the filter |
| Every 6 Months | Deep clean the filter and washer |
| As Needed | Inspect for debris and clogs |
Always refer to your owner's manual for specific cleaning frequency guidelines tailored to your washer model. By sticking to this schedule, you guarantee that your top loading Maytag washer runs smoothly and efficiently, giving you peace of mind and clean laundry. Don't let neglect lead to problems—make filter cleaning a priority in your maintenance routine!
Step-by-Step Cleaning Process
Once you've gathered your supplies and set aside some time, you can easily tackle the cleaning process for your Maytag washer filter. Follow these steps to guarantee your washer lint filter is in top condition, helping your machine run efficiently.
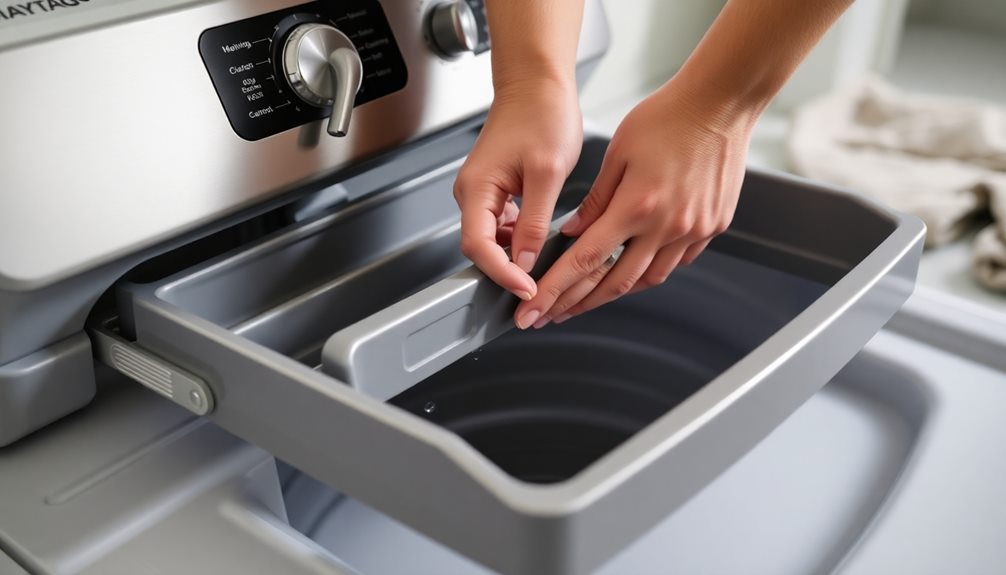
- Access the Filter: Open the drain dispenser drawer at the front base and detach it completely to reach the filter.
- Drain the Pump Hose: Unclasp the pump hose from its clip, place a shallow container beneath it, and remove the hose plug to let the water flow out. Secure the plug again afterward.
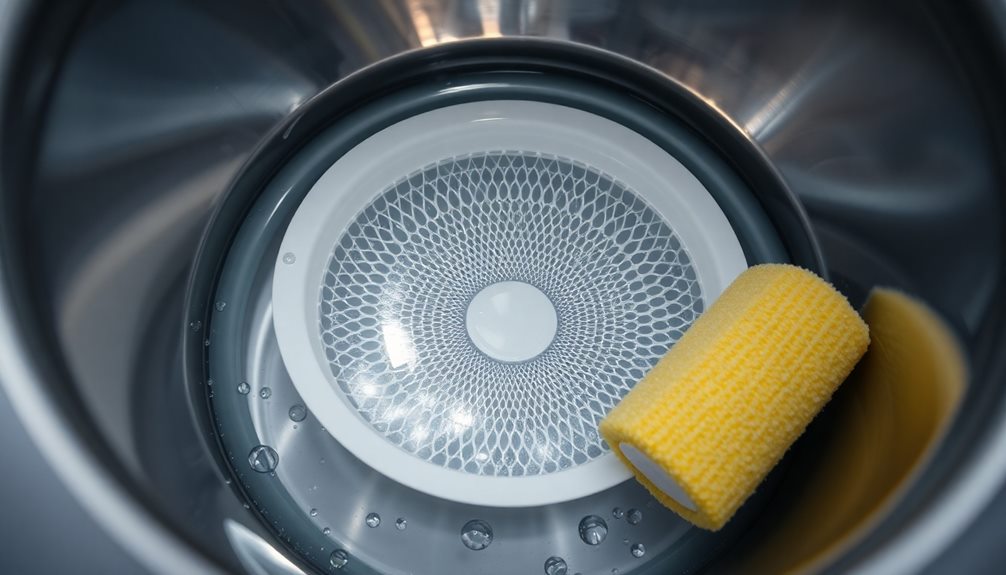
- Clean the Filter: Turn the filter counterclockwise to remove it. Dispose of any large clumps of lint and debris by hand, then rinse the filter under running water to eliminate any remaining residue.
After cleaning, replace the filter by turning it clockwise until it's secure, making sure the handle is almost vertical for proper locking.
Finally, reinsert the dispenser drawer onto its rails, listening for a click to confirm it's engaged.
This simple cleaning process can notably enhance the performance of both top and front load washers!
Replacing the Filter
Replacing the filter in your Maytag top load washer is a straightforward process that guarantees your machine runs efficiently. Start by verifying the filter is clean and free from blockages. Once you've removed it, rinse it under running water to remove any debris.
After cleaning, inspect the filter housing for any leftover debris and clean it out to maintain peak performance.
Next, it's time to replace the filter. Make certain the handle is nearly vertical, then turn the filter clockwise until it clicks into place. This guarantees a proper lock, preventing any leaks during operation.
It's essential to replace the filter every 3-6 months to avoid potential drainage issues and make sure your washer performs at its best.
After you've securely replaced the filter, don't forget to reinsert the drain dispenser drawer. Listen for the clicking sound when closing it to confirm it's properly engaged.
Regular maintenance, including replacing the filter and cleaning it, is key to keeping your Maytag washer running smoothly and efficiently. By following these simple steps, you'll extend the life of your appliance and enjoy hassle-free laundry days.
Securing the Dispenser Drawer
After you've securely replaced the filter, it's time to focus on securing the dispenser drawer. Properly securing this component guarantees your Maytag washer operates efficiently and smoothly. Here's how to get it right:
- Align the Ends: Make sure both ends of the dispenser drawer are properly aligned with the rails before reinserting it. This step is essential to avoid any sticking.
- Listen for the Click: After inserting the drawer, pay attention for a distinct clicking sound. This noise confirms that the drawer is engaged correctly and secured in place.
- Check for Smooth Operation: The drawer should slide in and out easily. If it's stuck, double-check that it's aligned on the rails.
Regularly open and close the dispenser drawer after cleaning to guarantee it operates smoothly.
Maintenance Tips for Longevity
To guarantee your Maytag washer serves you well for years to come, regular maintenance is key. One of the most effective maintenance tips is to clean the washer filter every 3-6 months. This simple task prevents clogs that can lead to inefficient drainage and potential damage to the drain pump.
A clean filter also helps avoid excess water buildup, preventing detergent residue from accumulating on your clothes and inside the machine.
When you clean the filter, use effective cleaning methods like rinsing it under running water. Ascertain the filter housing is free from blockages and debris.
Regularly inspecting the filter not only enhances its effectiveness but also contributes to the overall longevity of your washer by reducing the need for costly repairs due to neglect.
Don't forget to follow the manufacturer's maintenance guidelines. Checking your owner's manual will provide specific model details that can help you maintain your washer efficiently.
Troubleshooting Common Issues

If your Maytag washer isn't functioning correctly, you might encounter error codes or drainage issues.
It's essential to identify these problems early, as they can often be traced back to clogged filters or malfunctioning components.
Identifying Error Codes
Understanding error codes is important for keeping your Maytag washer running smoothly. One common issue you might encounter is the LF error code, which indicates a long fill problem. This often stems from clogged inlet screens or a faulty water valve.
To address this, you can take the following steps:
- Check the water inlet screens: Inspect these for any debris that could be obstructing water flow. Cleaning them is a significant first step, as regular maintenance improves performance and prevents issues similar to those seen with cleaning vacuum cleaners.
- Inspect the drain pump hose: If the error persists after cleaning the screens, look for blockages in the drain pump hose that could be causing issues.
- Maintain the drainage system: Many Maytag top load washers don't have dedicated lint filters, so it's essential to keep the inlet and drainage systems clean to prevent future problems.
Don't ignore persistent odors in your washer. These may indicate mold buildup or hidden debris accumulation.
Regularly cleaning and maintaining both the filter and the washer itself will help you avoid larger problems down the line. By staying proactive, you can guarantee your washer performs at its best!
Common Drain Problems
What's more frustrating than a washing machine that won't drain? When you're left with a tub full of water, it's clear you've got drainage problems. One common culprit is a clogged filter. If you haven't been cleaning the filter regularly, lint buildup and debris can obstruct the drain pump, causing water to accumulate and reducing your machine's efficiency.
If you see an LF error code, it's time to take action. This code often signals issues with the water inlet screens or the drain pump filter. Check for clogs in these areas to avoid interruptions in your washing cycles. Neglecting these simple maintenance tasks can lead to costly repairs and potential damage to your pump.
To keep your Maytag washer running smoothly, make it a habit to inspect and clean the filter every 3-6 months. This proactive approach helps prevent lint buildup and guarantees your washer operates efficiently.
Don't let drainage problems ruin your laundry day—regular maintenance will save you time and hassle in the long run!
Filter Maintenance Tips
Regular maintenance of your Maytag washer filter can help you sidestep many common issues that arise from neglect.
Cleaning the washing machine filter every 3-6 months is essential to prevent clogs from lint and debris. These clogs can cause drainage problems and lead to excess water buildup in the washer tub, damaging the drain pump.
Here are three important filter maintenance tips to keep in mind:
- Locate the Filter: For your top-loading Maytag washer, find the filter in the agitator tube center. If you have a Maytag front load washer, check behind the dispenser drawer.
- Prepare for Cleaning: Before removing the filter, drain the pump hose by placing a shallow container beneath it. This will catch any water that spills out, preventing a mess.
- Check for Blockages: After cleaning, verify the filter is free from blockages and securely replaced. This step helps maintain peak washer performance and avoids costly repairs.
Frequently Asked Questions
How Do You Clean the Filter on a Maytag Top-Load Washer?
To clean your Maytag washer filter, twist off the agitator cap, pull out the filter, and rinse it. Dispose of debris, then secure the filter back in place. It's a breeze with just a little care!
How to Deep Clean a Maytag Top-Load Washer?
To deep clean your Maytag top-load washer, use an affresh tablet or bleach during a cycle. Clean the detergent drawer, rubber seal, and drum's bottom regularly to prevent odors and maintain efficiency.
How Do I Clean My Maytag Washer Without Affresh?
To clean your Maytag washer without Affresh, remove the drain dispenser drawer, drain the pump hose, and take out the filter. Rinse it under water, then reinsert it securely. Regular maintenance keeps your washer running smoothly.
How to Clean Top Loading Washing Machine Filter?
To clean your top-loading washing machine filter, locate it in the center of the agitator, remove the cap, turn the filter counterclockwise, rinse it under water, and reassemble everything securely. Regular cleaning's essential!
Conclusion
Cleaning your Maytag washer filter isn't just a chore—it's like tuning a musical instrument. When you take the time to maintain it, your washer performs beautifully and lasts longer. By following these steps, you guarantee your appliance runs smoothly, preventing bigger issues down the road. So, embrace this simple trick, and keep your washer in harmony with your laundry routine. A little effort today can save you a lot of trouble tomorrow!