
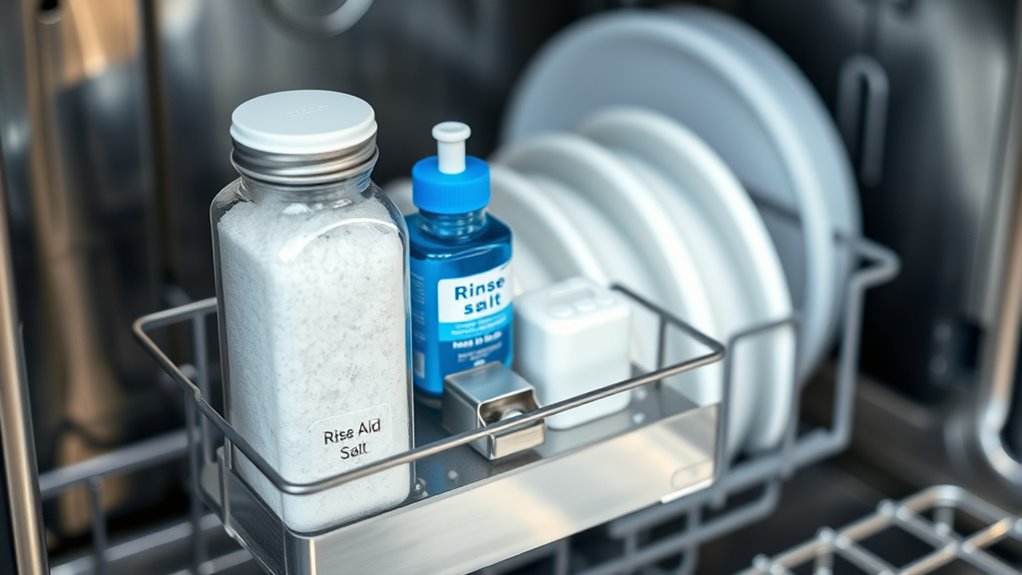
To properly set up dishwasher salt and rinse aid, first locate the salt compartment at the bottom or back of your machine and fill it with large-granule, pure sodium chloride salt, then tightly seal it. Next, open the rinse aid dispenser inside the door and pour in rinse aid until full, adjusting the level based on water hardness. Regularly check levels and seals to keep your dishwasher performing at its best—if you want more detailed tips, keep exploring.
Key Takeaways
- Locate and open the salt compartment, usually at the dishwasher’s base, and fill with large-granule, pure sodium chloride salt using a funnel.
- Screw the cap on tightly after filling, ensuring a secure seal and no leaks, then wipe away any spilled salt.
- Fill the rinse aid compartment by opening the door, pouring until the indicator shows full, and securely closing the lid.
- Adjust rinse aid levels and settings based on water hardness to optimize drying and prevent residue.
- Regularly check and refill both salt and rinse aid to maintain dishwasher performance and prevent limescale buildup.
Understanding the Role of Dishwasher Salt
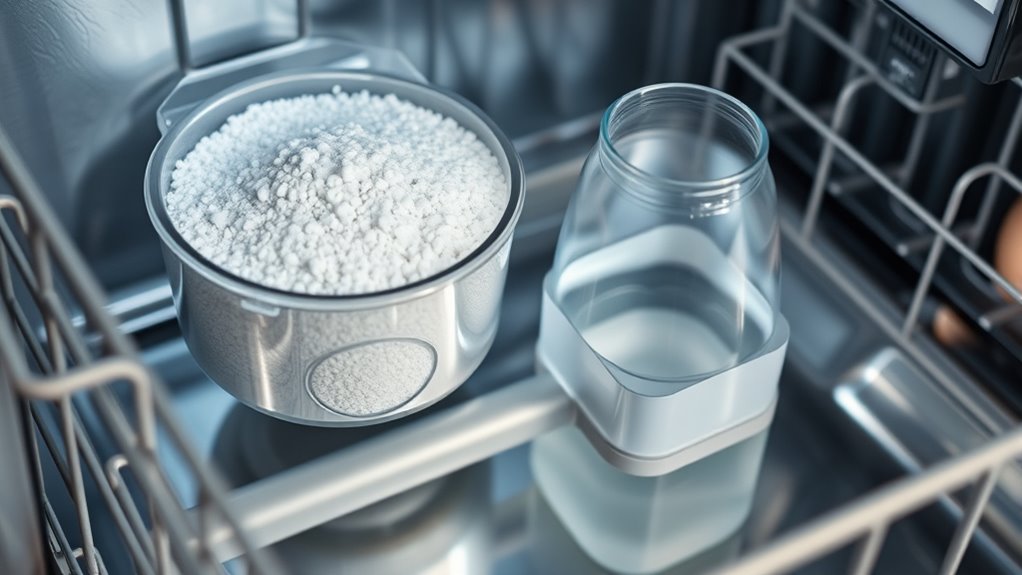
Understanding the role of dishwasher salt is essential, especially if you live in an area with hard water. It’s primarily made of sodium chloride, the same as table salt, but with larger granules that prevent blockages in your dishwasher’s softener unit. These coarse grains dissolve slowly, reducing the risk of salt clumping and malfunctions. Dishwasher salt is specifically designed to regenerate the ion exchange resin that softens water by removing calcium and magnesium ions. This process prevents limescale buildup inside your dishwasher and on your dishes, keeping everything cleaner and spot-free. Using salt properly also helps extend your dishwasher’s lifespan by maintaining the softener’s efficiency. Proper water softening is crucial for optimal dishwasher performance and longevity. Remember, dishwasher salt does not directly contact your dishes. Instead, it works behind the scenes to ensure ideal water quality for every wash. The salt flows through the softener unit, ensuring the water is properly softened before it reaches your dishes. Proper maintenance of the ion exchange resin can further improve the efficiency and lifespan of your dishwasher’s softening system.
Selecting the Right Type of Dishwasher Salt

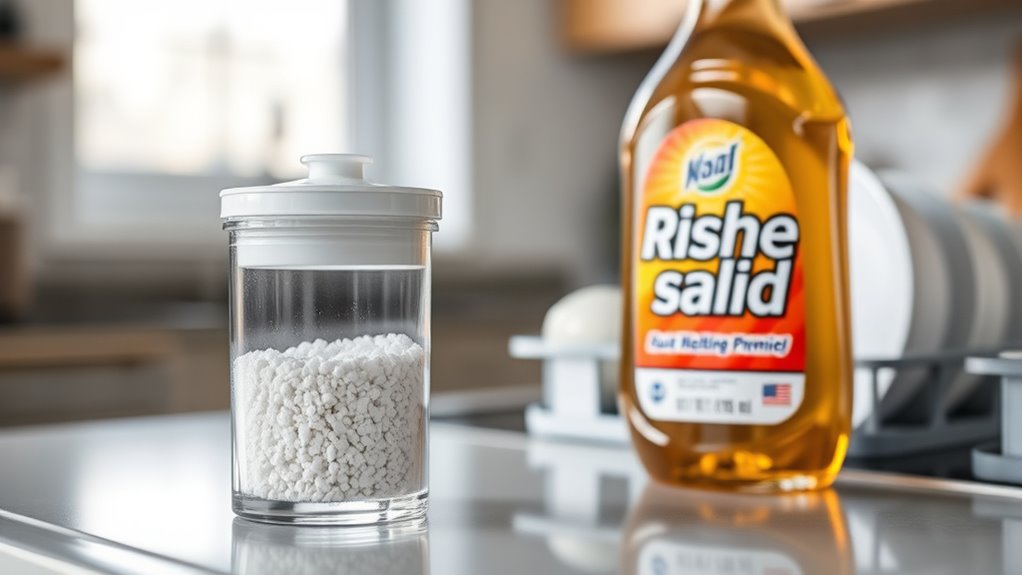
Choosing the right dishwasher salt is essential for ensuring your appliance functions properly and lasts longer. You need a salt with large granules made of pure sodium chloride, free of additives like anti-caking agents or iodine, which can damage your machine. The granule size allows slow dissolution, preventing blockages and ensuring effective ion exchange for water softening. Additionally, selecting a type of salt that aligns with your dishwasher’s specifications can prevent potential malfunctions. Always check your dishwasher’s recommendations to choose the best salt type, compatible with your softener system.
Locating and Preparing the Salt Dispenser

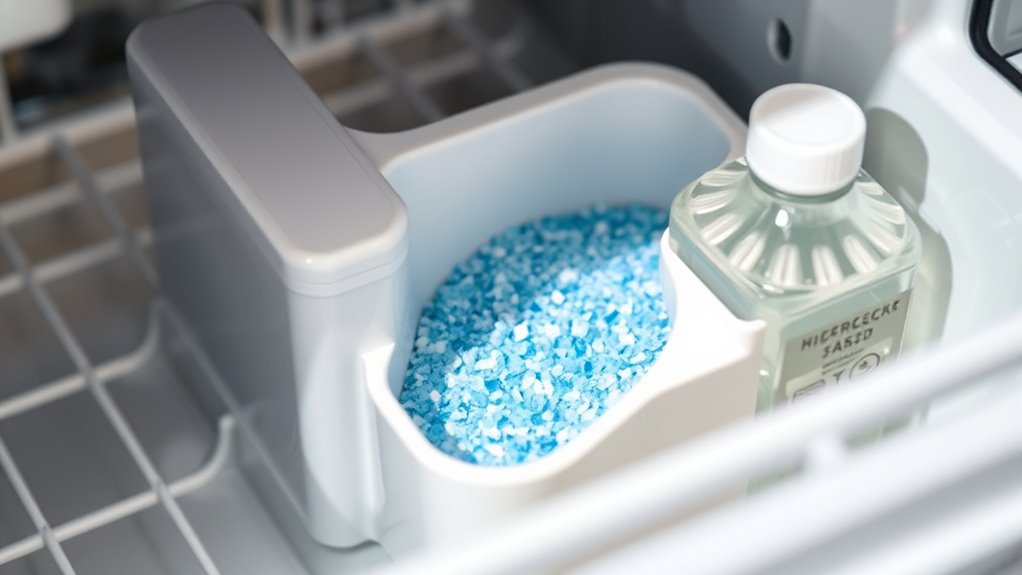
You’ll find the salt dispenser at the base of your dishwasher, often near the drain area, sometimes marked with a symbol or label. To prepare for your first fill, remove the lower rack and open the dispenser cap by turning it counterclockwise. Make sure to clean around the opening before filling to keep everything working smoothly. Recognizing Mazda Tuning patterns can help you tune into love signals from the universe.
Finding the Dispenser Location
Finding the salt dispenser in your dishwasher typically involves looking at the bottom or base area, near the drain. Once there, you’ll see a small, often screw-on cap, sometimes marked with a salt symbol or label. To access it, you’ll need to remove the lower rack or basket. The cap may feel tight or stiff, requiring a firm grip or a tool to unscrew it counterclockwise. The position can vary slightly by brand, so consulting your user manual helps. Visualize a small container sealed tightly, ready to be filled with coarse salt, which works together with the water softening system to prevent mineral buildup. Imagine a funnel guiding the salt inside, with the cap securely screwed back on to prevent leaks. Proper setup of the salt dispenser is essential for the dishwasher’s water softening system to function effectively.
Preparing for First Fill
Before filling the salt dispenser for the first time, locate it at the base of your dishwasher and unscrew the cap carefully. If it’s your first fill, add water to the reservoir before pouring in salt; this helps dissolve the salt and keeps the softener unit functioning properly. Use a dishwasher salt funnel or measuring cup to pour salt into the reservoir, filling it completely or as recommended by the manufacturer. Wipe away any displaced water or salt inside the compartment to prevent corrosion or residue buildup. Once filled, securely tighten the cap to prevent leaks during operation. Additionally, check your dishwasher manual for specific salt type recommendations and ensure the dispenser’s salt refill indicator is functional to avoid low salt warnings. Proper dispenser maintenance ensures optimal performance and longevity of your dishwasher’s water softening system. Regularly inspecting the salt level and replenishing it when needed further enhances the efficiency of the softening process.
Filling the Dishwasher Salt Correctly
To fill the dishwasher salt correctly, start by locating the salt compartment, which is typically found at the base or back of the interior near the bottom rack. You may need to remove or reposition the cutlery basket for easier access. The salt reservoir is sealed with a screw cap or lid that you must unscrew or lift to open. Some dishwashers have a visible salt dispenser you can access without removing racks. Before filling, it’s wise to add a little water to the empty reservoir to help dissolve the salt. Use a funnel or the salt package’s built-in funnel to avoid spills. Here’s what to do next:
Locate the salt compartment, open it, and fill with salt using a funnel for easy, spill-free refilling.
- Unscrew or open the salt cap completely
- Pour salt slowly until the reservoir is full
- Displace any water inside with the salt
- Screw the cap back tightly to prevent leaks
- Make sure to regularly check and refill the salt to maintain optimal dishwasher performance. Regular refilling ensures the water softening system functions effectively, preventing limescale buildup and maintaining the longevity of your appliance.
Ensuring Proper Sealing After Salt Refill
Making certain the salt compartment is properly sealed after refilling is essential to prevent leaks, damage, and ineffective softening. First, align the cap correctly with the threading, then screw it in firmly until it stops turning, ensuring a tight closure. Make sure the lid sits flush and evenly, with no gaps or tilting, and listen for locking clicks or resistance indicating the seal is engaged. Avoid overtightening, which can damage the threads or seals. Check for signs of improper sealing, such as salt or water leaks, persistent indicator lights, or salt residue inside the dishwasher. Before sealing, wipe away excess salt and inspect the O-ring or seal for cracks or wear. Proper sealing maintains system integrity, prevents salt-related issues, and guarantees optimal dishwasher performance. Performing regular inspections can help identify potential problems early and ensure long-lasting operation. Additionally, ensuring the O-ring or seal is in good condition helps maintain a secure seal and prevents leaks over time.
Recognizing When to Refill Salt
Recognizing when to refill your dishwasher salt is essential for maintaining ideal performance, especially in water softening dishwashers. Your dishwasher signals low salt levels through various indicators, so stay alert. Look for the symbol resembling a stylized ‘S’ on the control panel or near the salt reservoir, or watch for an electronic “Add Salt” message after a cycle. The salt container lid may turn from green to clear, signaling the need for a refill. In water softening models, a warning light or symbol also appears. Ignoring these signs can cause limescale buildup, reducing cleaning efficiency. Regularly monitoring salt levels can help prevent issues before they affect your dishwasher’s performance. To avoid problems, check the salt level periodically and refill promptly once the indicator appears. Proper maintenance keeps your dishwasher running smoothly and dishes spotless. Understanding performance cookies can help you monitor your dishwasher’s efficiency and ensure optimal operation.
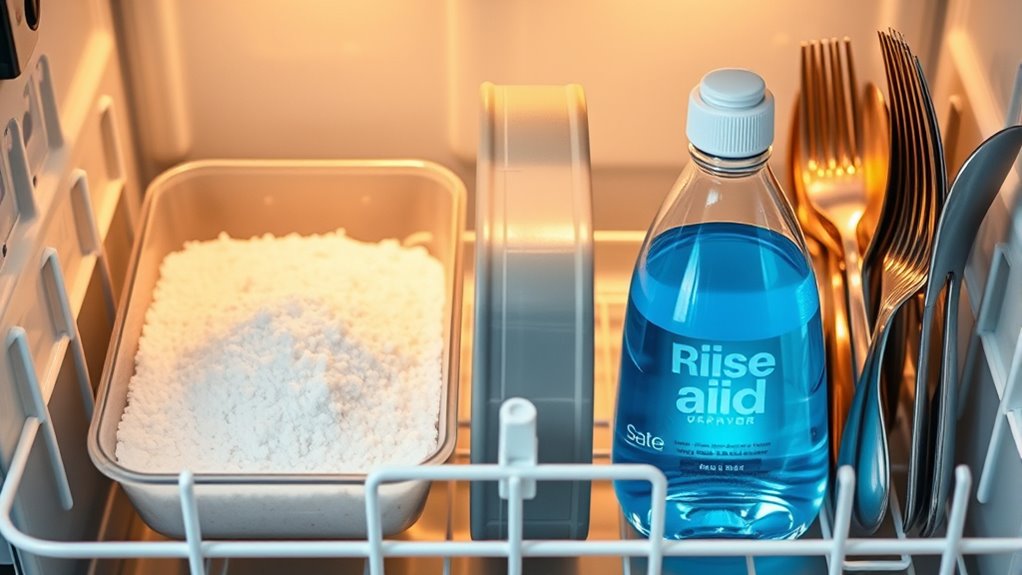
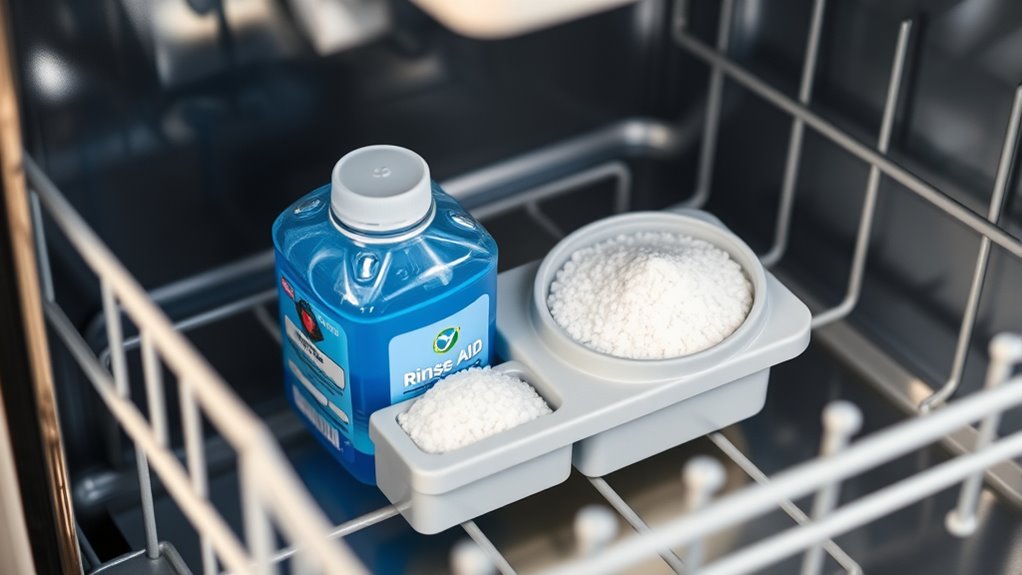
Setting Up the Rinse Aid Compartment
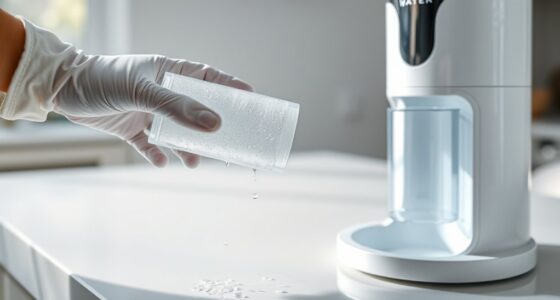
To set up the rinse aid compartment, start by locating it inside your dishwasher door, usually near the detergent dispenser. Open the lid or cap carefully to avoid damage, then pour rinse aid slowly until it’s full. Finally, secure the cap tightly to prevent leaks and keep the rinse aid ready for each cycle. Using the correct amount of air purifier maintenance can help maintain optimal cleaning results and prevent water spots on your dishes.
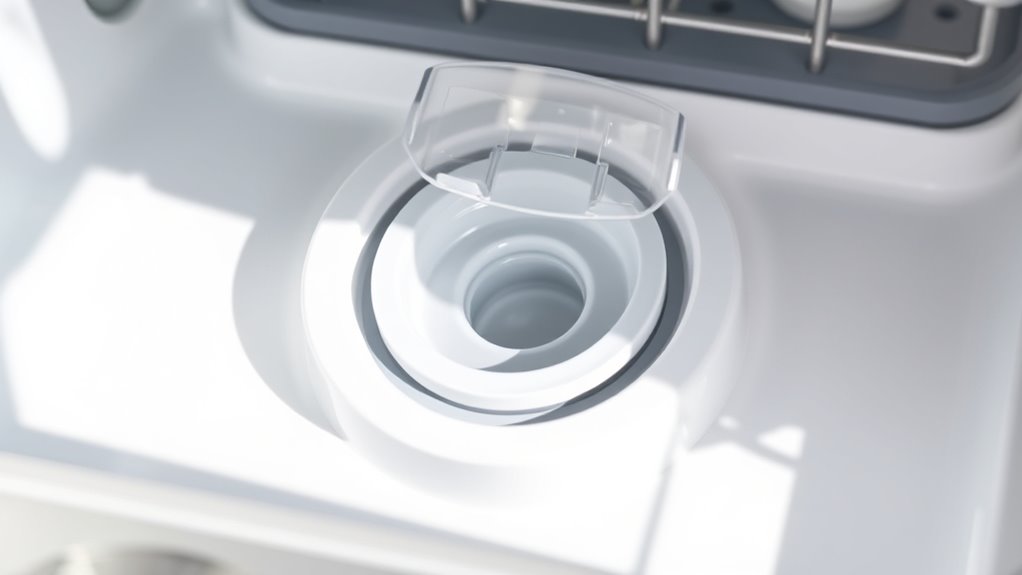
Opening and Filling Rinse Aid
Before filling the rinse aid, open the dishwasher door fully to prevent spills. Locate the rinse aid dispenser inside the door, usually covered by a flap or lid. Open it by pressing or gently pulling the latch, or pushing in the center of the lid, then lifting it up. Some models have specific spots to press for releasing the lid. To ensure optimal results, it’s helpful to understand the beneficial ingredients often found in eye patches, which promote hydration and anti-aging effects. As you fill, pour the rinse aid slowly until it reaches the “full” or “max” line inside the compartment. Pause periodically to let the liquid settle and avoid overfilling. Be careful not to spill excess rinse aid; wipe away any spills immediately with a damp cloth. Proper setup of the rinse aid compartment ensures efficient cleaning and helps prevent issues like foaming or streaks during the wash cycle. This process guarantees proper distribution during cycles and prevents leaks or foaming issues.
Securing the Rinse Aid Cap
Securing the rinse aid cap properly is essential to prevent leaks and guarantee the dispenser functions correctly. After installing the new cap, turn it clockwise until it’s snug and fully threaded into the dispenser. Make certain it sits flush without forcing it, as over-tightening can damage the threads or cause cracks. Check that the gasket or seal is properly seated to prevent leaks during operation. If the old cap was damaged or stripped, use pliers to gently remove it and confirm the threads are intact before installing the new one. Always verify that the cap is securely in place and not loose. Properly secured caps ensure ideal rinse aid dispensing and help avoid messes or operational problems. Additionally, ensuring the proper fit of the cap can maximize the efficiency of the rinse aid and prevent potential malfunctions. Regularly inspecting the dispenser components can also help catch issues early and maintain optimal performance.
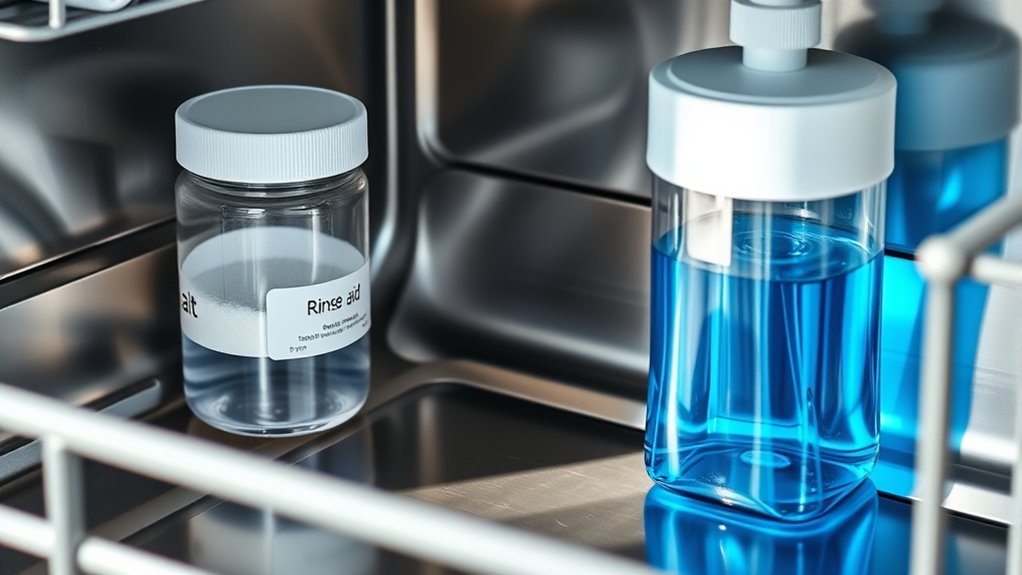
Filling and Adjusting Rinse Aid Levels

Filling and adjusting rinse aid levels correctly guarantees your dishwasher performs at its best and prevents leaks or residue buildup. To do this, fully open the door and access the dispenser. Carefully open the lid by pressing the latch or pushing the center. Pour rinse aid directly into the opening, stopping at the “Full” mark or the internal indicator. Use tinted rinse aid to see the level clearly. Avoid overfilling to prevent leaks or spills. Remember, refill only when the indicator drops to “Add” or low. Adjust the rinse aid dial based on your water hardness and needs—higher for hard water, lower for softer water. Regularly check the transparent window or indicator to ensure proper levels. Proper filling and adjustment optimize drying and minimize spots.
Monitoring and Maintaining Rinse Aid Functionality
Regularly inspecting and testing your rinse aid dispenser guarantees it functions properly throughout each cycle. Check that the dispenser door opens smoothly and closes without resistance or sticking caused by soap residue. Manually open and close the door to identify any hindrance. Clean any buildup or sticky residue around the mechanism to ensure proper operation. Test electronic components like the actuator or solenoid for continuity and damage; replace or seek professional help if needed. After cleaning, run a hot water cycle to flush out remaining residues. Monitor your dish drying results and adjust the rinse aid setting if necessary—increase if dishes aren’t drying well, or decrease if residue or suds appear. Regular checks keep your rinse aid functioning at its best. Additionally, ensuring proper air quality in your environment can help maintain your dishwasher’s performance by reducing the buildup of residues caused by stagnant air or humidity. Maintaining good ventilation can further prevent moisture buildup and improve overall appliance longevity.
Optimizing Performance Based on Water Hardness
Understanding your water hardness is essential for optimizing your dishwasher’s performance. When water contains high mineral levels, it leads to limescale buildup, water spots, and reduced cleaning efficiency. To combat this, you need to adjust your dishwasher settings and use the right amount of salt for effective water softening.
Imagine:
- A clear cycle that keeps your dishes spotless, free of chalky film
- Soft water flowing smoothly, preventing pipe clogs
- Salt levels carefully calibrated, matching your water’s mineral content
- Reduced mineral deposits on heating elements, extending your dishwasher’s lifespan
Frequently Asked Questions
Can I Use Any Type of Salt in My Dishwasher?
You shouldn’t use any type of salt in your dishwasher. Only use specialized dishwasher salt designed for water softeners, as it has the right coarse granules and purity. Regular table salt or sea salt may clog the softener or cause damage because they contain additives or are too fine. Using the correct salt guarantees your dishwasher works efficiently, prevents buildup, and prolongs its lifespan. Always follow the manufacturer’s recommendations for salt use.
How Does Water Hardness Affect Salt and Rinse Aid Usage?
Water hardness directly impacts your salt and rinse aid use. Hard water contains minerals that require more salt to soften it, preventing limescale buildup and ensuring efficient cleaning. You’ll need to adjust your rinse aid use to combat spotting and maintain shine, especially in very hard water. Regularly testing water hardness helps you set the right levels, so your dishwasher stays effective, and your dishes come out spotless and streak-free.
What Are Signs Indicating I Need to Refill Salt or Rinse Aid?
A stitch in time saves nine, so watch for signs you’re low on salt or rinse aid. Cloudy or spotted dishes, water droplets, or streaks indicate you need to refill. Inside, white scale deposits or mineral buildup show salt’s gone. An “Add Salt” message or warning light also signals it’s time. Regular checks prevent damage, keep your dishwasher running smoothly, and guarantee your dishes come out spotless every time.
Is It Necessary to Rinse the Salt Compartment Before Refilling?
No, you don’t need to rinse the salt compartment before refilling. The water inside is normal and essential for dissolving the salt and activating the softening system. Simply open the compartment, add salt directly—leaving any existing water—and wipe away any spilled salt outside. Rinsing could disrupt the system, so it’s best to keep it sealed and maintain it by refilling as needed.
How Often Should I Check and Adjust Rinse Aid Levels?
You should check and adjust your rinse aid levels approximately every 30 dishwasher cycles. Keep an eye on the indicator light or gauge, especially if you notice water spots or poor drying. Regularly inspect the dispenser, especially if you use hard water or run your dishwasher frequently. Adjust as needed to maintain ideal cleaning, and refill the rinse aid to the recommended level to guarantee your dishes dry well and look spotless.
Conclusion
By properly setting up your dishwasher salt and rinse aid, you guarantee spotless dishes and peak performance. Take the time to understand each step—don’t let small details slide—because sometimes, the devil’s in the details. Regular maintenance keeps everything running smoothly, saving you time and effort in the long run. Keep a close eye on levels and settings, and you’ll prevent issues before they become headaches. After all, a stitch in time saves nine.