
To defrost and clean your chest freezer, first unplug it and remove all food, storing it in a cooler. Open the lid and let ice melt naturally or use hot water to speed up the process, avoiding sharp tools. Gently remove large chunks with a plastic spatula and wipe away residue with a mild soap solution. Keep the interior dry and clean, check door seals, and then plug it back in. For more detailed steps and tips, keep exploring how to maintain your freezer effectively.
Key Takeaways
- Unplug the freezer, remove all food, and open the lid to allow ice to melt naturally or with hot water.
- Gently remove large ice chunks with a plastic or wooden spatula, avoiding sharp tools.
- Clean interior surfaces with a mild soap and warm water solution; neutralize odors with baking soda and water.
- Dry all surfaces thoroughly, inspect door seals for damage, and ensure the interior is dry before plugging back in.
- Organize stored items, and schedule regular defrosting and cleaning to maintain efficiency and prolong lifespan.
A chest freezer works diligently to keep your food cold, but over time, ice buildup can diminish its efficiency and storage space. When frost accumulates, it hampers airflow and forces the compressor to work harder, which in turn increases your energy consumption. Regularly defrosting and cleaning your freezer is essential to maintain ideal storage tips and guarantee energy efficiency. The good news is that this task is straightforward and can considerably extend the lifespan of your appliance.
Regular defrosting keeps your freezer efficient, extends its lifespan, and maximizes storage capacity.
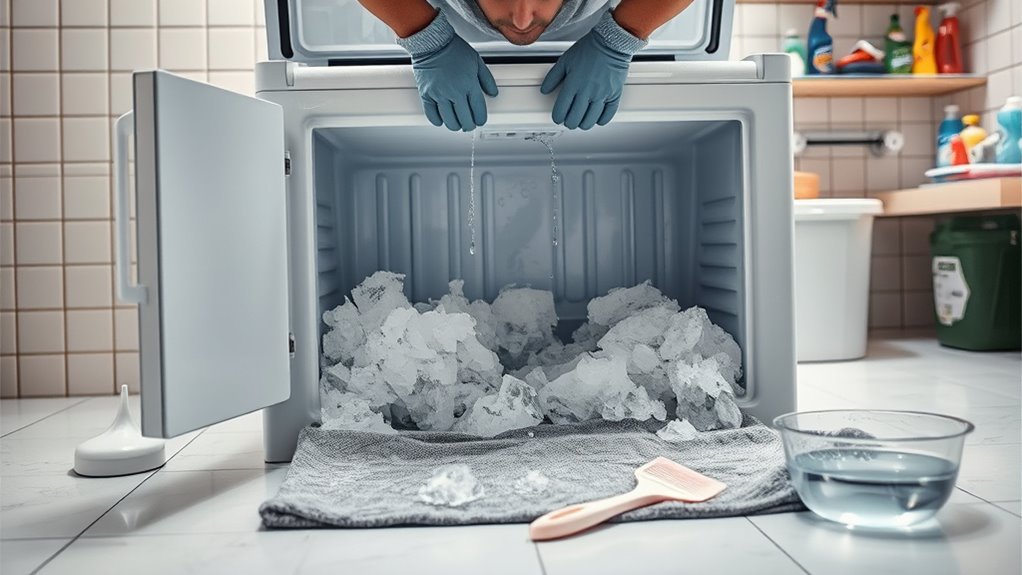
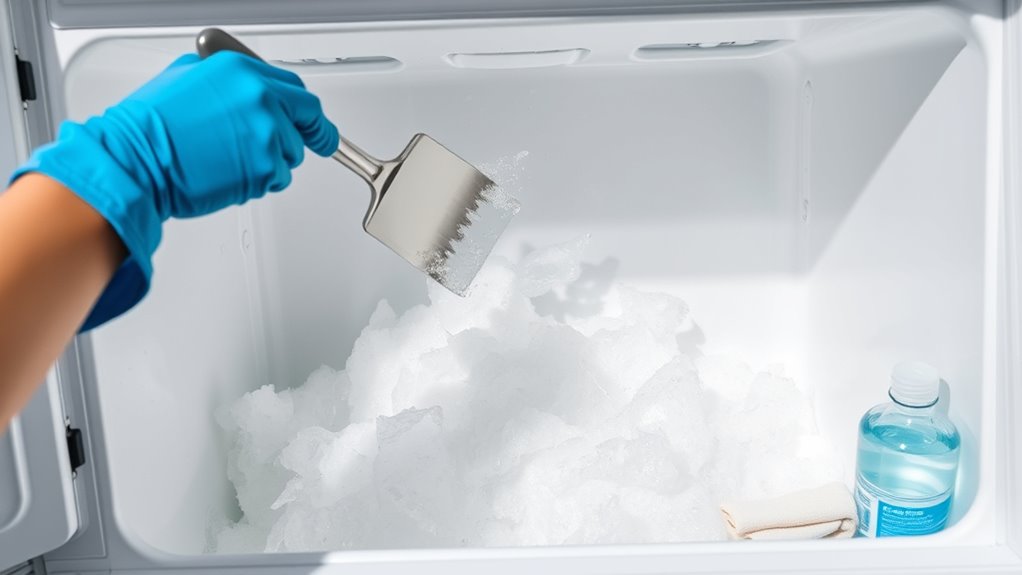
Before you start, unplug the freezer to prevent any electrical issues or accidental activation. Remove all food items and store them in a cooler or another insulated container to keep them cold during the process. Clearing out the freezer not only makes defrosting easier but also gives you a chance to clean and organize your storage space. Once empty, open the lid or door and allow the ice to start melting naturally, which can take several hours depending on the thickness of the frost. For faster results, you can place a bowl of hot water inside to help loosen the ice, but avoid using sharp objects to chip it away, as this can damage the interior.
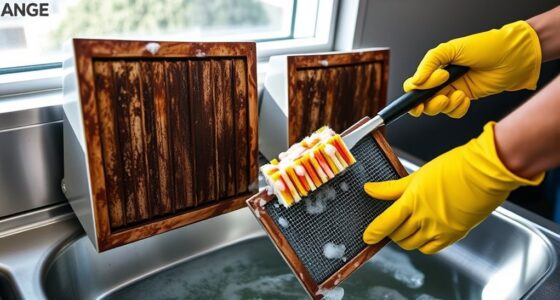
As the ice begins to melt, use a plastic or wooden spatula to gently pry off larger chunks, being cautious not to scratch the lining. Keep towels or a mop handy to soak up the melting water and prevent puddles from forming. Regularly wiping down the interior with a mixture of mild soap and warm water helps remove any residual frost and prevents mold or unpleasant odors. For a more thorough clean, you can use a solution of baking soda and water, which is safe and effective at neutralizing odors. Incorporating automation technologies like smart sensors can also help monitor temperature and frost buildup more effectively.
While cleaning, take the opportunity to inspect the door seals for any cracks or tears, as these can compromise the freezer’s efficiency. Worn or damaged seals should be replaced promptly to prevent cold air from escaping and to maintain your freezer’s energy efficiency. After cleaning, dry all surfaces thoroughly before plugging the appliance back in and restocking your food. To keep ice buildup at bay, consider organizing your freezer with storage tips like using airtight containers and labels, which facilitate easy access and reduce opening time.
Frequently Asked Questions
How Often Should I Defrost My Chest Freezer?
You should defrost your chest freezer when frost buildup reaches about a quarter-inch thick, typically every 3 to 6 months. Regular defrosting helps maintain energy efficiency by preventing excessive frost buildup, which forces the compressor to work harder. Keep an eye on frost accumulation, and defrost more often if you notice ice forming quickly. Properly defrosted freezers run more efficiently, saving you energy and keeping your food properly preserved.
Can I Use a Hairdryer to Speed up Defrosting?
You can use a hairdryer to speed up defrosting, but you need to prioritize hairdryer safety. Keep it at a safe distance from water and ice, and avoid using high heat to prevent damage. This defrosting technique can help melt ice faster, but always stay cautious. Use the hairdryer carefully, and never leave it unattended. This approach can save you time while keeping safety in mind.
Is It Safe to Store Food During Defrosting?
Like a wise old sage once said, “Better safe than sorry,” so it’s best to avoid storing food during defrosting. This prevents food safety risks, mold growth, and spoilage. Keep perishable items in a cooler with ice packs if necessary, but ideally, remove all food to make certain your freezer stays clean and safe. After defrosting, thoroughly clean before putting food back to prevent mold and contamination.
What Cleaning Products Are Best for Chest Freezers?
You should use gentle cleaning solutions like mild soap and warm water for your chest freezer. Eco-friendly cleaners are a great choice because they’re safe for the environment and won’t leave harmful residues. Avoid harsh chemicals or abrasive scrubbers that could damage the interior. Simply mix a small amount of eco-friendly cleaner with water, wipe down surfaces, and rinse with clean water for a thorough, safe clean.
How Do I Prevent Ice Buildup in the Future?
Imagine your freezer as a calm, clear pond—smooth and free of ice. To keep it that way, guarantee proper ventilation around your freezer, allowing warm air to circulate and prevent moisture buildup. Seal gaps tightly to stop humid air from sneaking in. Regularly check door seals and avoid leaving it open too long. These simple steps maintain a dry environment, preventing ice buildup and keeping your freezer efficient and hassle-free.
Conclusion
By regularly defrosting and cleaning your chest freezer, you guarantee it runs efficiently and lasts longer. Taking the time to remove ice buildup and sanitize keeps your food fresh and safe. Don’t you want to save energy and prevent costly repairs? Staying on top of maintenance might seem like a chore, but it’s a small effort for big benefits. Keep your freezer in tip-top shape, and it’ll serve you well for years to come.