To care for your range hood filters, know that baffle filters are sturdy and great for catching large grease, so clean them with soak tanks and gentle scrubbing. Mesh filters are lighter and trap finer particles, so inspect monthly, soak in hot water with dish soap or baking soda, and scrub gently with a soft brush. Proper maintenance prevents buildup and keeps your kitchen fresh—continue exploring for detailed tips to keep your filters in top shape.
Key Takeaways
- Baffle filters are more durable and better for heavy grease, requiring regular inspection and gentle cleaning with soft brushes.
- Mesh filters are lighter and easier to remove, needing monthly soaking in hot water with degreasing agents.
- Use a soft-bristle brush or microfiber cloth for cleaning both filter types, ensuring thorough removal of grease and debris.
- For baffle filters, avoid harsh abrasives; for mesh filters, soak and scrub to prevent clogging and maintain airflow.
- Regular maintenance with proper tools extends filter lifespan and ensures optimal kitchen air quality.
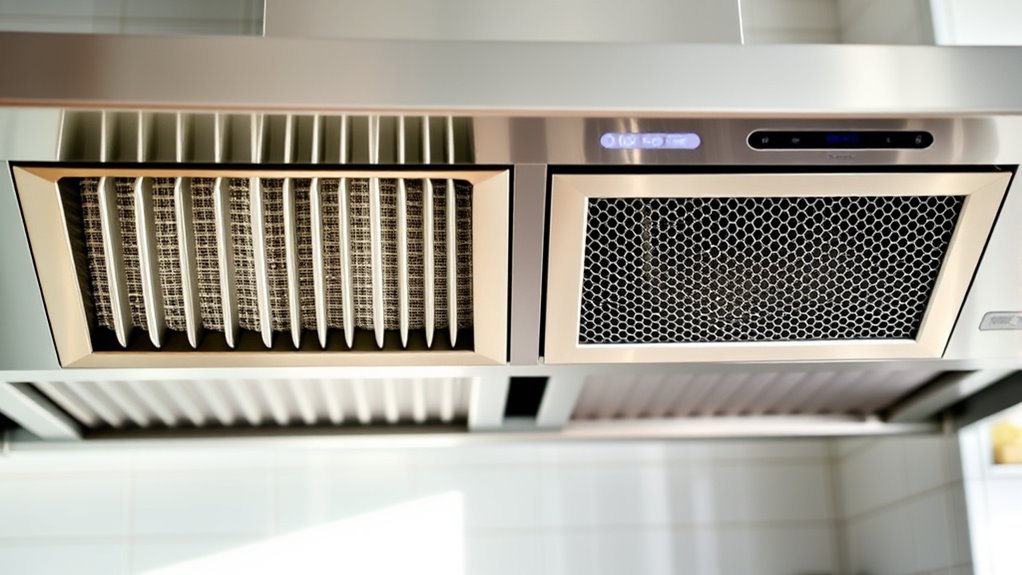
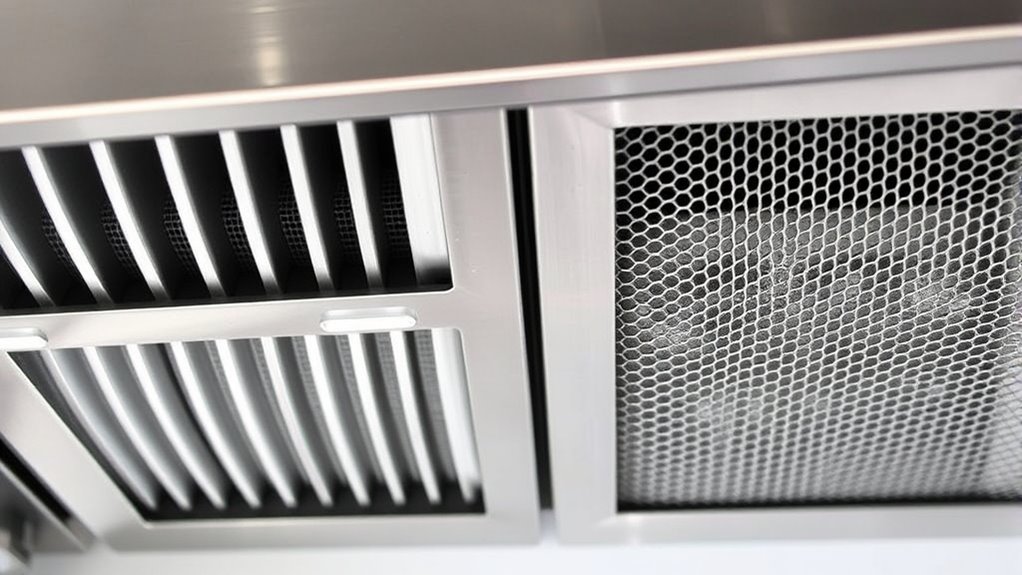
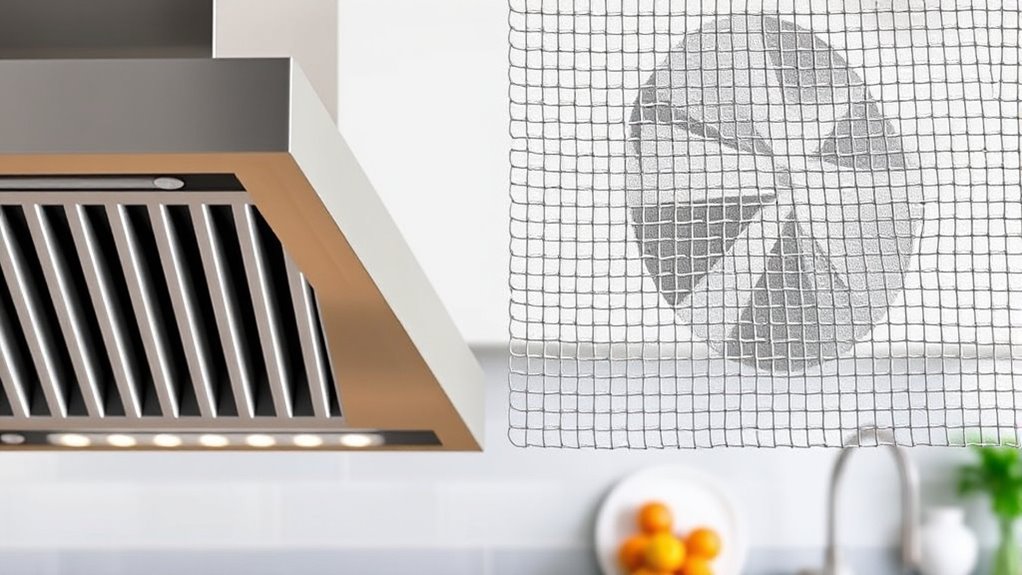
Understanding the Differences Between Baffle and Mesh Filters

Have you ever wondered how baffle and mesh filters differ in their design and performance? Baffle filters feature curved metal plates that create closed channels, forcing air to change direction quickly. This causes grease particles to separate and collect on the baffle surfaces, making them effective at heavy-duty filtration. Mesh filters, on the other hand, are made of multiple woven layers of aluminum or stainless steel mesh, trapping grease and particles as air flows through. Baffle filters are sturdier and often heavier, suitable for commercial or heavy cooking environments. Mesh filters are lighter, with a flatter profile, fitting more easily in standard hoods. While baffle filters handle larger grease droplets better, mesh filters excel at capturing finer particles, including smoke and odors. Additionally, understanding sound healing science can inspire innovative ways to integrate calming environments into your kitchen space, promoting relaxation during cooking. Recognizing the different maintenance requirements of each filter type can help you choose the best option for your cooking habits and ensure optimal performance.
Recognizing When to Clean Your Range Hood Filters
You’ll know it’s time to clean your filters when they look greasy or sticky, or if you notice lingering odors and smoke in your kitchen. Reduced airflow and a greasy film on the filters are clear signs they need attention. Addressing these issues promptly keeps your range hood working efficiently and safely. Grease buildup can also cause the filters to become heavier and more difficult to clean over time, further emphasizing the importance of regular maintenance. Recognizing relationship patterns such as neglect or recurring issues can help determine when it’s time for a thorough cleaning.
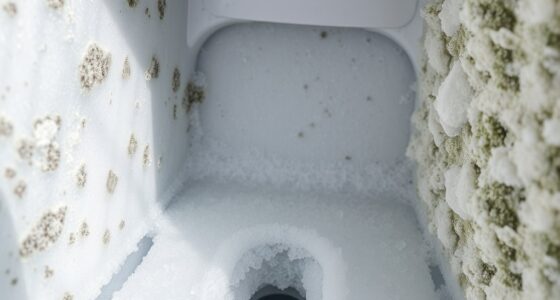
Visible Grease Buildup
Recognizing when to clean your range hood filters is essential for maintaining ideal kitchen safety and ventilation. Visible grease buildup appears as shiny, sticky, or clogged surfaces on the filters, often showing a dark, grimy layer underneath or on top. Grease may drip from the filters or hood, signaling excessive buildup that can cause fire hazards. Heavy grease makes filters heavy and discolored, impairing airflow and reducing filtration efficiency. Regular inspection helps identify these signs early.
| Sign of Grease Buildup | Indicator for Cleaning |
|---|---|
| Shiny, sticky filters | Need cleaning immediately |
| Dripping grease | Excessive buildup, urgent cleaning |
| Discolored, heavy filters | Time for maintenance |
Unusual Odors or Smoke
Unusual odors or smoke lingering in the kitchen are clear signs that your range hood filters may need cleaning. Persistent smells after cooking suggest filters are saturated or clogged, reducing their ability to trap odors and grease. Reduced suction and airflow often indicate grease buildup in mesh or baffle filters, allowing smoke to escape. Charcoal filters in ductless hoods become saturated every 3–6 months, losing odor-absorbing power. If you notice weak or inconsistent airflow, sticky smells, or visible smoke escaping, it’s time to inspect and clean or replace your filters. Clogged filters slow the fan, decrease ventilation efficiency, and can cause additional odors. Regular maintenance ensures your range hood functions properly, keeps the air clear, and prevents potential fire hazards caused by grease buildup. Proper filter care can also help extend the lifespan of your range hood components.
Preparing for Filter Removal Safely and Effectively

Before removing your range hood filters, make sure to turn off the power to prevent shocks or accidental activation. Clear your workspace and gather the necessary tools to keep the process smooth and safe. Taking these precautions helps ensure a safe, efficient filter removal. Additionally, understanding industry trends can help you stay informed about the latest maintenance practices. Being aware of cookie management options can also enhance your online privacy during this process.
Turn Off Power
Turning off the power is the most critical safety step before removing or cleaning your range hood filters. To do this, unplug the unit or shut off the circuit breaker that supplies power. Confirm the power is off by testing the hood controls if possible before beginning. This eliminates the risk of electrical shock or accidental activation during maintenance. If the unit is hardwired, use the circuit breaker switch for complete disconnection. In commercial kitchens, follow safety protocols like lockout/tagout procedures. Always wait for the hood and filters to cool down to prevent burns. Wear protective gloves and clear the area before starting. Never reach inside the hood with the power on, and ensure other team members are aware of the maintenance to avoid unexpected power restoration.
Remove Filters Carefully
To remove filters safely, you need to identify their type and location first. Check if you have baffle, mesh, hybrid, or charcoal filters, and note where they sit—usually underneath or on the sides of the hood. Look for release latches, clips, or screws that secure them. Consult the manufacturer’s manual or model-specific instructions for guidance, especially with custom or luxury hoods. Before removing, turn off the power and let filters cool if recently used. Wear gloves to protect against grease and sharp edges. Keep a clean, stable workspace or basin nearby to place filters immediately. Gently press release latches, slide, unclip, or unscrew the filters, taking care not to bend or drop them. Handle with care to prevent damage and ensure safe removal. Additionally, understanding the different filter types can help you choose the most effective cleaning method and maintain optimal kitchen air quality.
Prepare Cleaning Area
Setting up a safe and efficient workspace is essential before removing your range hood filters. First, ensure the area is well-ventilated by opening windows or turning on a fan. Clear the countertop of clutter and combustible materials to prevent fire hazards. Set up a large basin or sink nearby for soaking filters and place towels or mats underneath to catch drips and protect surfaces. Gather all cleaning supplies—degreaser, dish soap, brushes, sponges—so everything is within reach, reducing handling time. Make sure your lighting is bright enough to inspect filters and the hood thoroughly. Wearing protective gloves and goggles is advisable to shield your skin and eyes from grease splatters or chemical fumes. Conducting a thorough inspection of the filters before cleaning helps identify any damage or excessive buildup, ensuring proper maintenance. Regularly cleaning and replacing filters extends their lifespan and maintains optimal appliance performance. A prepared workspace guarantees safety and streamlines the cleaning process.
Soaking Techniques for Optimal Grease Loosening
Soaking your range hood filter effectively loosens built-up grease, making cleanup easier and more efficient. The ideal soaking time ranges from 10 to 30 minutes, depending on how dirty the filter is. Use hot or boiling water combined with degreasing dish soap or baking soda to break down grease. For tougher grime, steam can be used before soaking to enhance results. Choose a container suitable for your filter size—sink, bathtub, or soak tank. Here’s a quick guide:
| Filter Type | Soaking Tip |
|---|---|
| Baffle | Soak longer for complex designs and grease removal efficiency |
| Mesh | Handle gently to avoid damage |
| Stainless Steel | Use hot water and degreaser |
Proper soaking reduces scrubbing and ensures a cleaner filter with less effort. Additionally, understanding emotional support can be helpful if you’re feeling overwhelmed during cleaning or maintenance routines.
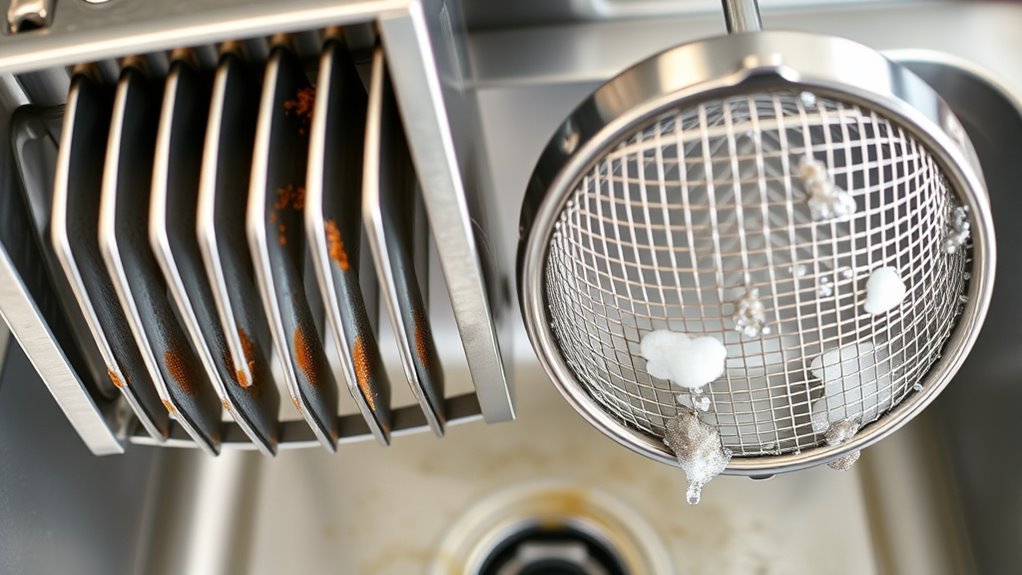
Scrubbing and Cleaning Methods for Baffle Filters
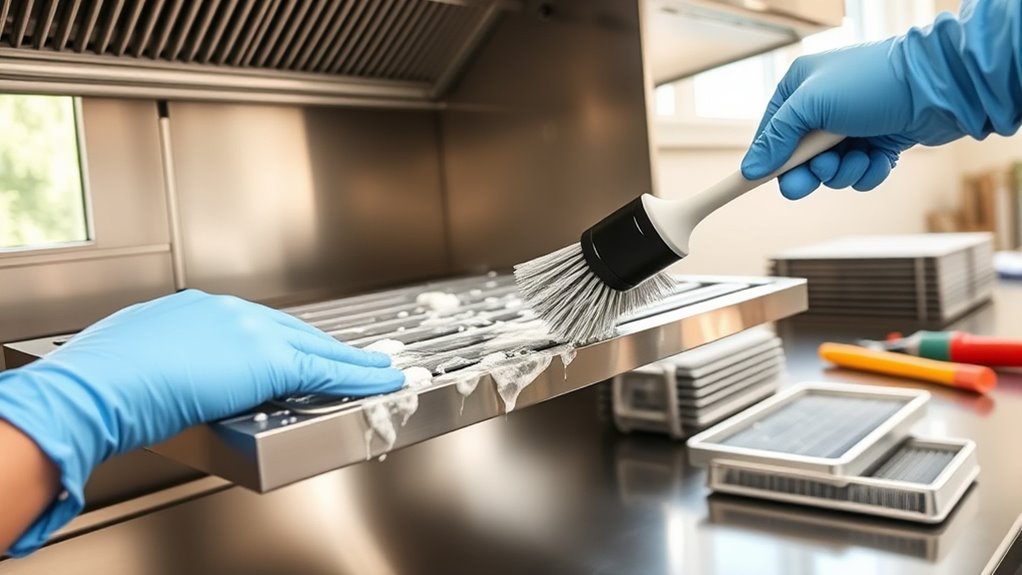
Before you start scrubbing, make certain the range hood is turned off and unplugged for safety. Gently remove the filters by pressing release latches or sliding them out, avoiding damage. Gather a soft-bristle dish brush or toothbrush, microfiber cloths, a basin or sink, and cleaning supplies. Pre-rinse filters with hot water to soften grease and prepare for scrubbing. Use a non-abrasive brush to apply gentle circular motions, focusing on greasy spots and both sides of the filter. Reapply degreaser or dish soap as needed, letting it sit briefly for stubborn grime. Rinse thoroughly with hot water, ensuring crevices are clean. Shake excess water, then pat dry with microfiber cloths. Air drying completely prevents rust and mildew, leaving your filters spotless.
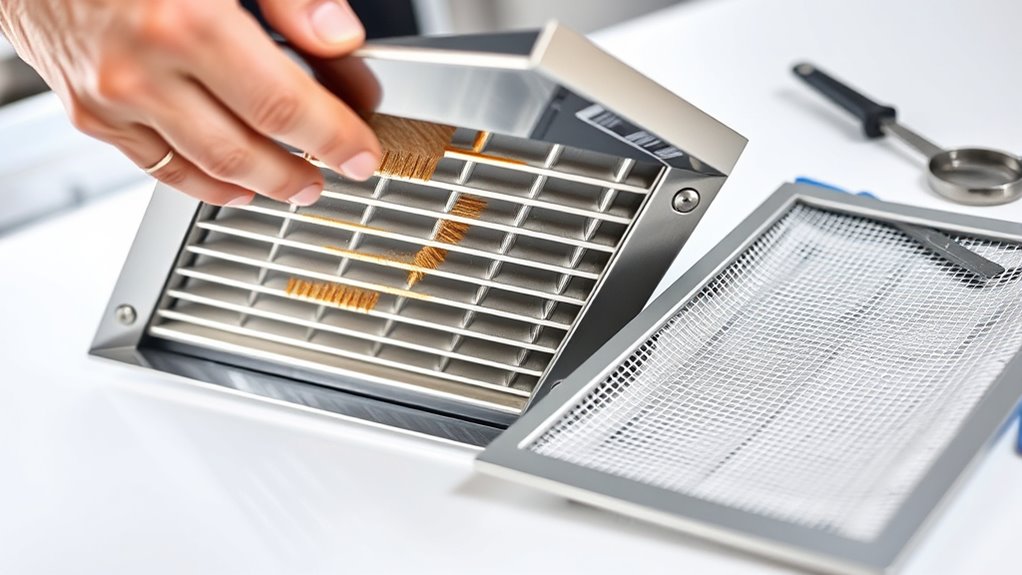
Best Practices for Maintaining Mesh Filters
Regularly inspecting your mesh filters is essential to maintaining their effectiveness and preventing costly damage. To keep them in top shape: 1. Clean the filters at least once a month to prevent heavy grease buildup that hampers airflow and efficiency. 2. Check for grease accumulation, warping, or corrosion; replace damaged filters immediately. 3. Follow a routine of soaking filters in hot water with dish soap and baking soda, then gently scrub with a soft brush. 4. Rinse thoroughly and air dry completely before reinstalling to avoid rust or mold. 5. Understanding the cost‑of‑ownership of your filters can help you budget for replacements and maintenance. If dishwasher safe, place filters upright in the bottom rack, but avoid high heat drying or harsh detergents. Regular maintenance preserves airflow, extends filter life, and keeps your kitchen air clean. Additionally, staying informed about the latest machine learning advancements can help you adopt innovative cleaning solutions in the future.
Using Degreasers and Natural Solutions for Tough Grease

When tackling tough grease on your range hood filters, choosing the right degreaser or natural cleaner makes all the difference. You’ll want to follow proper application methods and safety tips to avoid damaging your filters or risking harm. For those seeking eco-friendly options, recycled products can be effective cleaning agents that minimize environmental impact while maintaining cleaning power. Let’s explore effective options and best practices to keep your filters clean and safe.
Choosing Effective Degreasers
Choosing the right degreaser is essential for effectively tackling tough grease on your range hood filters. First, consider industrial-strength options like WD-40 Specialist Cleaner, which quickly dissolves grease on multiple surfaces without requiring scrubbing. Second, eco-friendly cleaners such as Puracy Multi-Surface Cleaner offer a non-toxic solution, ideal if you prefer natural products. Third, specialized systems like DECARBONATOR® target hidden grease inside baffle filters, reducing effort and improving safety. Fourth, popular consumer brands like Simple Green and Zep Foaming Degreaser provide convenient, adjustable solutions for regular maintenance. By selecting the appropriate product based on grease severity, surface compatibility, and environmental impact, you guarantee effective cleaning while protecting your kitchen environment. Incorporating high-pressure sprayers can also enhance grease removal efficiency and ensure a thorough clean. Additionally, understanding filter types can help you choose the most suitable cleaning method and product for your specific range hood.
Natural Cleaning Alternatives
Natural cleaning alternatives offer effective ways to remove tough grease from your range hood filters without relying on harsh chemicals. Vinegar diluted with warm water breaks down grease easily, especially when filters soak for 30 minutes. Its mild acidity acts as a gentle degreaser, and scrubbing with a soft brush enhances grease removal. Rinse thoroughly to eliminate vinegar smell and debris. Baking soda combined with boiling water dissolves and lifts grease; sprinkling it before soaking softens stubborn grime. Adding salt to boiling water creates a mild abrasive that boosts cleaning power without scratching surfaces. A combined soak using vinegar, baking soda, and salt produces bubbling action that lifts grease naturally. Incorporating natural materials such as linen and wood in your kitchen decor can create a more eco-friendly environment that complements your cleaning routine. Additionally, using environmentally friendly products helps reduce chemical exposure and supports sustainable practices. Finishing with natural dish soap and microfiber cloths restores filter efficiency, all while being eco-friendly and safe for your kitchen.
Application and Safety Tips
Applying degreasers and natural cleaning solutions safely is key to effectively removing tough grease without damaging your range hood filters. First, always wear chemical-resistant gloves and eye protection to prevent irritation from splashes. Second, spray degreasers directly onto both sides of the filter, especially on baffle filters, then soak for 15-30 minutes to loosen grease. Third, use a soft-bristle brush or sponge to gently scrub, avoiding excessive pressure on mesh filters. Fourth, rinse thoroughly with hot water to remove residues, preventing odors and airflow issues. Remember to follow manufacturer dilution instructions for commercial degreasers and avoid harsh chemicals like bleach or abrasives. Proper handling and disposal of used solutions ensure safety and environmental protection. Additionally, understanding cleaning techniques can help maintain optimal filter performance and prolong its lifespan. Incorporating regular maintenance routines can also prevent buildup and make future cleaning easier.
Enhancing Cleaning Efficiency With Specialized Equipment
Enhancing cleaning efficiency with specialized equipment streamlines the removal of grease and prolongs filter life. Commercial-size soaking tanks, like the DECARBONATOR®, let you fully immerse filters, loosening grease deposits in as little as 20 minutes. This uniform soaking improves cleaning agent penetration and breaks down grease more effectively than manual scrubbing. Tanks made from corrosion-resistant materials support high-temperature solutions, ensuring ideal grease dissolution without damaging filters. Proper paint sprayer maintenance is essential for optimal performance and longevity of the equipment. Complement this with high-performance degreasers formulated for kitchen exhaust systems, targeting stubborn grease buildup. Use mechanized tools such as brushes, scrapers, and adjustable surface cleaners to remove residual debris after soaking. These tools, combined with specialized soaking tanks, reduce labor and increase cleaning consistency, leading to more efficient grease removal and longer filter lifespan. AI-driven innovations in cleaning technology can further optimize maintenance processes.
Tips for Reinstalling and Inspecting Your Filters
Before reinstalling your filters, it’s essential to prepare properly to guarantee safety and peak performance. First, disconnect power from the range hood by unplugging it or switching off the breaker. Second, identify your filter type—baffle, mesh, hybrid, or charcoal—as reinstallation steps vary. Third, consult the manufacturer’s manual to confirm the correct orientation and placement. Fourth, gather tools like screwdrivers if needed and clean the surrounding area to prevent dirt from interfering with installation. Proper handling of tableware materials during cleaning can help extend the life of your filters and maintain optimal performance.
When securing filters, engage clasps or screws firmly, but don’t overtighten. Check that filters sit flush, without gaps, and test stability by gently wiggling them. Finally, visually inspect for missing parts or misalignments before running the hood briefly to guarantee proper seating.
Long-term Maintenance Strategies for Kitchen Safety and Performance
Regularly inspecting and maintaining your range hood filters helps keep your kitchen safe and your appliances working efficiently over the long term. By routinely checking for grease buildup, damage, or discoloration, you can identify when cleaning or replacing filters is necessary. Establishing a cleaning schedule—monthly for metal filters and every 3-6 months for charcoal filters—prevents grease fires and maintains ideal air quality. Keeping logs or setting reminders ensures consistency. Proper maintenance reduces strain on the range hood motor, extending its lifespan and improving energy efficiency. Promptly replacing charcoal filters prevents odor buildup and fire hazards. These strategies help sustain safe, clean, and efficient kitchen operation, minimizing risks and costly repairs while ensuring your range hood performs at its best over time.
Frequently Asked Questions
How Often Should I Replace My Range Hood Filters?
You should replace your range hood filters every 3 to 6 months, depending on your cooking habits and filter type. If you cook greasy or aromatic foods often, replace them more frequently. Look for signs like persistent odors, discoloration, or physical damage, which indicate it’s time for a replacement. Regularly inspect your filters to make certain they’re functioning properly, maintaining good air quality and safety in your kitchen.
Can I Use Bleach or Harsh Chemicals on Filters?
You shouldn’t use bleach or harsh chemicals on your filters because they can damage the metal, causing warping, corrosion, or deterioration. These chemicals weaken the filter’s material and may void your warranty. Instead, opt for mild detergents like dish soap or baking soda, and consider soaking filters in warm water. Gentle scrubbing and natural solutions help keep your filters clean without risking damage or compromising their effectiveness.
Are There Eco-Friendly Cleaning Options for Grease Removal?
Yes, you can use eco-friendly options like vinegar, baking soda, and biodegradable detergents to remove grease from your filters. These natural solutions are safe, effective, and gentle on your filters. You can soak, scrub gently, and steam-clean with these ingredients to break down grease without harsh chemicals. Regular cleaning with eco-friendly methods keeps your filters in good shape, reduces environmental impact, and maintains a healthier kitchen environment.
What Signs Indicate My Filters Need Professional Maintenance?
If your filters show excessive grease buildup, have holes or tears, or don’t let light pass through, you need professional maintenance. Other signs include persistent odors, decreased airflow, and increased noise from your exhaust fan. Visible grime, warped or corroded filters, or grease dripping indicate it’s time for experts to clean or replace. Regular professional checks help guarantee your kitchen stays safe, efficient, and compliant with safety standards.
How Do I Prevent Grease Buildup on Filters Over Time?
You can prevent grease buildup on your filters from turning your kitchen into a grease factory by cleaning them weekly with hot, degreasing water and a gentle brush. Use grease containment systems and choose high-quality filters to catch more grease before it accumulates. Regularly inspect filters for signs of buildup, and soak stubborn grease in baking soda solution. Staying consistent keeps your filters cleaner longer, saving you from major grease disasters!
Conclusion
Keeping your range hood filters clean is like tending a garden—you’ll enjoy the best results when you regularly prune and care for each part. Whether you choose baffle or mesh filters, proper cleaning extends their lifespan and keeps your kitchen safe. With these tips, you’ll master the art of filter maintenance, ensuring your cooking space stays fresh and efficient. Stay proactive, and your range hood will perform like a well-oiled machine, always ready to serve.