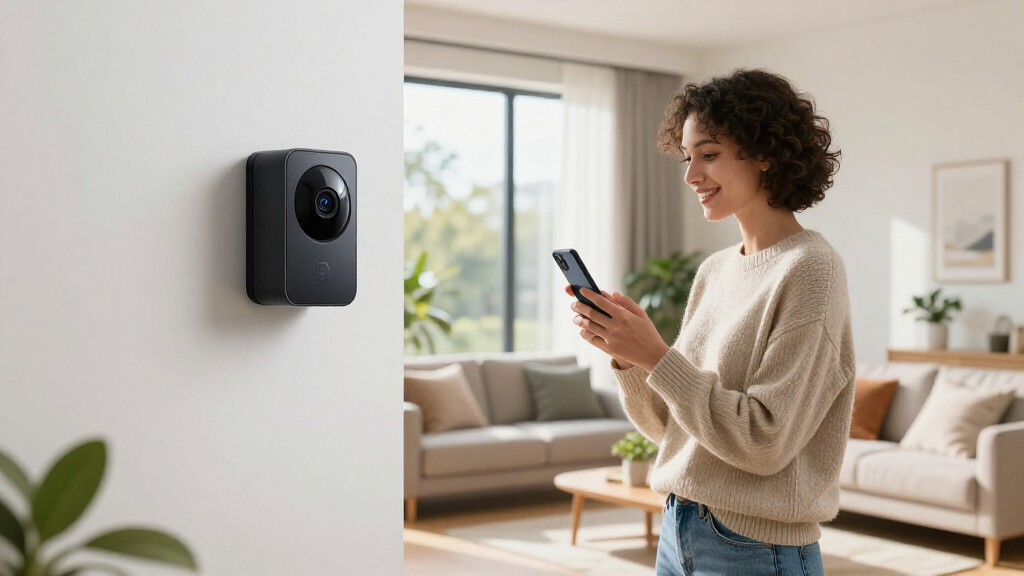
This guide provides step-by-step instructions to help homeowners or renters install and set up smart home security cameras. The goal is to enable effective installation, configuration, and usage to monitor your property remotely. Whether you are new to smart security devices or have some experience, this comprehensive guide covers everything needed for successful setup and operation, taking approximately 1 to 2 hours.

Get home appliances delivered free with Prime
- Fast, free delivery on millions of items
- Prime Video, Amazon Music and more included
- Member-only deals all year

Blink Outdoor 4 Wireless Smart Security Camera System
- ✔ Field of view: 143° diagonal
- ✔ Camera resolution: 1080p HD
- ✔ Night vision: Infrared

Blink Mini 2 Home Security & Pet Camera with HD Video, Color Night View, Motion Detection, Two-Way Audio, and Built-in Spotlight
- ✔ Video resolution: 1080p HD
- ✔ Night vision: Color with spotlight
- ✔ Field of view: Wider than standard

Blink Outdoor 4 Wireless Smart Security Camera System (3 Cameras, Sync Module Core)
- ✔ Battery life: Up to 2 years
- ✔ Video resolution: 1080p HD
- ✔ Night vision: Infrared
Difficulty: Intermediate | Time: 1-2 hours
What You’ll Need
Tools & Materials:
- Drill and screwdriver (if mounting hardware requires)
- Smartphone or tablet
- Wi-Fi network with internet access
- Power outlet nearby for cameras (if wired)
- Ladder (if installing cameras at height)
Knowledge:
- Basic understanding of Wi-Fi networks
- Ability to follow step-by-step installation instructions
- Familiarity with smartphone app installation
Ensure your Wi-Fi network is stable and has sufficient bandwidth. Check that your smartphone is compatible with the camera app (iOS or Android). Fully charge or have access to power outlets for cameras that are not battery-powered.
Blink Outdoor 4 Wireless Smart Security Camera System
The Blink Outdoor 4 system is our top pick for outdoor security, mainly due to its up to two-year battery life and high-quality 1080p HD video. Its infrared night vision ensures visibility in low light, while two-way audio allows for communication from anywhere. Compared with other options, this system’s seamless smart home integration with Alexa makes it a versatile choice for existing smart setups. However, its reliance on non-rechargeable batteries means ongoing replacements, and subscription fees are necessary for storing footage beyond 60 days or accessing advanced features.
Pros:
- Long-lasting battery life of up to two years
- High-quality 1080p HD video with night vision
- Easy installation and smart home compatibility
- Seamless remote control via app
Cons:
- Batteries are non-rechargeable, requiring replacements
- Subscription needed for cloud storage and advanced features
- Person detection is optional and requires extra subscription
Best for: Homeowners seeking durable, maintenance-free outdoor security with smart home integration.
Not ideal for: Users who prefer rechargeable batteries or want local storage without additional subscriptions.
Bottom line: An excellent outdoor camera for those prioritizing longevity and smart home integration, with tradeoffs in power and subscription costs.
“An excellent outdoor camera for those prioritizing longevity and smart home integration, with tradeoffs in power and subscription costs.”
Blink Mini 2 Home Security & Pet Camera with HD Video, Color Night View, Motion Detection, Two-Way Audio, and Built-in Spotlight
The Blink Mini 2 is perfect for users wanting an easy-to-install, compact camera with color night vision and built-in spotlight. Its plug-in design simplifies setup, and its 1080p HD resolution delivers clear footage. The wider field of view enhances coverage, making it suitable for both indoor and outdoor use when paired with a weather-resistant power adapter. Compared to battery-powered options, the Mini 2’s continuous power supply eliminates battery replacements but introduces dependency on electrical power. It supports two-way audio, making it great for communication, but its smart detection features and storage require separate subscriptions or accessories.
Pros:
- High-definition 1080p video quality
- Color night vision with built-in spotlight
- Easy to install and set up
- Supports two-way audio
Cons:
- Requires separate subscription for smart alerts
- Limited local storage options without extra accessories
- Dependent on electrical power
Best for: Those needing a quick-to-deploy, versatile camera for indoor or outdoor use, especially in environments with reliable power sources.
Not ideal for: Users wanting battery-powered, maintenance-free options or local storage without extra costs.
Bottom line: A straightforward, feature-rich camera ideal for quick deployment in environments with stable power, but with added costs for full smart features.
“A straightforward, feature-rich camera ideal for quick deployment in environments with stable power, but with added costs for full smart features.”
Blink Outdoor 4 Wireless Smart Security Camera System (3 Cameras, Sync Module Core)
The Blink Outdoor 4 (3-camera system) provides a cost-effective way to secure multiple outdoor zones with reliable HD video and infrared night vision. Its up to two-year battery life makes it appealing for those avoiding frequent maintenance. While it supports two-way audio and easy setup, it does not include local storage, relying instead on cloud options that require subscriptions for full features. Compared with single-camera systems, this package offers excellent value for multiple points of coverage, but the need for additional subscriptions and optional person detection features can add to ongoing costs.
Pros:
- Long battery life of up to two years
- Includes three cameras and mounting accessories
- Easy setup and good HD video quality
- Supports two-way audio and infrared night vision
Cons:
- Local storage not included, relies on cloud subscriptions
- Person detection and advanced smart alerts require extra plans
- Additional cameras or storage accessories sold separately
Best for: Budget-conscious homeowners wanting multiple outdoor cameras with reliable battery life.
Not ideal for: Users needing local storage or non-subscription-based alerts and detection features.
Bottom line: A budget-friendly, multi-camera outdoor solution that balances long battery life with the need for ongoing subscription services for full functionality.
“A budget-friendly, multi-camera outdoor solution that balances long battery life with the need for ongoing subscription services for full functionality.”
As an Amazon Associate we earn from qualifying purchases.
Before You Start
Ensure your Wi-Fi network is active and stable. Identify mounting locations with clear views of entry points or areas you want monitored. Confirm that you have all necessary tools and hardware ready. Read the camera manufacturer’s instructions for specific requirements or compatibility issues.Step-by-Step Instructions
Step 1: Choose suitable camera locations
Identify key areas you want to monitor, such as front door, driveway, backyard, or garage. Select mounting spots that offer a clear, unobstructed view and are within Wi-Fi range. Avoid locations with direct sunlight or extreme weather unless the camera is weatherproof. Ensure power sources are accessible if using wired cameras.
Tip:Use a ladder if mounting at height and always follow safety precautions. Consider camera field of view and angle for maximum coverage. Avoid placing cameras where they might be easily blocked or tampered with.
Check: You have selected locations with clear, unobstructed views, and the cameras can connect to Wi-Fi without interference.
Step 2: Install the cameras
Mount each camera according to the manufacturer’s instructions, using screws, brackets, or adhesive mounts. Ensure cameras are securely fastened and positioned at an angle that covers the desired area. If wired, connect power cables securely. For wireless models, insert batteries or ensure power source is active.
Tip:Double-check camera orientation before final tightening. Avoid mounting where the camera’s view could be blocked by objects or foliage.
Check: Cameras are firmly mounted, powered, and positioned to cover the targeted areas. You should see a live preview on your device if connected.
Step 3: Connect cameras to Wi-Fi network
Download and install the manufacturer’s app on your smartphone or tablet. Open the app and follow the prompts to create an account if necessary. Turn on Wi-Fi on your device, then power on the cameras. Use the app to add each camera by scanning QR codes or entering device IDs. Connect each camera to your Wi-Fi network as instructed.
Tip:Ensure your smartphone remains close to the camera during setup. Keep Wi-Fi password handy.
Check: Each camera appears online and displays a live feed within the app. Confirm that the video is clear and the connection is stable.
Step 4: Configure camera settings
Access the camera settings within the app and set preferences such as motion detection zones, recording schedules, alert notifications, and video quality. Adjust motion sensitivity to reduce false alarms caused by moving objects like branches or pets.
Tip:Test each setting by triggering motion or entering the camera’s view to verify alerts and recording. Fine-tune sensitivity to balance detection accuracy and false alarms.
Check: Settings are customized to your preferences, and cameras respond correctly to motion or other triggers without excessive false alerts.
Step 5: Test the entire system
Perform a full test by walking through monitored areas or simulating activity in front of the cameras. Verify that alerts are received on your device, recordings are saved properly, and live feeds are clear and correctly framed.
Tip:Test at different times of day to evaluate how lighting affects video quality. Adjust camera angles if coverage is inadequate or blind spots are detected.
Check: You receive timely alerts, and recorded footage captures the activity clearly. Live streams are accessible and stable.
Common Mistakes to Avoid
- Mounting cameras in poorly lit or obstructed locations — Choose well-lit, unobstructed views with no objects blocking the camera’s lens. Test the view before final mounting.
- Using weak Wi-Fi signals or placing cameras too far from router — Position cameras within the effective range of your Wi-Fi network. Use Wi-Fi extenders if needed.
- Ignoring camera firmware updates — Regularly check for and install firmware updates through the app to improve security and performance.
Troubleshooting
Problem: Camera not connecting to Wi-Fi
Solution: Ensure Wi-Fi credentials are correct, restart the camera and router, and move closer if signal is weak.
Problem: Poor video quality or buffering
Solution: Reduce video resolution in settings, improve Wi-Fi signal strength, or limit other bandwidth-heavy devices.
Problem: No alerts or notifications
Solution: Verify notification settings in the app, check that motion detection zones are properly configured, and ensure app permissions are granted.
What Success Looks Like
All cameras are mounted securely, connected to Wi-Fi, and display live feeds. Motion detection and alerts work correctly, and recorded footage is accessible. The system provides clear, reliable monitoring with minimal false alarms.
Next Steps
Regularly check camera angles and clean lenses for clear footage. Update firmware periodically. Review recordings and adjust motion sensitivity as needed. Consider integrating your cameras with a broader security system or smart home platform for automation and enhanced security.
Frequently Asked Questions
Can I use multiple brands of cameras together?
Most cameras work best within the same app ecosystem. For mixed brands, choose a compatible platform or use separate apps. Compatibility varies; check manufacturer specifications before mixing devices.
How secure are smart home security cameras?
Security depends on your network and device settings. Use strong Wi-Fi passwords, enable two-factor authentication, and keep firmware updated to protect against hacking.
Do I need a subscription for cloud storage?
Many cameras offer free basic storage, but cloud plans often include extended storage, advanced features, and longer video histories. Review the manufacturer’s plans to choose what fits your needs.
Can I access my cameras remotely?
Yes, through the manufacturer’s app, you can view live feeds and recordings from anywhere with internet access, provided your cameras are connected and configured properly.
Fall yard work Picks
leaf blowers
As an affiliate, we earn on qualifying purchases.